
LeSabre V6-181 3.0L (1986)
IMPORTANT:
Outer tube must be completely seated over shaft.
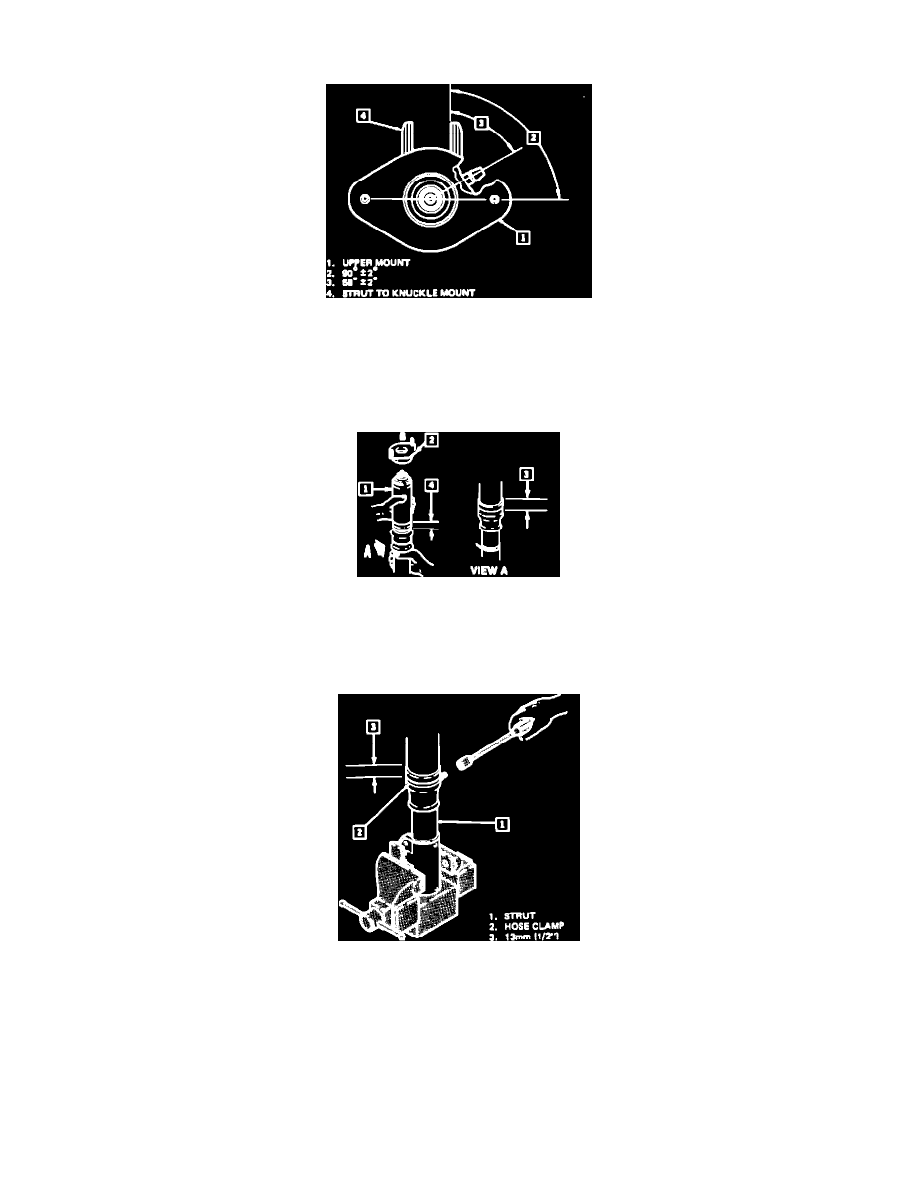
Figure 8 - Orientating Air Fitting
10.
Upper mount to strut and position as indicated. Tighten nut to 100 N-m (74 ft.lbs.).
IMPORTANT:
Line up scribe marks on upper mount and outer tube on reassembly. Upper mount and tube air fitting must be properly oriented
with respect to bottom strut mount, Figure 8.
Figure 9 - Lubricating Outer Tube
11.
Silicone lubricant to outer tube, Figure 9.
12.
Air bladder over bottom of outer tube by folding up over tube and continue pushing over tube.
Figure 10 - Tightening Hose Clamps
13.
Hose clamp over grooved area of air bladder and tighten.
14.
Inspect for leaks with soap solution by supporting strut and connecting system air line to pressurize strut.
15.
Strut to car.
FOR WARRANTY PURPOSES, USE ONE OF THE FOLLOWING:
E5750
Rear Strut
-
Right Side
E5751
Rear Strut
-
Left Side