
LeSabre V8-350 5.7L DSL (1982)
Timing Cover: Service and Repair
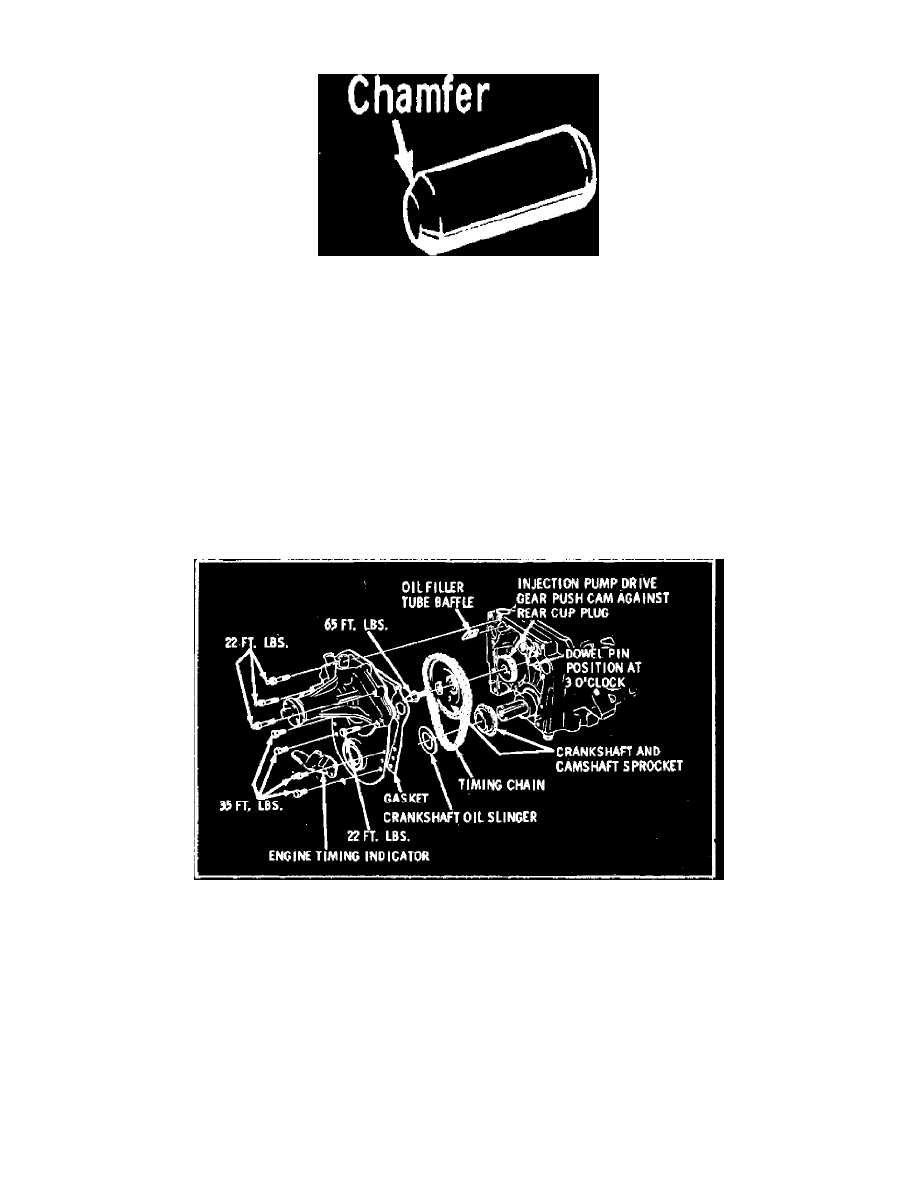
Fig. 31 Dowel pin chamfer
1.
Disconnect ground cables from batteries.
2.
Drain cooling system and disconnect radiator hoses and bypass hose.
3.
Remove all drive belts, fan and pulley, crankshaft pulley and harmonic balancer, and accessory brackets.
4.
Remove timing indicator and water pump.
5.
Remove remaining front cover attaching bolts and the front cover. Also, remove the dowel pins. It may be necessary to grind a flat on the dowel
pin to provide a rough surface for gripping.
6.
Grind a chamfer on one end of each dowel pin, Fig. 31.
7.
Cut excess material from front end of oil pan gasket on each side of cylinder block.
8.
Trim approximately 1/8 inch from each end of new front pan seal.
9.
Install new front cover gasket and apply suitable sealer to gasket around coolant holes.
10.
Apply RTV sealer to mating surfaces of cylinder block, oil pan and front cover.
11.
Place front cover on cylinder block and press downward to compress seal. Rotate cover right and left and guide oil pan seal into cavity with a
small screwdriver.
12.
Apply engine oil to bolts.
Fig. 32 Engine front cover installation. Typical
13.
Install two bolts finger tight to retain cover.
14.
Install the two dowel pins, chamfered end first.
15.
Install timing indicator and water pump and torque bolts as shown in Fig. 32.
16.
Install harmonic balancer and crankshaft pulley.
17.
Install accessory brackets.
18.
Install fan and pulley and drive belts.
19.
Connect radiator hoses and bypass hose.
20.
Connect ground cables to batteries.