
Lucerne V6-3.8L VIN 2 (2006)
Antenna Cable: Service and Repair
COAXIAL CABLE REPLACEMENT - DIGITAL RADIO
REMOVAL PROCEDURE
1. Remove the upper rear quarter trim panel.
2. Remove the rear assist handles.
3. Lower the rear of the headliner.
NOTE: Use care when removing or installing the headliner. Excessive bending will damage the headliner.
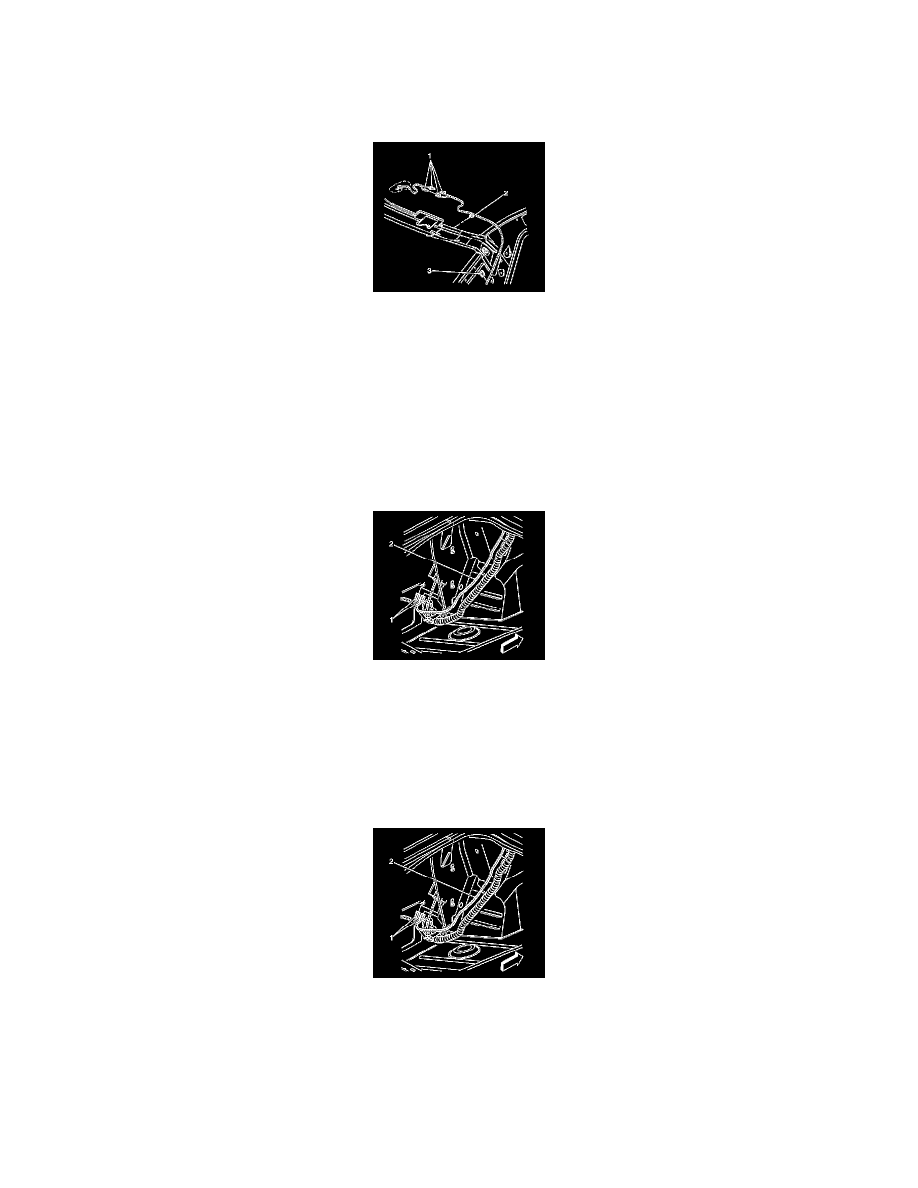
4. Remove the antenna cable from the clips (2,3)
5. Remove the antenna cable connection (1) from above the AM/FM antenna module.
6. Remove the foam tape from the antenna cable connection (1).
7. Disconnect the antenna connectors (1) from the radio antenna.
8. Attach a piece of wire or string to the end of the antenna cable.
9. Remove the left rear compartment trim panel.
10. Disconnect the antenna cable connection (1) from the digital receiver.
11. Remove the antenna cable (2) from the clips and the rear harness.
12. Pull the cable (2) through to the rear compartment.
13. Remove the wire or string from the antenna cable (2).
14. Remove the antenna cable (2) from the vehicle.
INSTALLATION PROCEDURE
1. Attach the wire or string used in the removal procedure to the cable being installed in the vehicle.
2. Carefully pull the antenna cable (2) past the rear shelf into the passenger compartment.
3. Remove the wire or string from the antenna cable.
4. Connect the antenna cable connection (1) to the digital receiver.
5. Attach the antenna cable (2) to the hold-down clips in the rear compartment.
6. Install the trim panel to the left rear compartment.