
Lucerne V6-3.8L VIN 2 (2006)
lubricants, or corrosion inhibitors on fasteners or fastener joint surfaces unless specified. These coatings affect fastener torque and joint
clamping force and may damage the fastener. Use the correct tightening sequence and specifications when installing fasteners in order to avoid
damage to parts and systems.
11.
Install the new engine mount, bracket and bolts. Refer to the illustration with Step 8.
Tighten
Tighten the bracket bolts to the engine to 70 N.m (52 lb ft).
12.
Install the engine mount bracket nut and hand-tighten. Refer to the illustration with Step 4.
13.
Lower and align the engine front mount stud back onto the frame and hand-tighten. Refer to illustration with Step 3.
14.
Install the engine right rear mount to frame nut and hand-tighten. Refer to the illustration with Step 5.
15.
Remove the hoist/adjustable jackstand and block of wood from under the oil pan.
16.
Tighten the engine mount fasteners to the following specifications:
Tightening Sequence
1.
Tighten the right rear engine mount nut to 80 N.m (59 lb ft).
2.
Tighten the left rear engine mount nut to 80 N.m (59 lb ft).
3.
Tighten the transaxle mount to frame nut (qty: 2) to 50 N.m (37 lb ft).
4.
Tighten the front engine mount lower nut to 80 N.m (59 lb ft).
5.
Tighten the front engine mount upper nut to 80 N.m (59 lb ft).
6.
Lower the vehicle.
7.
Tighten the front engine mount bracket nut
Tighten
Tighten the bracket nut to 80 N.m (59 lb ft).
8.
Install the front air deflector and fasteners (qty 17). Refer to the illustration with Step 1.
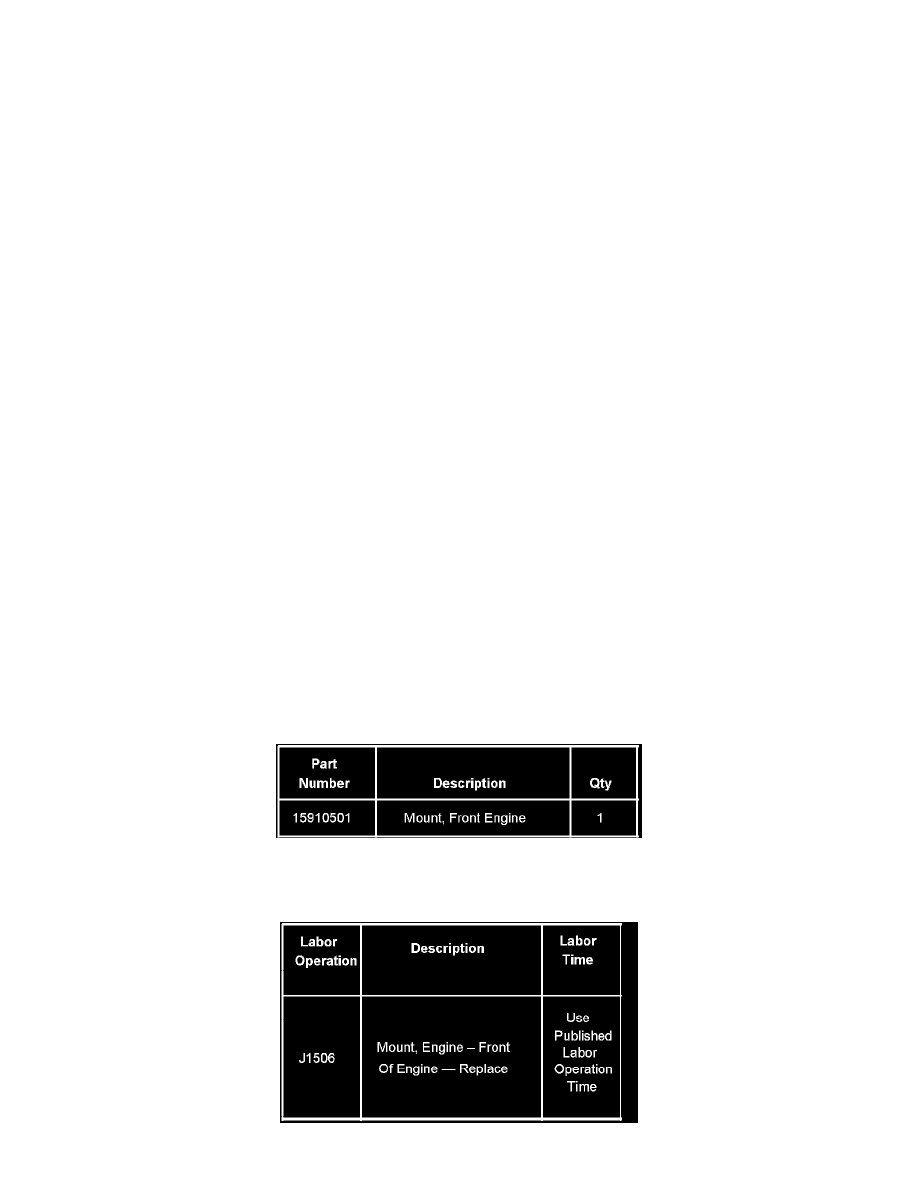
Parts Information
Warranty Information