Lucerne V6-3.8L VIN 2 (2006)

INSTALLATION PROCEDURE
1. Remove any dirt, grease, or other impurities from the mounting surface.
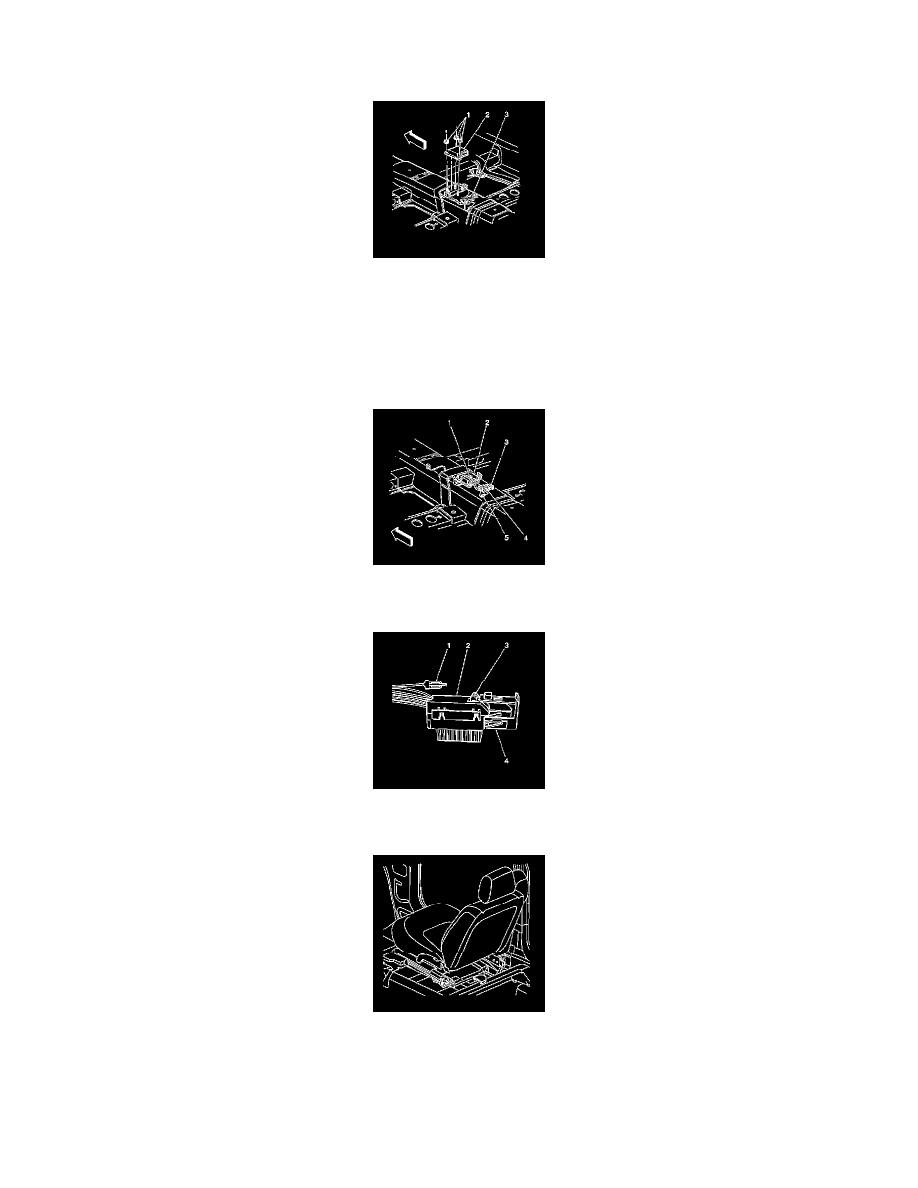
2. Install the SDM (2) horizontally to console floor (3).
3. Point the arrow on the SDM toward the front of the vehicle.
4. Install the SDM mounting fasteners (1).
Tighten the fasteners to 9 N.m (80 lb in).
NOTE: Refer to Fastener Notice in Service Precautions.
5. Connect the SDM wiring harness connector (3) to the SDM (2).
6. Install the push-on clip (1) securing the SDM wiring harness to the console stud.
7. Push down flex lock button (3) and then move sliding connector locking cover (4) to the close position.
8. Install the CPA (1) to the inflatable restraint SDM wiring harness connector (2).
9. Install the carpet pre-slit to the close position covering the inflatable restraint SDM.
10. Install the console.
11. Position the driver and passenger seats to the original positions.
12. Enable the SIR system. Refer to SIR Disabling and Enabling Zone 8.
13. Program the new SDM into the dash integration module (DIM). Refer to Body Control Module (BCM) Programming/RPO Configuration in
Computer/Integrating Systems.
