
Lucerne V6-3.8L VIN 2 (2006)
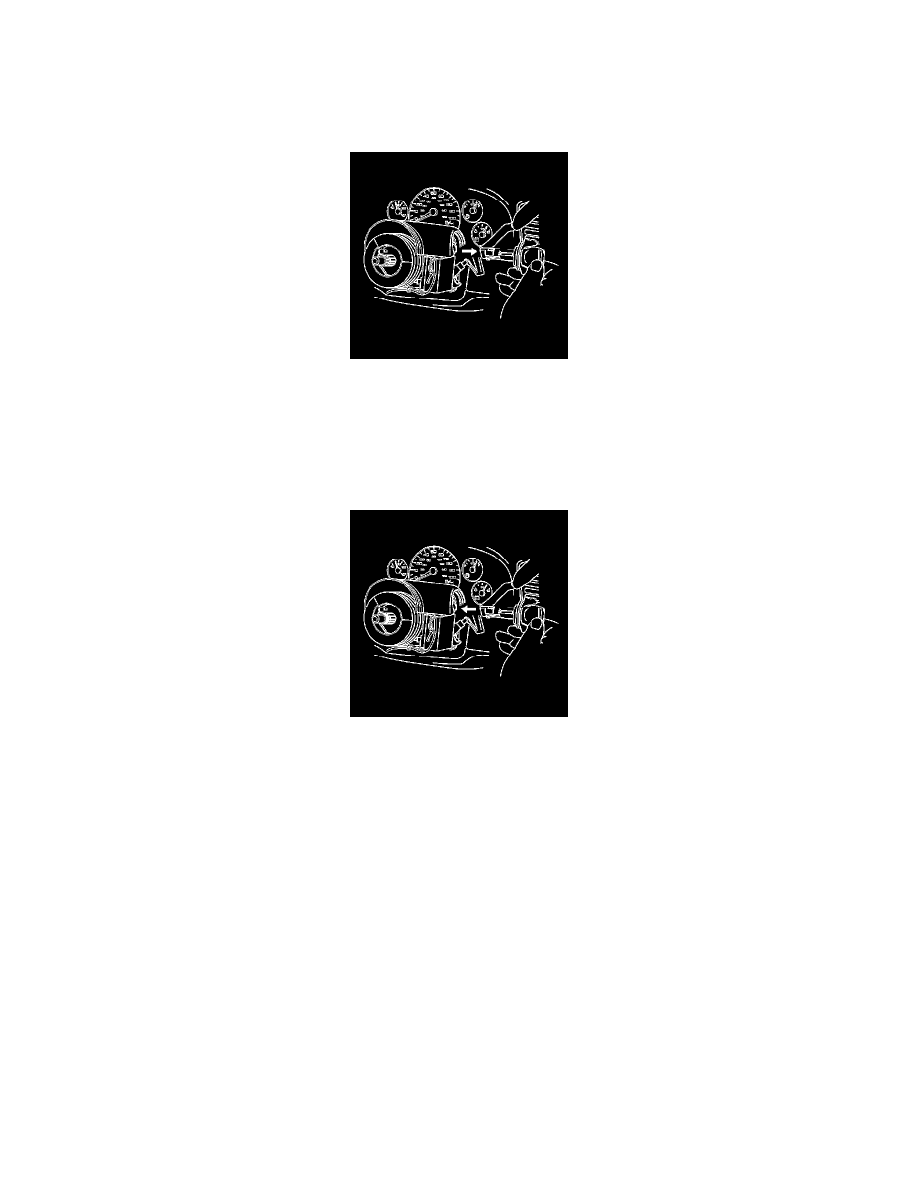
8. Insert the Snap-On A173A bent-tip awl (1) or equivalent, with a 2.5 mm (3/32 inch) tip, and 20 mm (3/4 inch) in length, into the access hole of
the ignition lock cylinder.
9. Turn the ignition lock cylinder to START.
10. Use the bent tip in order to push down on the ignition lock cylinder retainer.
11. Release the ignition lock cylinder to the RUN position.
12. Remove the ignition lock cylinder from the lock cylinder case.
Installation Procedure
1. Insert the ignition lock cylinder through the trim cover in the upper steering column.
2. Align the lock cylinder retaining tab and the position tab with the slots in the lock housing.
3. Completely push the lock cylinder into the lock housing.
4. Notice: Refer to Fastener Notice in Service Precautions.
Install the retaining screws to the upper steering trim cover.
^
Tighten the screws to 3.5 Nm (31 inch lbs.).
5. Match the tab slots on the lower trim cover with the locking tabs on the upper trim cover.
6. Tilt the lower trim cover up and slide the lower trim cover until the locking tabs snap into the tab slots.
7. Install the lower trim cover screws to the steering column.
^
Tighten the screws to 1.5 Nm (13 inch lbs.).