
Lucerne V6-3.9L (2009)
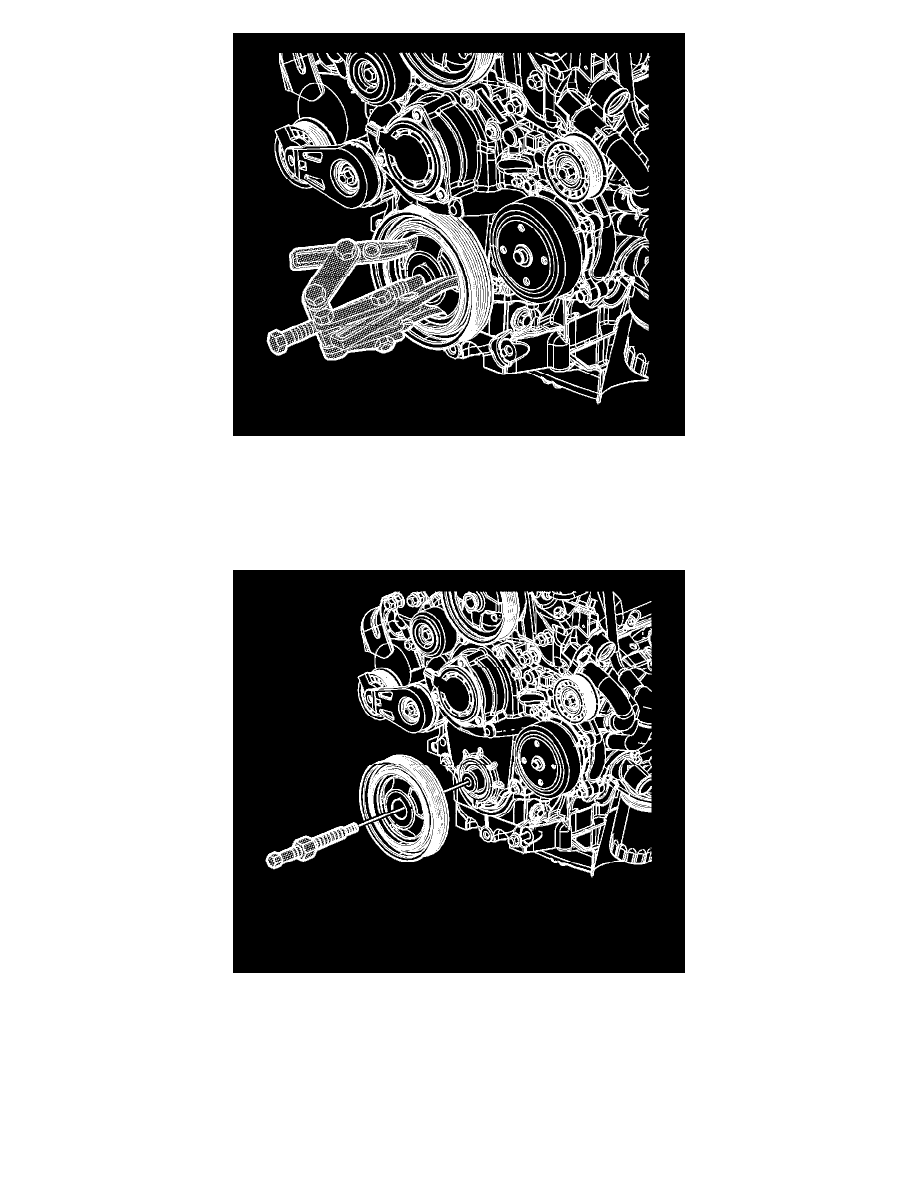
Caution: Do NOT use a power-assisted tool with the special tool in order to remove or install this component. You cannot properly control the
alignment of this component using a power-assisted tool, and this can damage the component.
11. Remove the crankshaft balancer using the J 41816 and EN 46359 .
Installation Procedure
1. Apply sealer to the keyway of the crankshaft balancer. Refer to Adhesives, Fluids, Lubricants, and Sealers (See: Specifications/Adhesives, Fluids,
Lubricants, and Sealers).
2. Place the crankshaft balancer into position over the key in the crankshaft.
Caution: Do NOT use a power-assisted tool with the special tool in order to remove or install this component. You cannot properly control the
alignment of this component using a power-assisted tool, and this can damage the component.
3. Thread the J 29113 into the crankshaft.
4. Rotate the hex nut on the J 29113 in order to install the crankshaft balancer onto the crankshaft.