
Lucerne V6-3.9L (2009)
Timing Cover: Service and Repair
Engine Front Cover Replacement
Removal Procedure
1. Drain the cooling system. Refer to Cooling System Draining and Filling (Vac-N-Fill) (See: Cooling System/Service and Repair)Cooling System
Draining and Filling (Static Fill) (See: Cooling System/Service and Repair).
2. Remove the drive belt tensioner. Refer to Drive Belt Tensioner Replacement (See: Drive Belts, Mounts, Brackets and Accessories/Drive Belt
Tensioner/Service and Repair).
3. Remove the oil pan. Refer to Oil Pan Replacement (See: Engine Lubrication/Oil Pan/Service and Repair).
4. Remove the crankshaft balancer. Refer to Crankshaft Balancer Replacement (See: Cylinder Block Assembly/Harmonic Balancer - Crankshaft
Pulley/Service and Repair).
5. Remove the crankshaft position actuator magnet. Refer to Camshaft Position Actuator Magnet Replacement (See: Variable Valve
Timing/Variable Valve Timing Actuator/Service and Repair).
6. Remove the thermostat housing. Refer to Engine Coolant Thermostat Replacement (LZ9 or LGD) (See: Cooling System/Thermostat/Service and
Repair)Engine Coolant Thermostat Replacement (LD8) (See: Cooling System/Thermostat/Service and Repair).
7. Remove the water pump. Refer to Water Pump Replacement (LZ9 or LGD) (See: Water Pump/Service and Repair)Water Pump Replacement
(LD8) (See: Water Pump/Service and Repair).
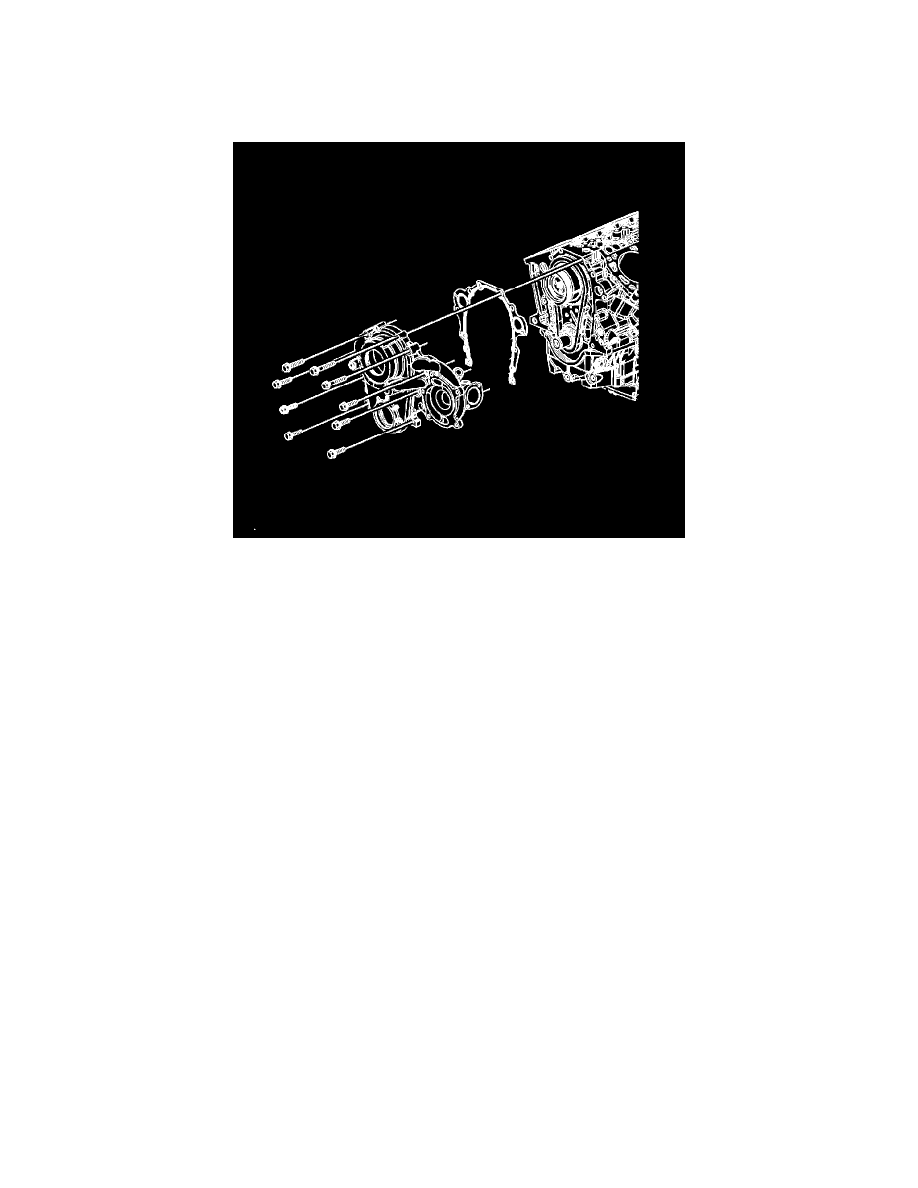
8. Remove the engine front cover bolts.
9. Remove coolant hose from front cover
10. Remove the engine front cover.
11. Remove the engine front cover gasket.
Installation Procedure