
Lucerne V6-3.9L (2009)
Tires: Removal and Replacement
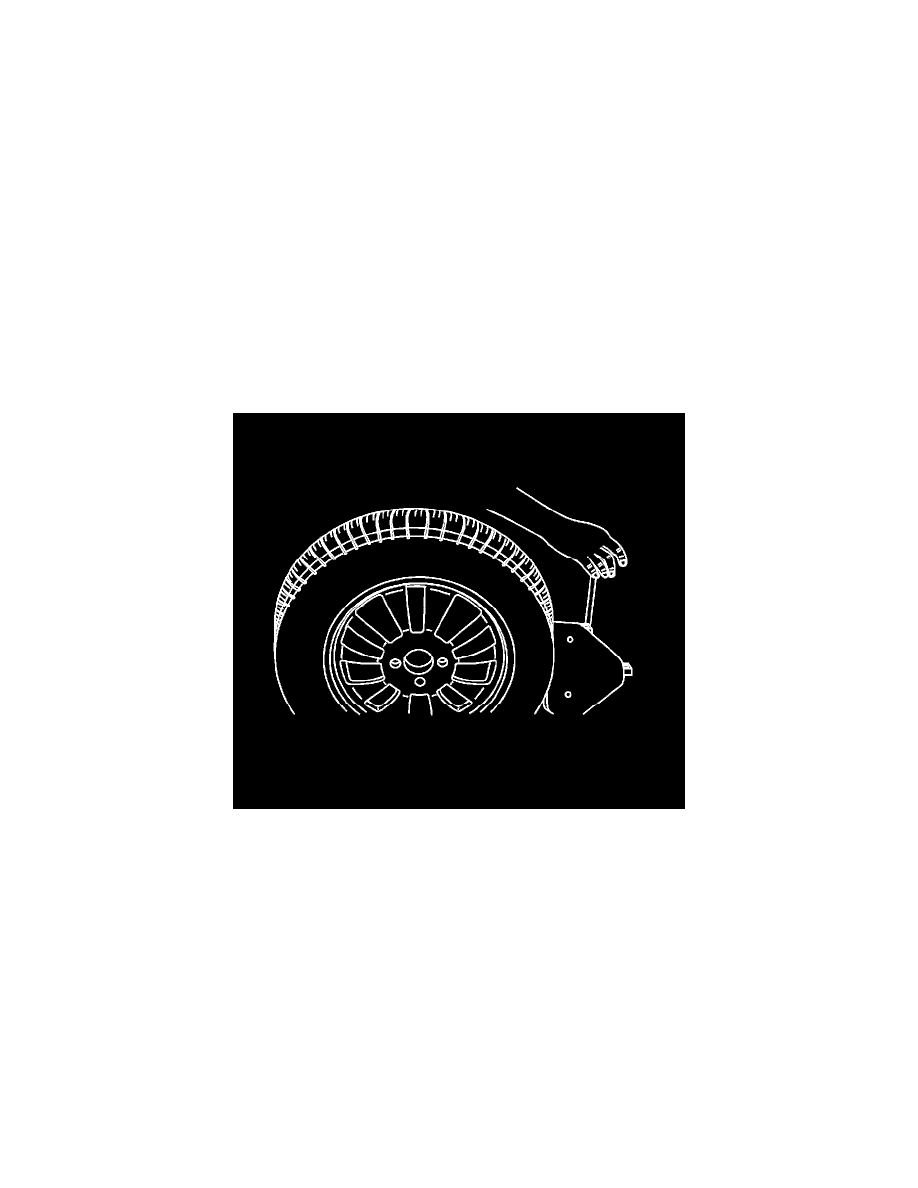
Tire Dismounting and Mounting
Caution: Use a tire changing machine in order to dismount tires. Do not use hand tools or tire irons alone in order to remove the tire from the wheel.
Damage to the tire beads or the wheel rim could result.
Caution: Do not scratch or damage the clear coating on aluminum wheels with the tire changing equipment. Scratching the clear coating could cause the
aluminum wheel to corrode and the clear coating to peel from the wheel.
Caution: Damage to either the tire bead or the wheel mounting holes can result from the use of improper wheel attachment or tire mounting
procedures. It takes up to 70 seconds for all of the air to completely exhaust from a large tire. Failure to follow the proper procedures could cause
the tire changer to put enough force on the tire to bend the wheel at the mounting surface. Such damage may result in vibration and/or shimmy, and
under severe usage lead to wheel cracking.
1. Remove the valve core from the valve stem.
2. Deflate the tire completely.
Note: Rim-clamp European-type tire changers are recommended.
3. Use the tire changer in order to remove the tire from the wheel. Follow steps 4-7 to remove the tire from the wheel.
4. When separating the tire bead from the wheel, position the bead breaking fixture 90, 180 and 270 degrees from the valve stem.
Caution: Failure to position valve stem in proper position while dismounting and mounting the tire may result in the TPM sensor to become
damaged.
5. Position the wheel and tire so the valve stem is at the 7 o'clock position relative to the head. The tire iron or pry bar can be inserted when prying
the outer tire bead up and over the mounting/dismounting head.