
Lucerne V8-4.6L (2008)
5.
Unfasten the nylon batting of the trim panel substrate at the bottom of the trim panel by the pocket map.
Notice:
Rock side to side gently to avoid breaking the retaining tabs. Take care to clear the lip of the trim panel substrate.
6.
Temporarily remove the three large spring clips from the back of the map pocket by rocking side-to-side as you pull up (refer to the graphic
above).
7.
Remove the two Phillips plastic-specific screws from the lower map pocket. Refer to previous graphic.
Important:
Take care not to drag the corner of the pocket on the vinyl show side of the trim panel.
8.
Push the rear corner of the map pocket up and out from the bottom (refer to graphic above).
9.
Clean the perimeter of the map pocket lip.
Important:
The felt must be applied directly under the lip of the pocket and into the corner. Apply the tape around the map pocket.
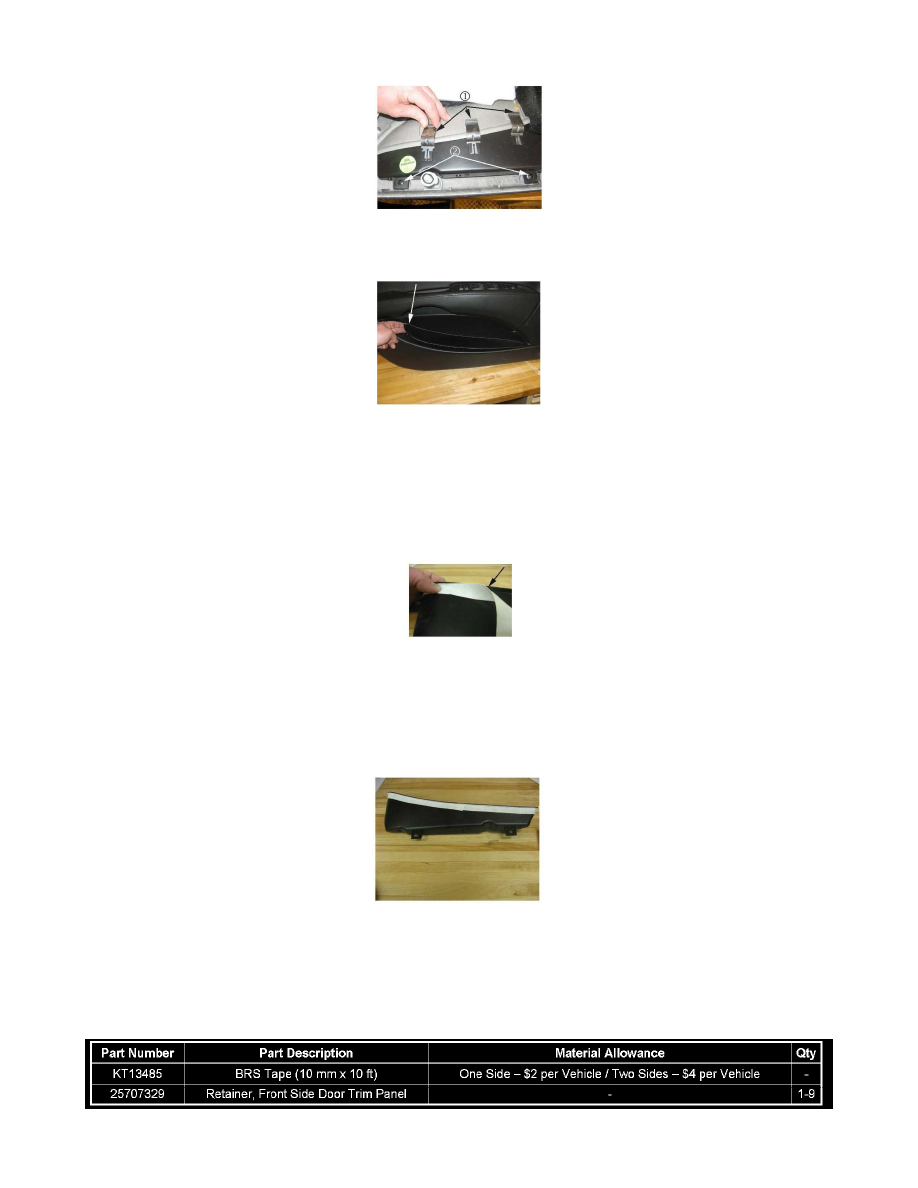
10.
Apply the 10 mm X 1 mm (0.40 in X 0.040 in) piece of the adhesive-backed polyester felt tape to the outboard and inboard perimeter of the map
pocket (the tape is black in color; white is shown here for illustration purposes only)
11.
Install the map pocket back to the door trim panel.
12.
Install the front side door trim panel. Refer to Front Side Door Trim Panel Replacement in SI.
Parts Information