
Lucerne V8-4.6L (2008)
Parking Brake Lever: Service and Repair
Parking Brake Lever Pedal Assembly Replacement
Removal Procedure
Important: The park brake pedal assembly and the front park brake cable are serviced as a unit. The front park brake cable is not threaded
and is not adjustable.
1. Ensure the park brake pedal is in the fully released position.
2. Raise and support the vehicle. Refer to Lifting and Jacking the Vehicle (See: Maintenance/Vehicle Lifting/Service and Repair).
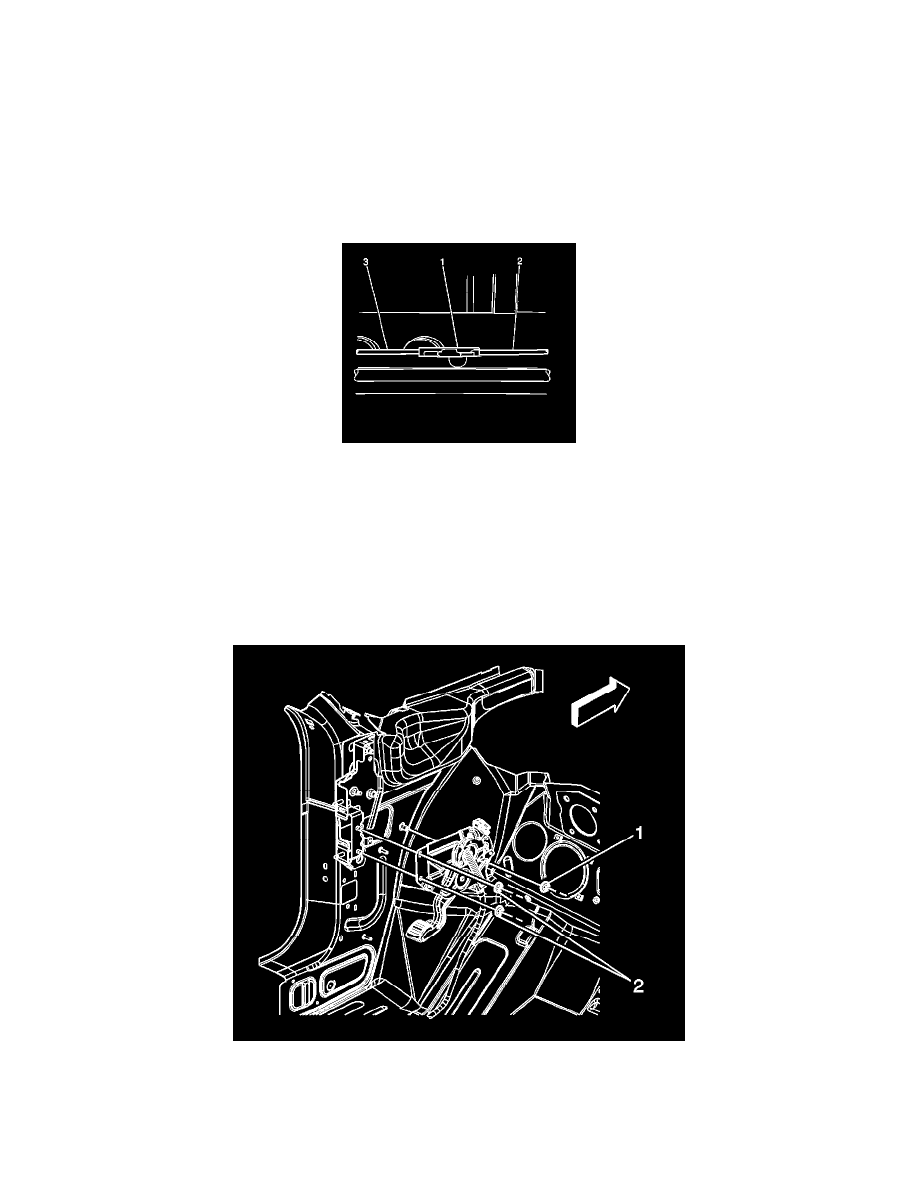
3. Pull down on the front park brake cable.
4. Remove the cable (3) from the cable connector (1).
5. Lower the vehicle.
6. Remove the left closeout/insulator panel. Refer to Instrument Panel Insulator Panel Replacement - Left Side (See: Body and Frame/Interior
Moulding / Trim/Dashboard / Instrument Panel/Service and Repair).
7. Remove the left knee bolster. Refer to Driver Knee Bolster Replacement (See: Body and Frame/Interior Moulding / Trim/Dashboard / Instrument
Panel/Service and Repair).
8. Remove the left carpet retainer. Refer to Front Carpet Retainer Replacement (See: Body and Frame/Interior Moulding / Trim/Carpet/Service and
Repair).
9. Pull back the carpet.
10. Remove the park brake pedal assembly mounting nuts (1, 2).
11. Position the park brake pedal assembly away from the mounting studs.
12. Disconnect the electrical connector from the park brake warning lamp switch.
13. Remove the park brake pedal assembly.