
Lucerne V8-4.6L (2008)
10. Disconnect the vacuum check valve (2) from the vacuum booster.
11. Remove the left closeout insulator panel. Refer to Instrument Panel Insulator Panel Replacement - Left Side (See: Body and Frame/Interior
Moulding / Trim/Dashboard / Instrument Panel/Service and Repair).
12. Remove the left knee bolster. Refer to Driver Knee Bolster Replacement (See: Body and Frame/Interior Moulding / Trim/Dashboard / Instrument
Panel/Service and Repair).
13. To access the left lower brake pedal to vacuum brake booster mounting nut, remove the steering column mounting nuts. Refer to Steering Column
Replacement (See: Steering and Suspension/Steering/Steering Column/Service and Repair/Steering Column Replacement).
14. Lower the steering column and secure it.
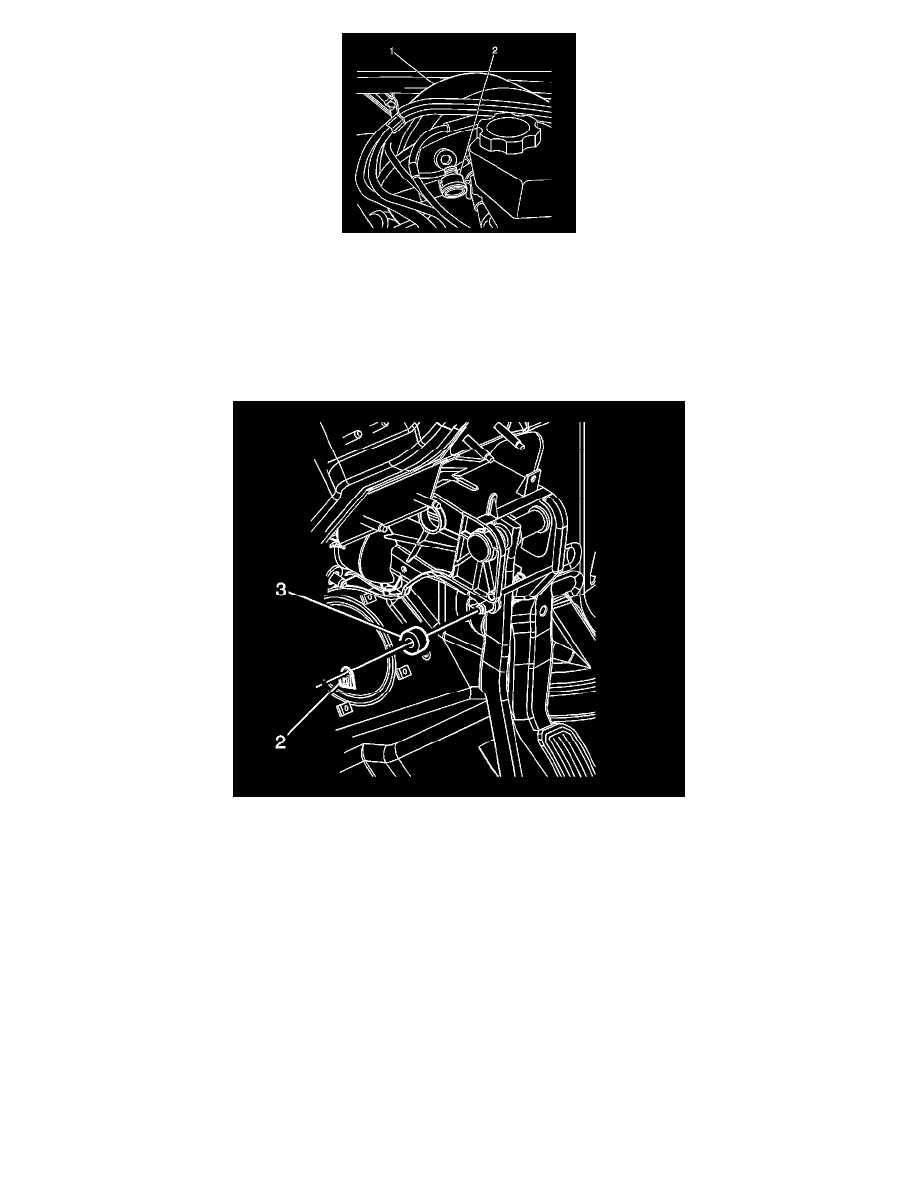
15. Remove the vacuum brake booster pushrod retaining clip (2) from the brake pedal clevis pin.
16. Remove the foam spacer (3) from the brake pedal clevis pin.
17. Disconnect the brake booster pushrod from the brake pedal clevis pin.