
Lucerne V8-4.6L (2008)
7. Apply a small amount of lubricant, GM P/N 12346293 or equivalent to the clevis pin of the brake pedal.
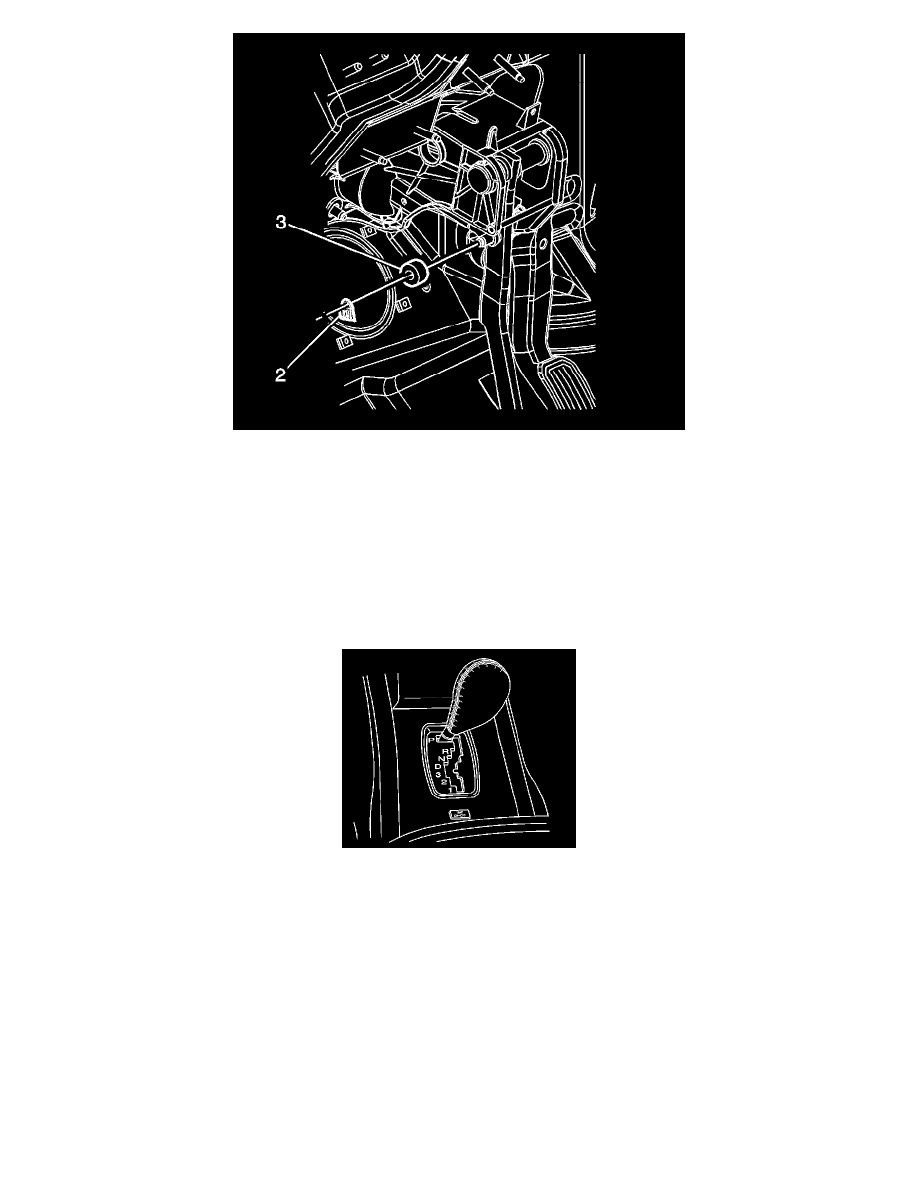
8. Connect the vacuum brake booster pushrod to the brake pedal clevis pin.
9. Install the foam spacer (3) to the brake pedal clevis pin.
10. Install the retainer clip (2) to the brake pedal assembly clevis pin.
11. Install the steering column.
12. Install the steering column mounting attaching nuts. Refer to Steering Column Replacement (See: Steering and Suspension/Steering/Steering
Column/Service and Repair/Steering Column Replacement).
13. Install the left knee bolster. Refer to Driver Knee Bolster Replacement (See: Body and Frame/Interior Moulding / Trim/Dashboard / Instrument
Panel/Service and Repair).
14. Install the left closeout insulator panel. Refer to Instrument Panel Insulator Panel Replacement - Left Side (See: Body and Frame/Interior
Moulding / Trim/Dashboard / Instrument Panel/Service and Repair).
15. Install the shift control cable to the shift cable bracket. Refer to Automatic Transmission Range Selector Cable Replacement - Console (See:
Transmission and Drivetrain/Automatic Transmission/Transaxle/Shift Linkage/Shift Cable/Service and Repair/4T80-E - Automatic
Transaxle/Automatic Transmission Range Selector Cable Replacement - Console).
16. Position the gearshift lever into park.