
Lucerne V8-4.6L (2008)
1. Alternately hand tighten the camshaft bearing cap bolts a few turns at a time until all caps are fully seated.
2. Tighten the camshaft bearing cap bolts to 5 N.m (44 lb in).
3. Tighten the camshaft bearing cap bolts an additional 30 degrees using the J 45059
Notice: Refer to Torque Reaction Against Timing Drive Chain Notice (See: Timing Components/Service Precautions).
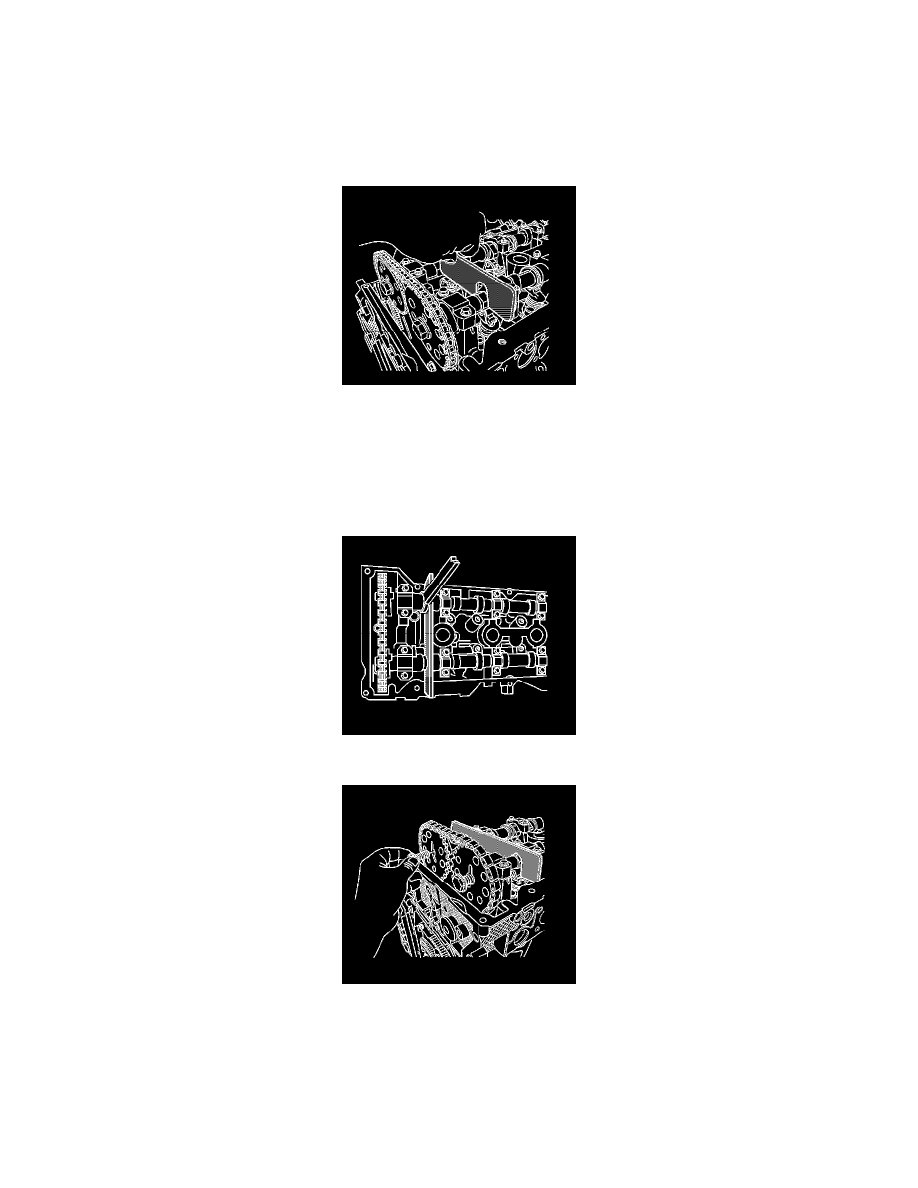
10. Align the camshafts.
Caution: Refer to Camshaft Holding Tool Caution (See: Service Precautions/Vehicle Damage Warnings/Camshaft Holding Tool Caution).
11. Install the J 44212 over the camshafts.
Important: Ensure the camshaft sprockets properly engage the camshaft sprocket drive pins and camshafts.
12. Install the intake and exhaust camshaft sprockets aligning the paint marks made during disassembly. Ensure that the camshaft sprockets align with
the pins of the camshafts.
13. Use an open wrench on the hex cast into the camshafts in order to prevent the camshafts from rotating when tightening the camshaft sprocket bolts.
14. Install the camshaft sprocket bolts.
Tighten the camshaft sprocket bolts to 120 N.m (89 lb ft).