
Park Avenue V6-3.8L SC VIN 1 (2005)
4.2.
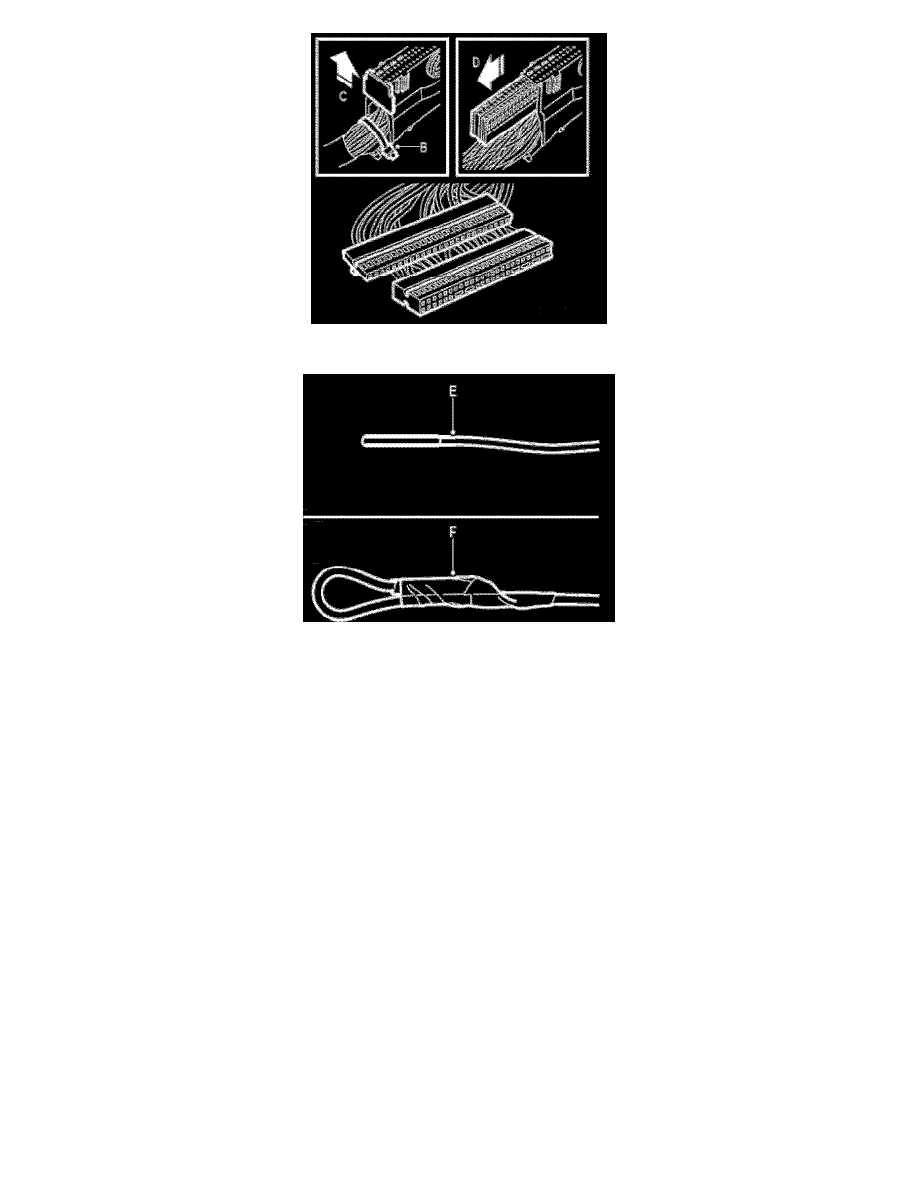
Cut off the cable tie (B), detach the connector's rear end face (C), and pull out the connecting rail (D).
4.3.
Extract pin 15, cut off the cable terminal and insulate the end with tape (E). Fold back the cable and secure it with tape (F).
4.4.
Fit the connecting rail and end face.
4.5.
Plug in the connector (A) and secure the cables with cable ties (B).
5.
Remove the parcel shelf trim in accordance with WIS - 8. Body - Interior equipment - Adjustment/Replacement.
6.
M03: Replace the optic cable on the right-hand side
Important:
Secure the wiring harness so that there is no risk of chafing or rattling.
6.1.
Remove the passenger seat in accordance with WIS 8. Body - Seats - Adjustment/Replacement.
6.2.
Remove the right-hand B-pillar trim in accordance with WIS - 8. Body - Interior equipment - Adjustment/Replacement.
6.3.
Remove the right-hand C pillar trim in accordance with WIS - 8. Body - Interior equipment - Adjustment/Replacement.
6.4.
Fold the rear seat backrest forward.
6.5.
Remove the right-hand side bolster in accordance with WIS - 8. Body - Seats - Adjustment/Replacement.
6.6.
Remove the A-pillar's lower side piece.
6.7.
Open the cover on the right-hand wiring harness channels.