
Park Avenue V6-3.8L SC VIN 1 (2005)
Trim Panel: Service and Repair
Garnish Molding Replacement - Rear Door Frame
Garnish Molding Replacement - Rear Door Frame
Tools Required
J 38778 Door Trim Pad and Garnish Clip Remover
Removal Procedure
1. Remove the door trim panel. Refer to Trim Panel Replacement - Side Rear Door See: Doors, Hood and Trunk/Doors/Rear Door/Rear Door
Panel/Service and Repair
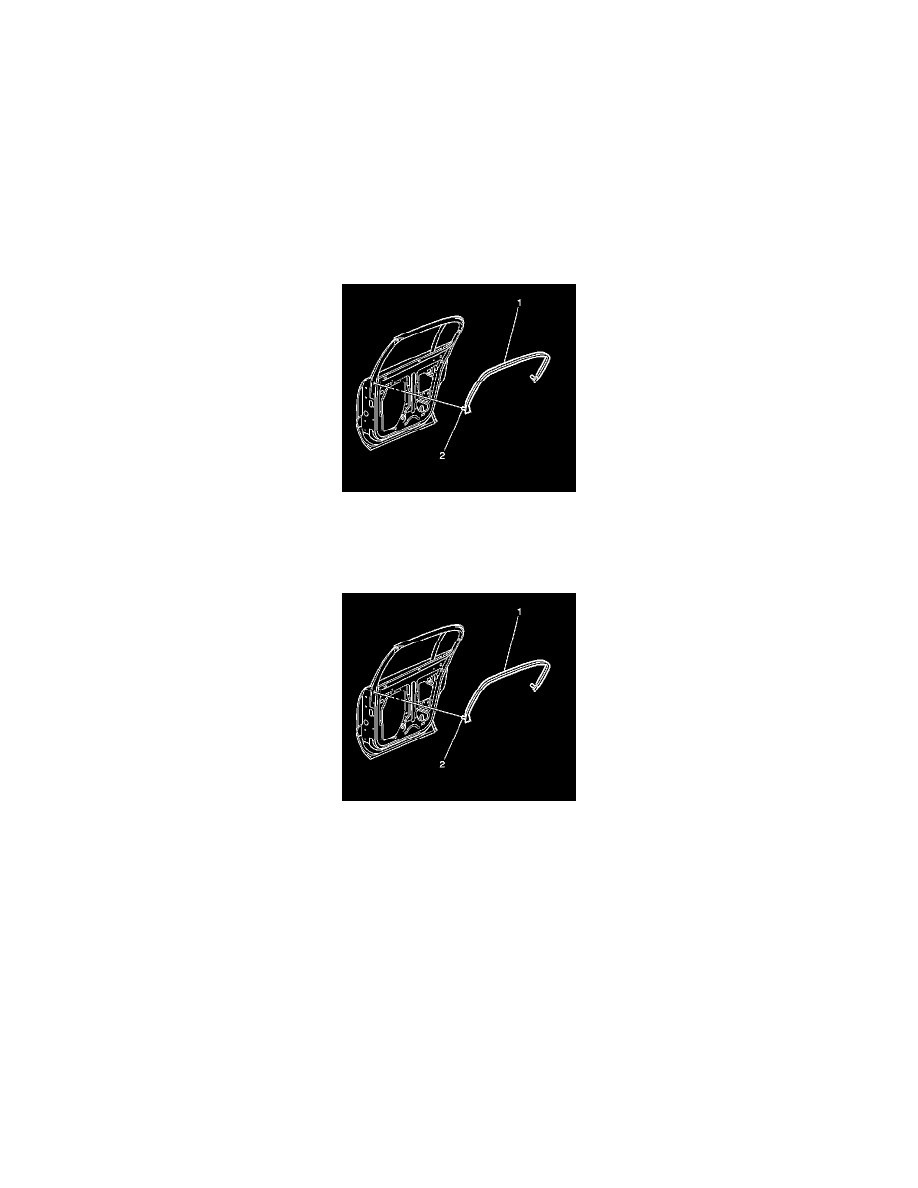
2. Use the J 38778 in order to remove the push-in retainer (2) at the front lower corner of the garnish molding.
3. Carefully pull the garnish molding (1) away from the door frame starting at the front working to the rear.
Installation Procedure
1. Position the garnish molding (1) on the door frame.
2. Install the push-in retainer (2) in order to locate the molding.
3. Press the molding (1) into place working from the front to the rear.
4. Install the door trim panel. Refer to Trim Panel Replacement - Side Rear Door See: Doors, Hood and Trunk/Doors/Rear Door/Rear Door
Panel/Service and Repair