
Park Avenue V6-3.8L SC VIN 1 (2005)
Rear Door Weatherstrip: Service and Repair
Weatherstrip Replacement - Rear Door Opening
Weatherstrip Replacement - Rear Door Opening
Removal Procedure
1. Remove the center pillar trim panel. Refer to Garnish Molding Replacement - Center Pillar (See: Interior Moulding / Trim/Trim Panel/Service
and Repair/Garnish Molding Replacement - Center Pillar) in Interior Trim.
2. Remove the rear seat cushion. Refer to Seat Cushion Replacement - Rear (See: Seats/Seat Cushion/Service and Repair/Seat Cushion Replacement
- Rear) in Seats.
3. Disengage the front sill plate retainers by pulling upward.
4. Disengage the rear sill plate by pulling upward.
Remove the rear sill plate.
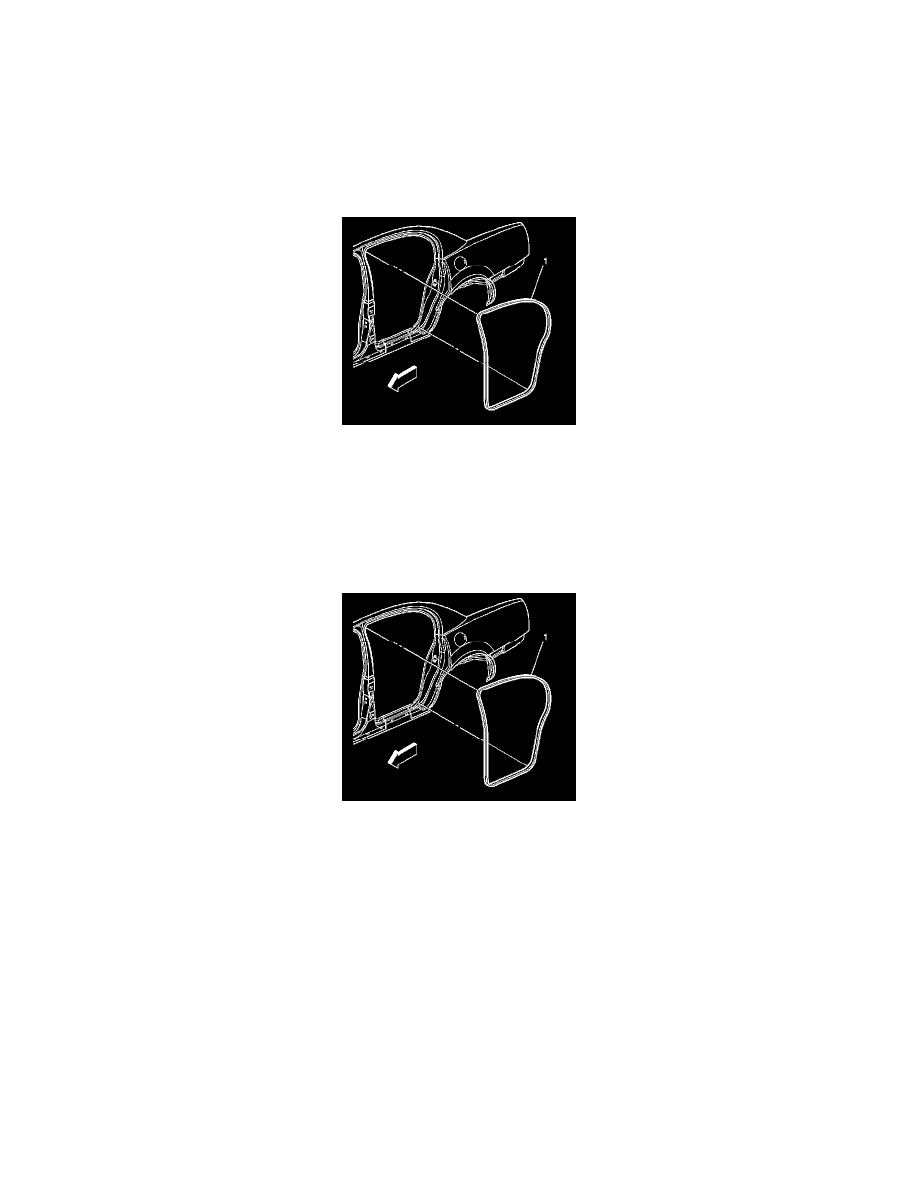
5. Remove the weatherstrip (1).
Installation Procedure
Important:
*
The single blue line on the weatherstrip is for the right side of the vehicle.
*
The double blue line on the weatherstrip is for the left side of the vehicle.
1. Line up the locating mark. Start at the upper corner of the B-pillar.
2. Push the weatherstrip (1) onto the pinchweld. Work downward from the corner and continue around the entire opening.
3. Ensure that the weatherstrip (1) is seated around the entire opening.
4. Install the rear sill plate by snapping the retainers into place.
5. Engage the front sill plate retainers by pushing downward.
6. Install the rear seat cushion. Refer to Seat Cushion Replacement - Rear (See: Seats/Seat Cushion/Service and Repair/Seat Cushion Replacement -
Rear) in Seats.
7. Install the center pillar trim panel. Refer to Garnish Molding Replacement - Center Pillar (See: Interior Moulding / Trim/Trim Panel/Service and
Repair/Garnish Molding Replacement - Center Pillar) in Interior Trim.