
Park Avenue V6-3.8L SC VIN 1 (2005)
15.
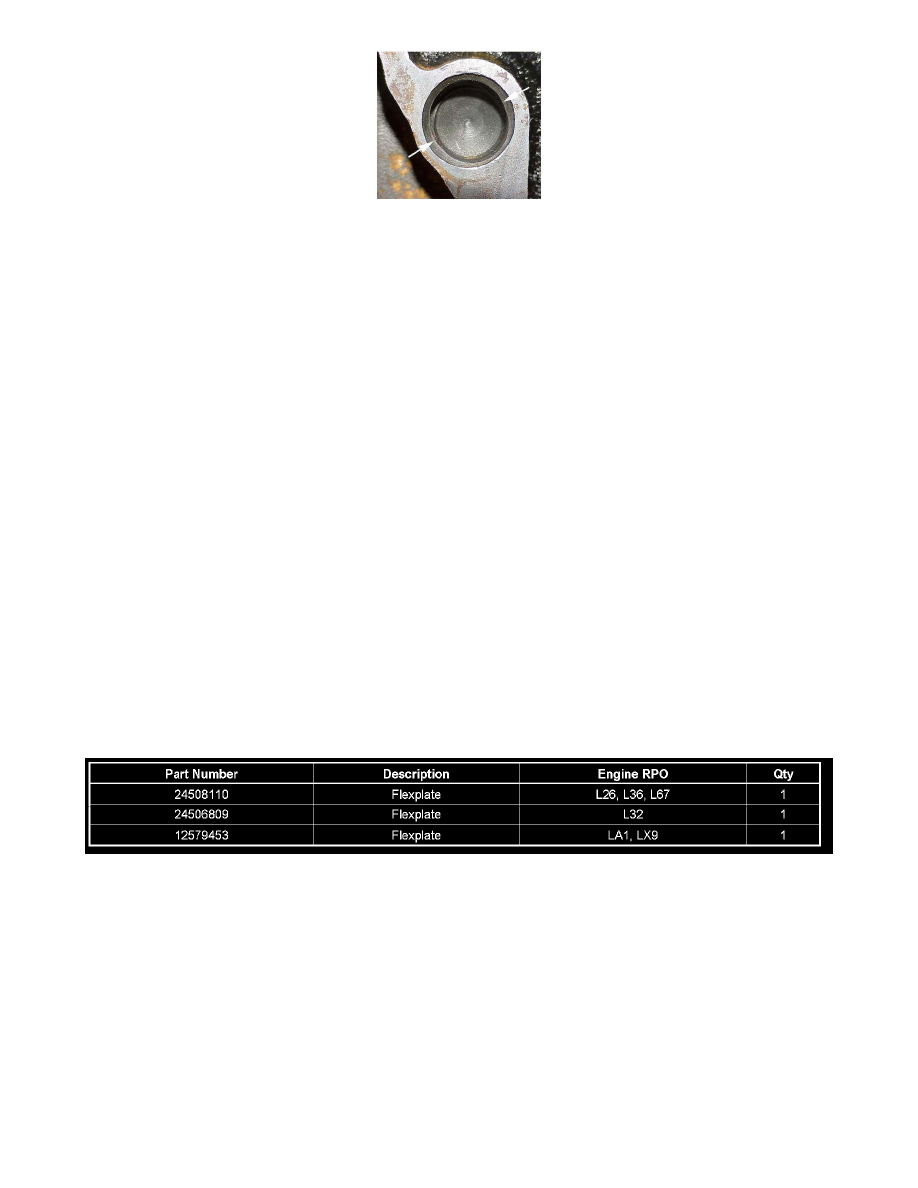
Inspect the hole in the block at the 2 o'clock position for an out-of-round condition.
^
If the hole is mis-machined or drilled, it will appear somewhat egg or peanut-shaped. You may be able to feel flatness on the sides of the hole
as shown by the arrows in the above illustration. If this condition is found, the complete engine assembly must be replaced.
^
If the hole at the 2 o'clock position is NOT out-of-round, proceed to the next step.
16.
Install a NEW dowel pin in the block at the 2 o'clock position.
Important:
Step 17 should only be performed if the dowel pin hole at the 2 o'clock position is NOT out-of-round.
17.
Remove the torque converter from the transmission and inspect the transmission oil pump shaft splines (item 227 in technicians (item 227 in
technicians guide) for any deformation and/or damage.
^
Note if there is any difficulty in removal of the torque converter is encountered. You should be able to remove the torque converter from its
transmission support shaft by hand if the pump shaft shoulder splines are not damaged. If any use of tools, such as screwdrivers and/or pry bars
are required, it must be noted and damage to the transmission pump shaft suspected (if not visually apparent) and replace if required. If any
damage to the pump shaft splines is noted or suspected, replace the flexplate, the pump shaft and the torque converter.
^
The holes in the transmission bell housing that the dowel pins go into when installed in the transmission should not be gouged or damaged.
Gouging or damaged holes would indicate a misalignment to the dowels in the engine block.
18.
If there are no signs of deformation and/or damage, install both the flexplate and the torque converter together.
19.
Install the transmission in the vehicle. Refer to Transmission Assembly Installation in SI.
20.
Install the starter and the front and rear dust covers. Refer to Starter Installation in SI and refer back to Step 1 in this bulletin installation of the
front and rear dust covers.
21.
Lower the vehicle.