
Park Avenue V6-3.8L SC VIN 1 (2005)
Fuel Pressure: Testing and Inspection
Fuel Pressure Gage Installation and Removal
FUEL PRESSURE GAGE INSTALLATION AND REMOVAL
TOOLS REQUIRED
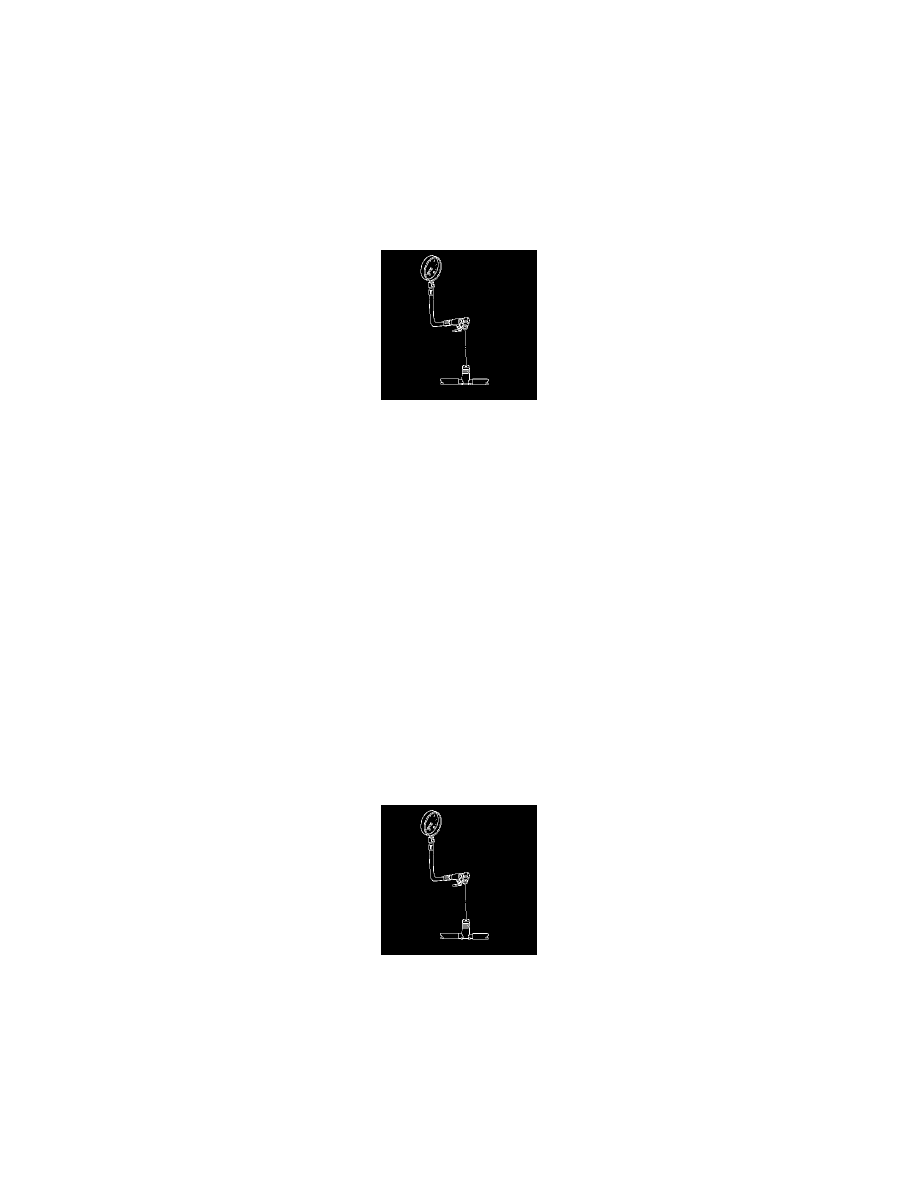
J 34730-1A Fuel Pressure Gage
INSTALLATION PROCEDURE
CAUTION: Refer to Gasoline/Gasoline Vapors Caution in Service Precautions.
1. Remove the fuel injector sight shield.
2. Remove the cap from the fuel pressure service connection.
NOTE: Refer to Fuel and Evaporative Emission (EVAP) Hose/Pipe Connection Cleaning Notice in Service Precautions.
3. Install the J 34730-1A to the fuel pressure service connection, located on the fuel rail. Wrap a shop towel around the fitting while connecting the J
34730-1A to avoid spillage.
CAUTION: Refer to Fuel Gage Leak Caution in Service Precautions.
4. Turn the ignition ON, with the engine OFF.
5. Place the bleed hose of the J 34730-1A into an approved gasoline container.
CAUTION: Refer to Fuel Storage Caution in Service Precautions.
6. Open the bleed valve on the J 34730-1A in order to bleed the air from the fuel pressure gage.
7. Command the fuel pump ON with a scan tool.
8. Close the bleed valve on the J 34730-1A.
9. Inspect for fuel leaks.
REMOVAL PROCEDURE
1. Ensure the fuel pump is OFF
2. Place the bleed hose of the J 34730-1A into an approved gasoline container.
3. Open the bleed valve on the J 34730-1A in order to bleed the fuel system pressure.
4. Place a shop towel under the fuel pressure service connection to catch any remaining fuel spillage.
5. Remove both the J 34730-1A from the fuel pressure service connection.
6. Drain any fuel remaining in the J 34730-1A into an approved gasoline container.
7. Inspect for leaks using the following procedure:
1. Turn the ignition ON, with the engine OFF for 2 seconds.
2. Turn the ignition OFF, for 10 seconds.
3. Turn the ignition ON, with the engine OFF for 2 seconds.
4. Turn the ignition OFF.