
Park Avenue V6-3.8L SC VIN 1 (2005)
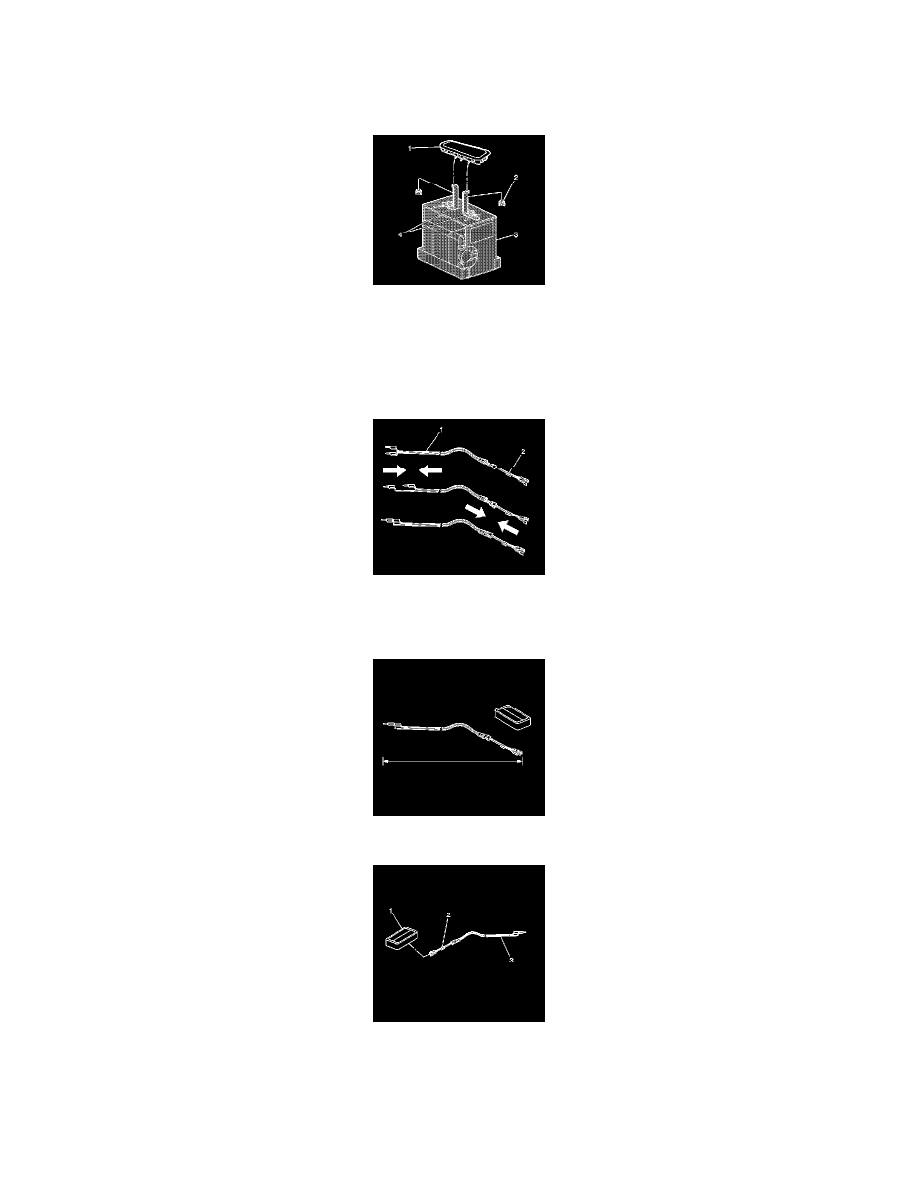
8. If you have an I/P inflator module, refer to the following instructions:
-
Place the J 39401-B SIR deployment fixture (2) in the center of the cleared area.
-
Fill the deployment fixture with water or sand.
-
Using the proper nuts and bolts, mount the I/P module (1) to the deployment fixture (2), with the vinyl trim facing up.
-
Securely tighten all fasteners that hold the I/P module (1) to the deployment fixture (2).
9. If you have a side impact module, refer to the following instructions:
-
Place the J 39401-B SIR deployment fixture (3) in the center of the cleared area.
-
Fill the deployment fixture with water or sand.
-
Using the proper nuts and mount the side impact module (1) to the deployment fixture (3), with the vinyl trim facing up.
-
Adjust and secure the fixture arms (4) to the deployment fixture (3).
-
Securely tighten all fasteners that hold the side impact module (1) to the deployment fixture (3).
10. Inspect the J 38826 and the appropriate pigtail adapter for damage. Replace as needed.
11. Short the 2 SIR deployment harness leads (1) together using 1 banana plug seated into the other.
12. Connect the appropriate pigtail adapter (2) to the SIR deployment harness (1).
13. Extend the SIR deployment harness and adapter to full length from the deployment fixture.
14. Connect the inflator module to the adapter (2) on the SIR deployment harness (1).
15. Place a 12 V minimum/2 A minimum power source (i.e., vehicle battery) near the shorted end of the harness.
16. Clear the area of people.
IMPORTANT:
-
The rapid expansion of gas involved with deploying an inflator module is very loud. Notify all the people in the immediate area that you intend to