
Park Avenue V6-3.8L SC VIN 1 (2005)
Impact Sensor: Service and Repair
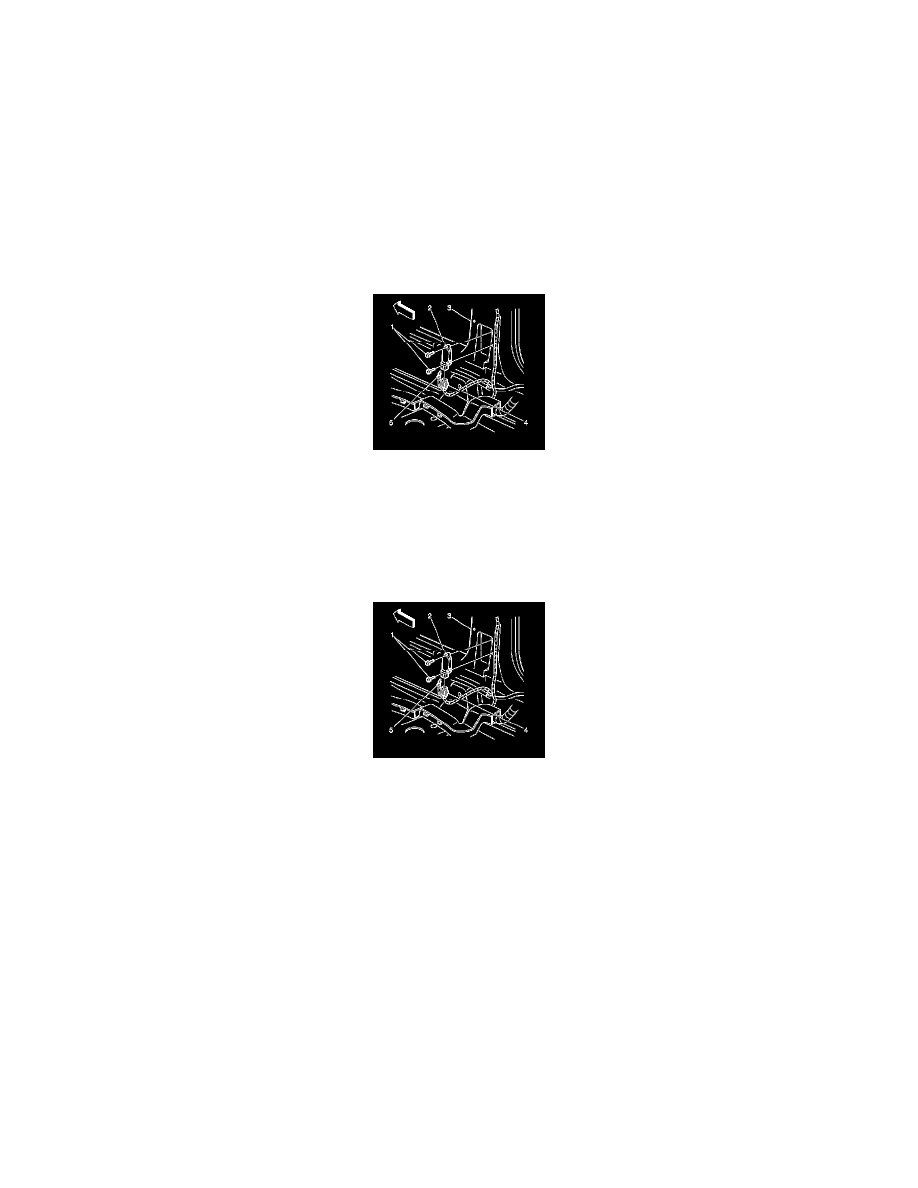
INFLATABLE RESTRAINT SIDE IMPACT SENSOR REPLACEMENT
REMOVAL PROCEDURE
1. Disable the SIR system. Refer to SIR Disabling and Enabling Zone 2 or SIR Disabling and Enabling Zone 6.
CAUTION: Do not strike or jolt the inflatable restraint side impact sensor (SIS). Before applying power to the SIS make sure that it is
securely fastened. Failure to observe the correct installation procedures could cause SIR deployment, personal injury, or unnecessary SIR
system repairs.
2. Removal of passenger or driver inflatable restraint side impact sensors (SIS) use the same procedure.
3. Move the seat to the full forward position.
4. Remove the center pillar trim panel.
5. Remove the connector position assurance (CPA) (5) from the inflatable restraint side impact sensor (SIS) harness connector (4).
6. Disconnect the SIS harness connector (4) from the SIS (2).
7. Remove the SIS mounting fasteners (1).
8. Remove the SIS (2) from the center pillar sheet metal (3).
INSTALLATION PROCEDURE
1. Remove any dirt, grease, or other contaminants from the mounting surface.
2. Install the SIS (2) to the center pillar sheet metal (3).
3. Install the SIS mounting fasteners (1).
Tighten the fasteners to 9 N.m (80 lb in).
NOTE: Refer to Fastener Notice in Service Precautions.
4. Install the SIS harness connector (4) to the SIS (2).
5. Install the connector position assurance (CPA) (5) to the SIS harness connector (4).
6. Install the center pillar trim.
7. Move the seat to the original position.
8. Enable the SIR system. Refer to SIR Disabling and Enabling Zone 2 or SIR Disabling and Enabling Zone 6.