
Park Avenue V6-3.8L SC VIN 1 (2005)
Wiper Arm: Service and Repair
WIPER ARM REPLACEMENT
REMOVAL PROCEDURE
TOOLS REQUIRED
J 39822 Wiper Arm Puller
1. Turn the ignition switch to the ACCY position.
2. Set the wiper switch to DELAY or AUTO DELAY position.
3. Turn the ignition OFF when the wiper arms are in the innerwipe position and not moving.
4. Disconnect the washer hose from the washer hose connector.
5. Mark the position of the wiper blade on the windshield with a suitable marker or masking tape.
6. Raise the hood.
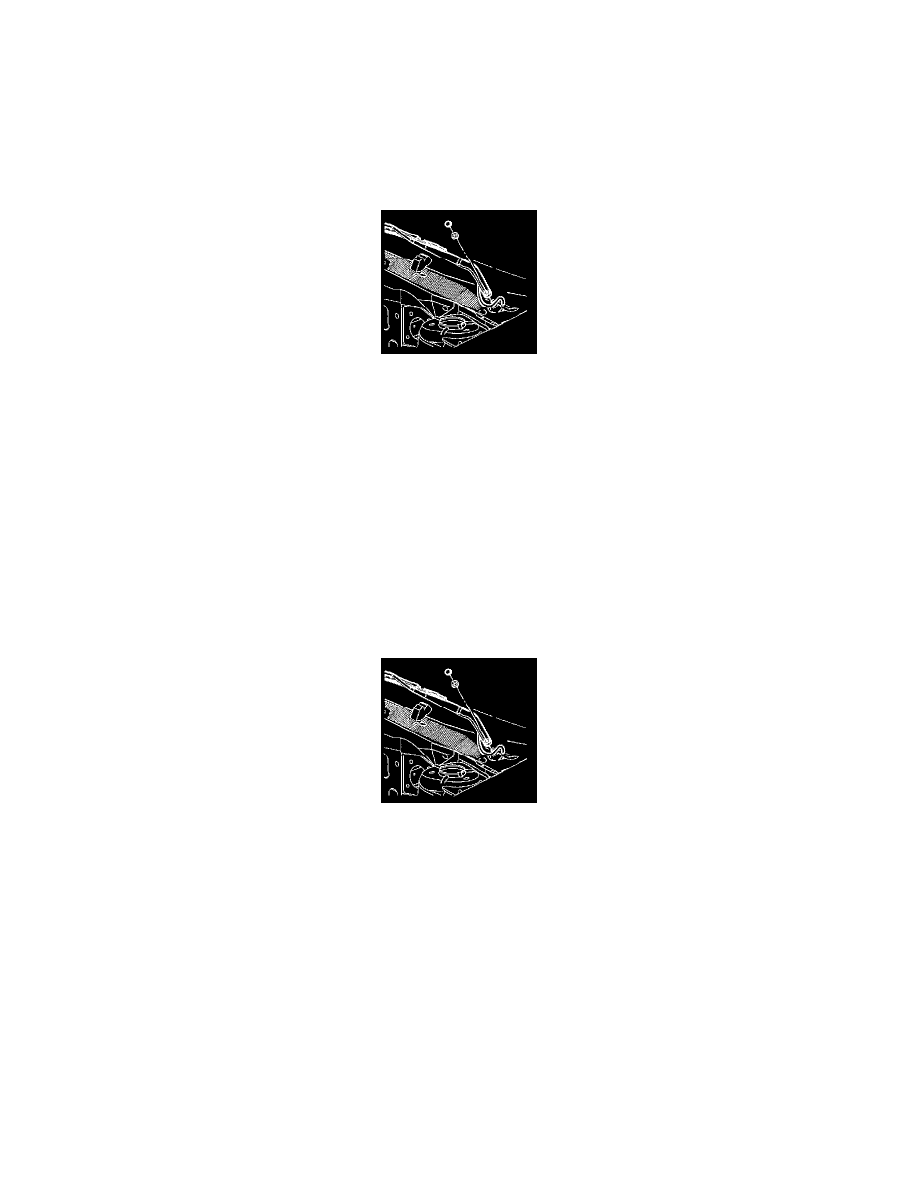
7. Remove the cover from the nut.
8. Remove the nut.
9. Remove the wiper arm from the drive shaft.
IMPORTANT: Use the J 39822 in order to remove the wiper arm if rocking the wiper arm fails to loosen it from the drive shaft.
10. Clean the drive shaft knurls with a wire brush.
11. Remove the wiper blade from the wiper arm, if required.
INSTALLATION PROCEDURE
1. Install the wiper blade, if removed.
2. Install the wiper arm onto the transmission drive shaft, with the wiper blade aligned with the mark made during removal.
3. Install the nut onto the transmission drive shaft.
NOTE: Refer to Fastener Notice in Service Precautions.
IMPORTANT: It may be necessary to allow for some movement of a wiper arm when its nut is being tightened. If the wiper arm moves away from
the desired alignment mark, loosen the nut and reposition the wiper arm.
Tighten the nut to 25 N.m (18 lb ft) while holding the wiper arm.
4. Install the washer hose onto the washer hose connector.
IMPORTANT: Lubricate the washer hose with windshield washer solvent to ease installation on the washer hose connector.
5. Close the hood.
6. Clean the position marks from the windshield.
7. Run the wipers and check for proper wipe pattern.
8. Turn off the wipers and check for the correct park position.