
Rainier AWD L6-4.2L (2007)
Seat Back: Service and Repair
Rear Seat Number 1 Back Replacement
Rear Seat Number 1 Back Replacement
Removal Procedure
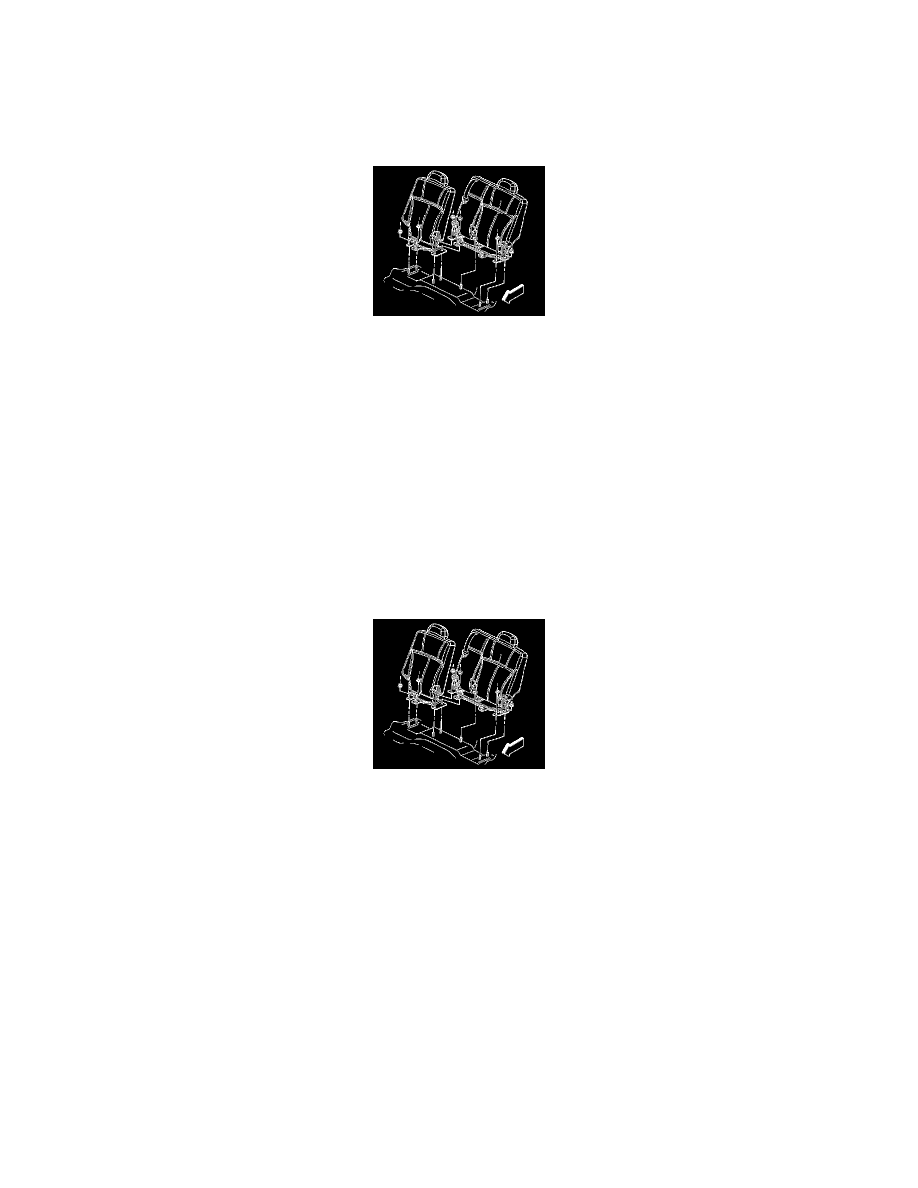
1. Tumble the left seat back in order to gain access to the left 2 rear seat back mounting nuts.
2. Remove the left 3 rear seat back mounting nuts.
3. Return the left seat back to the upright position.
4. Remove the left 2 front seat back mounting nuts.
5. Remove the left seat back from the vehicle.
6. If removing the right seat back, perform the following:
1. Remove the left seat back first.
2. Tumble the right seat back in order to gain access to the right rear seat back mounting nut.
3. Remove the right rear seat back mounting nut.
4. Return the right seat back to the upright position.
5. Remove the right front seat back mounting nut.
6. Remove the navigation control processor bracket from the floor panel, if equipped.
7. Remove the right seat back from the vehicle.
Installation Procedure
Notice: Refer to Fastener Notice.
1. If the right seat back was removed, perform the following:
1. Position the right seat back to the vehicle.
2. Install the navigation control processor bracket, if equipped.
3. Install the right front rear seat back mounting nut.
Tighten the rear seat back mounting nut to 45 N.m (33 lb ft).
4. Tumble the right seat back in order to gain access to the right rear seat stud.
5. Install the right rear seat back mounting nut.
Tighten the rear seat back mounting nut to 45 N.m (33 lb ft).
6. Return the right seat back to the upright position.
2. Position the left seat back to the vehicle.
3. Install the left 3 front seat back mounting nuts.
Tighten the rear seat back mounting nuts to 45 N.m (33 lb ft).