
Rainier AWD L6-4.2L (2007)
torque. Make sure to follow the installation procedure to prevent damage.
1. Raise the vehicle. Refer to Lifting and Jacking the Vehicle.
2. Remove the torque converter access plug in the dry part of the oil pan.
3. Use the torque converter holding tool from the J 44226 kit and secure the torque converter while tightening the crankshaft balancer.
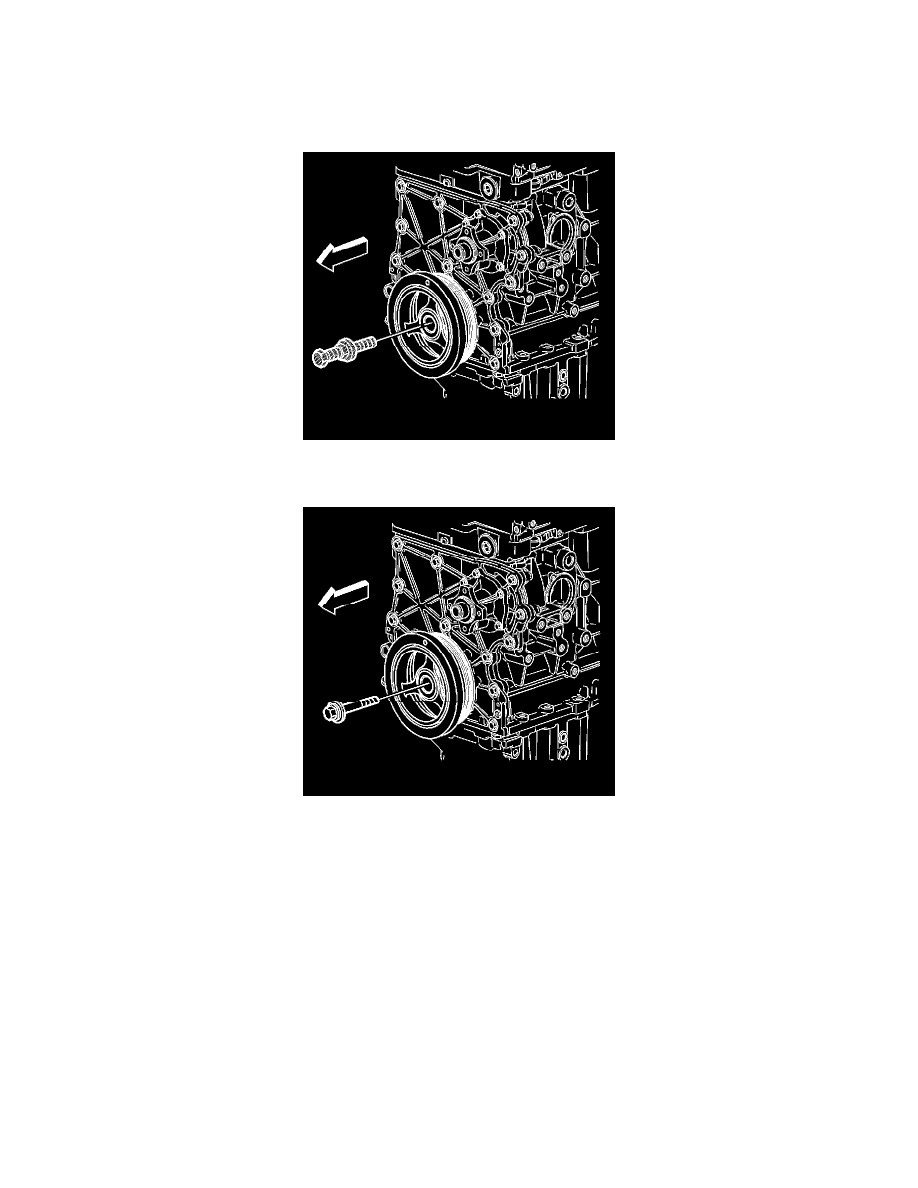
4. Install a new crankshaft balancer shim GM P/N 12573950 over the crankshaft snout, against the crankshaft gear.
5. Using the J 41478 install and seat the crankshaft balancer.
6. Remove the J 41478.
Notice: Refer to Fastener Notice.
7. While still holding the flywheel, install the balancer washer and the bolt.
Tighten the crankshaft balancer bolt to 150 N.m (110 lb ft). Use the J 36660-A in order to tighten the balancer bolt an additional 180 degrees.
8. Remove the torque converter holding tool.
9. Install the torque converter access plug into the oil pan.
10. Lower the vehicle.
11. Install the drive belt. Refer to Drive Belt Replacement.
12. Install the cooling fan and shroud. Refer to Cooling Fan and Shroud Replacement.