
Rainier AWD L6-4.2L (2007)
Headlamp Bulb: Service and Repair
Headlamp Bulb Replacement
HEADLAMP BULB REPLACEMENT (ENVOY, RAINIER)
REMOVAL PROCEDURE
CAUTION: Halogen bulbs contain gas under pressure. Handling a bulb improperly could cause it to shatter into flying glass fragments. To
help avoid personal injury:
-
Turn off the lamp switch and allow the bulb to cool before changing the bulb.
-
Leave the lamp switch OFF until the bulb change is complete.
-
Always wear eye protection when changing a halogen bulb.
-
Handle the bulb only by its base. Avoid touching the glass.
-
Keep dirt and moisture off the bulb.
-
Properly dispose of the used bulb.
-
Keep halogen bulbs out of the reach of children.
NOTE: Avoid touching the bulb or letting the bulb come in contact with anything damp. Oil from your skin or moisture on the bulb can cause the
bulb to explode when the bulb is turned on. If either comes in contact with the bulb, clean the bulb with alcohol or a suitable degreaser and wipe the
bulb dry.
1. Open the hood.
2. Remove the headlamp.
3. Remove the access cover from the rear of the headlamp.
4. Disconnect the electrical connector from the socket.
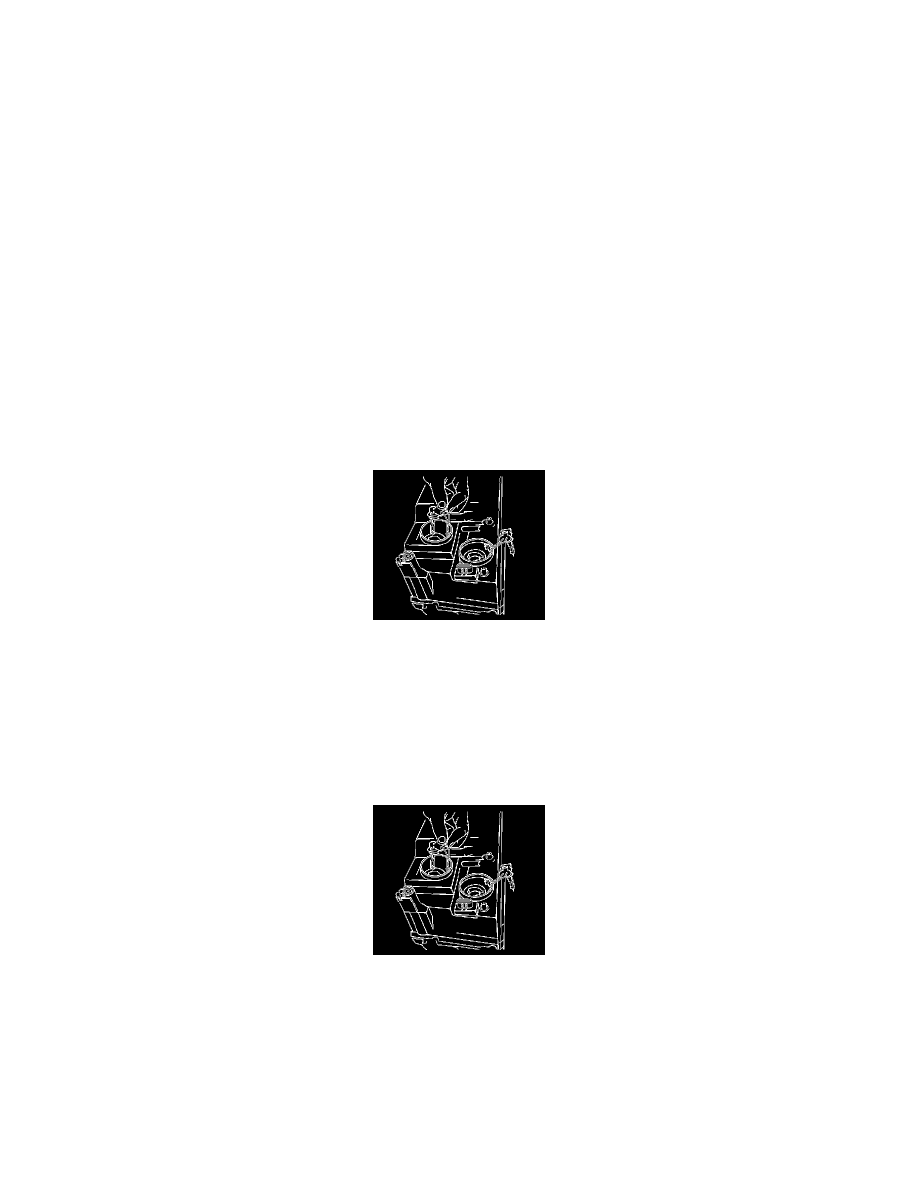
5. Rotate the bulb and socket counterclockwise in order to remove the bulb and socket from the housing.
INSTALLATION PROCEDURE
IMPORTANT:
-
Replace a high beam bulb with another high beam bulb. The high beam bulb has a black socket.
-
Replace a low beam bulb with another low beam bulb. The low beam bulb has a gray tip and a grey socket.
1. Connect the electrical connector to the socket.
2. Install the bulb and socket to the housing by rotating the bulb and socket clockwise, locking the retaining tabs to the housing.
3. Install the access cover to the rear of the headlamp assembly
4. Install the headlamp.