
Rainier AWD L6-4.2L (2007)
Notice: The camshaft actuator must be fully advanced during installation. Engine damage may occur if the camshaft actuator is not fully
advanced.
Notice: Refer to Fastener Notice.
Important: Ensure the camshaft actuator is rotated clockwise relative to the camshaft prior to tightening the bolt. Do not force the
camshaft actuator to rotate clockwise. If it does not move easily, it is already fully advanced. New camshaft actuators are already
packaged in the fully advanced (clockwise) position.
4. Install the exhaust camshaft actuator bolt.
^
Tighten the exhaust camshaft actuator bolt the first pass to 25 N.m (18 lb ft).
^
Use the J 36660-A to tighten the exhaust camshaft actuator bolt the final pass an additional 135 degrees.
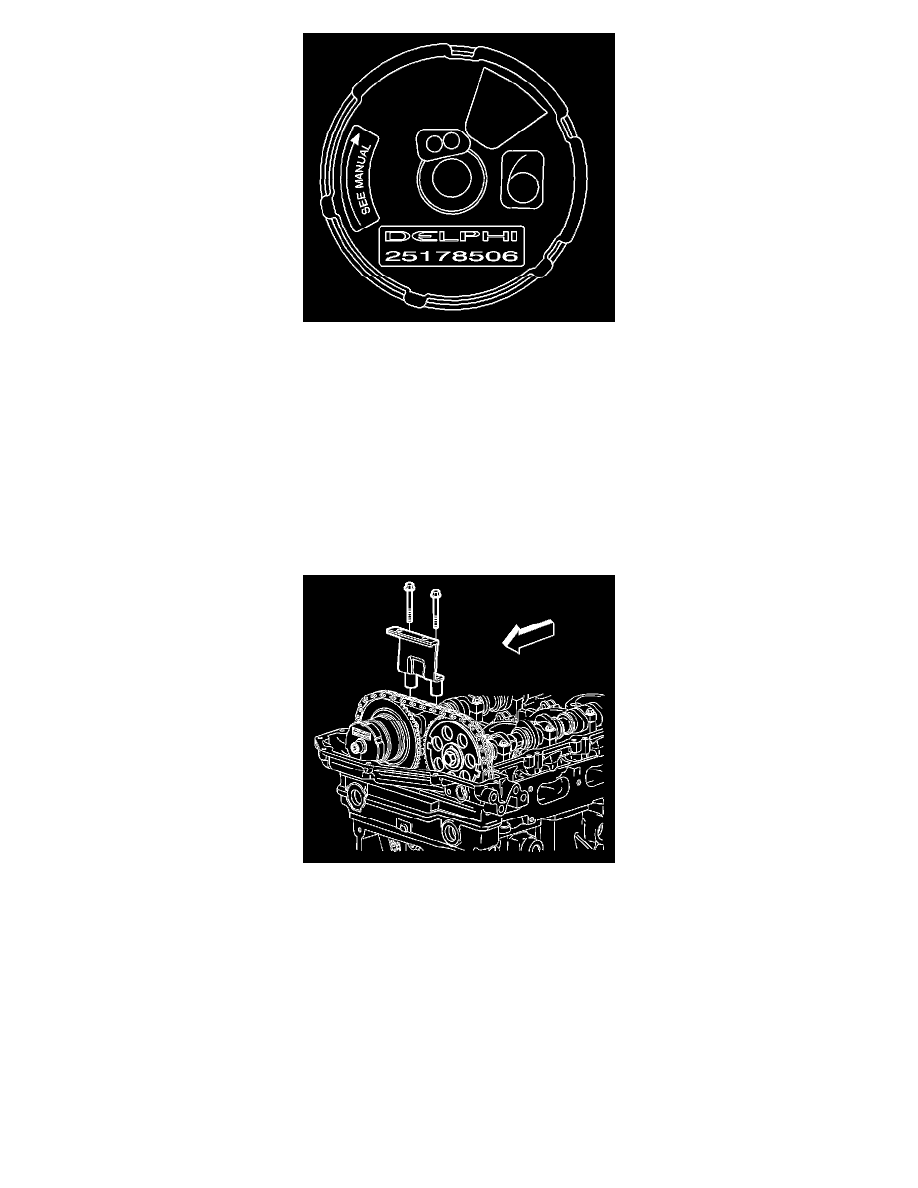
5. Remove the J-44217.
6. Install the top chain guide.
7. Add threadlocker to the top chain guide bolt threads. Refer to Sealers, Adhesives, and Lubricants for the correct part number.
8. Install the top chain guide bolts.
Tighten the top chain guide bolts to 10 N.m (89 lb in).
9. Install the camshaft cover. Refer to Camshaft Cover Replacement.