
Rainier AWD L6-4.2L VIN S (2005)
Tow Sensor: Service and Repair
THEFT DETERRENT INCLINATION SENSOR REPLACEMENT
REMOVAL PROCEDURE
1. Disarm the content theft deterrent (CTD) system. Refer to Content Theft Deterrent (CTD) Description and Operation.
2. Remove the right rear seat cushion. Refer to Seat Cushion Replacement - Rear No. 1 (TrailBlazer, Envoy, Rainier) in Seats.
3. Remove the communication interface module. Refer to Communication Interface Module Replacement (TrailBlazer, Envoy, Bravada)
Communication Interface Module Replacement (TrailBlazer EXT, Envoy XL) in Cellular Communication.
4. Remove the navigation control processor bracket. Refer to Navigation Control Processor Bracket Replacement (TrailBlazer, Envoy, Bravada)
Navigation Control Processor Bracket Replacement (TrailBlazer EXT, Envoy XL) in Cellular Communication.
5. Remove the right seat back. Refer to Seat Back Replacement - Rear No. 1 (TrailBlazer EXT, Envoy XL, Envoy XUV) Seat Back Replacement -
Rear No. 1 (TrailBlazer, Envoy, Rainier) in Seats.
6. Remove the right rear door sill plate. Refer to Door Sill Plate Replacement - Rear (TrailBlazer, Envoy, Bravada) Door Sill Plate Replacement -
Rear (TrailBlazer EXT, Envoy XL, Envoy XUV) in Interior Trim.
7. Remove the lift gate door sill plate. Refer to Door Sill Plate Replacement - Liftgate in Interior Trim.
8. Remove the right center pillar trim panel. Refer to Garnish Molding Replacement - Center Pillar in Interior Trim.
9. Remove the right lower rear quarter trim panel. Refer to Trim Panel Replacement - Rear Quarter - Right (TrailBlazer, Envoy, Bravada) Trim Panel
Replacement - Rear Quarter - Right (TrailBlazer EXT, Envoy XL) in Interior Trim.
10. Remove the right child restraint tether anchors. Refer to Child Restraint Tether Anchor Replacement - Rear No. 1 (TrailBlazer, Envoy, Bravada)
Child Restraint Tether Anchor Replacement - Rear No. 1 (TrailBlazer EXT, Envoy XL) in Seat Belts.
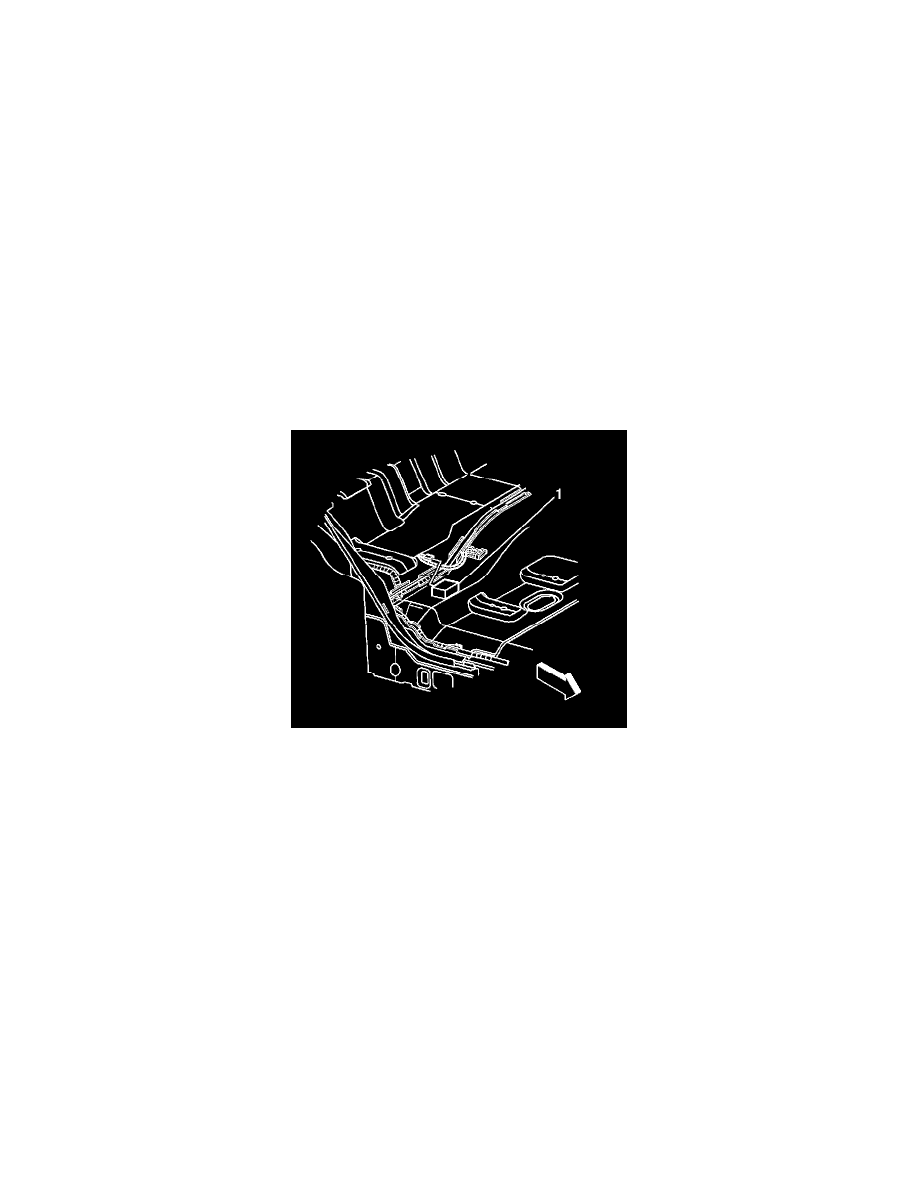
11. Fold or prop the carpet to reveal the theft deterrent inclination sensor.
12. Disconnect the electrical connector from the sensor (1).
13. Lift the sensor upward in order to release the adhesive tape attaching the sensor to the floor panel.
14. Remove the sensor from the vehicle.
INSTALLATION PROCEDURE
1. Clean the floor panel to ensure the mounting location is free of dirt or debris.