Rainier AWD L6-4.2L VIN S (2005)

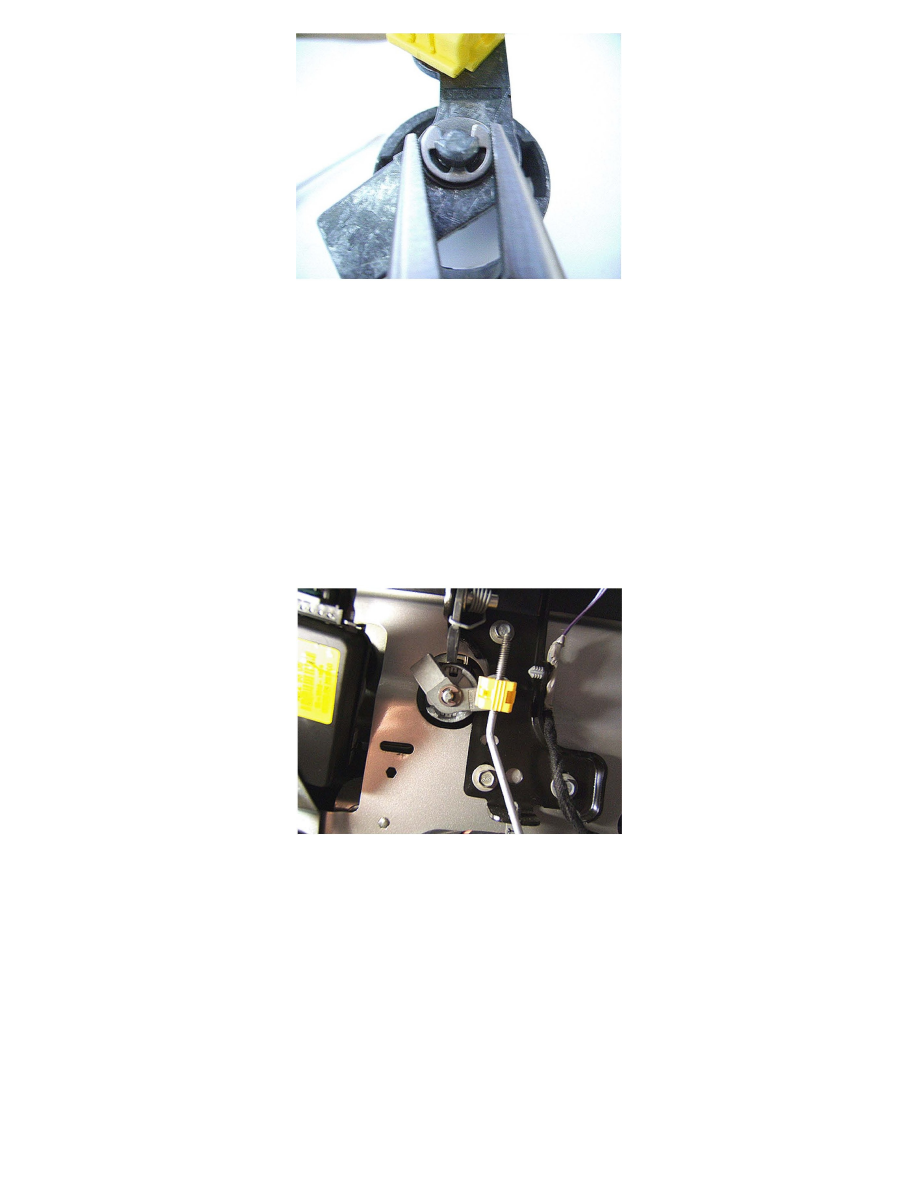
Use needle-nose pliers to slightly squeeze the C-clip back into shape. Make sure the clip seated, you should feel a snap and hear an audible click.
Install the C-clip onto the shaft and in the slot using needle nose pliers. Then rotate the pawl several times to make sure the C-clip does not rotate. If the
clip rotates then the clip is not fully seated.
Position the lock cylinder pawl to the full clockwise position.
Pull up on the cylinder lock rod to remove any slack in the bell crank.
Install the cylinder lock rod into the threaded lock rod retaining clip while removing any slack from the lock rod linkage.
Close the lock rod retainer clip.
Close the liftgate assembly.
Open the liftgate glass while keeping the liftgate closed.
Use the key fob to cycle the liftgate to the lock and unlock position while inspecting the rear liftgate pawl. The lock cylinder pawl should have clearance
between the latch as shown above. If the pawl is contacting the latch, readjust the cylinder lock rod.
Verify that the customer's condition has been corrected.
Install the rear liftgate trim panel. Refer to Liftgate Trim Panel Replacement in SI.
Install the upper liftgate garnish molding. Refer to Liftgate Garnish Molding Replacement.
Warranty Information (excluding Saab U.S. Models)
