
Rainier AWD L6-4.2L VIN S (2005)
Important: It may be necessary to remove J 44221 to rotate and hold the camshaft (hex) to align the pin to the camshaft sprocket.
11. Install the intake camshaft sprocket onto the intake camshaft.
12. Install the intake camshaft sprocket washer and bolt.
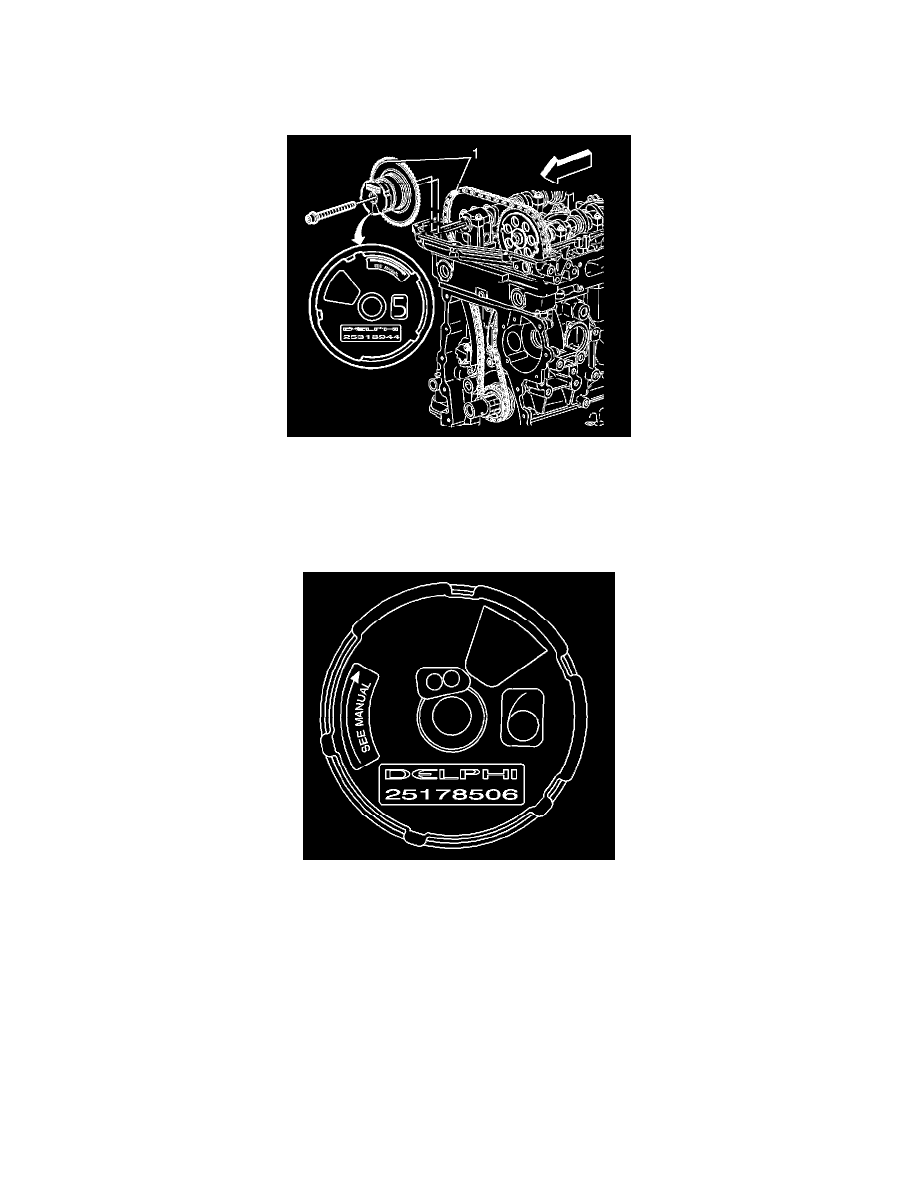
13. Install the exhaust camshaft actuator into the timing chain.
14. Align the dark link of the timing chain with the timing mark on the exhaust camshaft actuator (1).
Important: It may be necessary to remove the J 44221 to rotate and hold the camshaft hex to align the pin to the camshaft sprocket.
15. Install the exhaust camshaft actuator onto the exhaust camshaft.
16. Install the exhaust camshaft actuator bolt.
^
Tighten the exhaust camshaft actuator bolt the first pass to 25 Nm (18 ft. lbs.).
^
Use J 36660-A to tighten the exhaust camshaft actuator bolt the final pass an additional 135 degrees.
Important: Rotate the camshaft actuator clockwise relative to the camshaft prior to tightening the bolt.
Notice: The camshaft actuator must be fully advanced during installation. Engine damage may occur if the camshaft actuator is not fully
advanced.
17. Install the intake camshaft sprocket bolt.
^
Tighten the intake camshaft sprocket bolt the first pass to 20 Nm (15 ft. lbs.).
^
Use J 36660-A to tighten the intake camshaft sprocket bolt the final pass an additional 100 degrees.