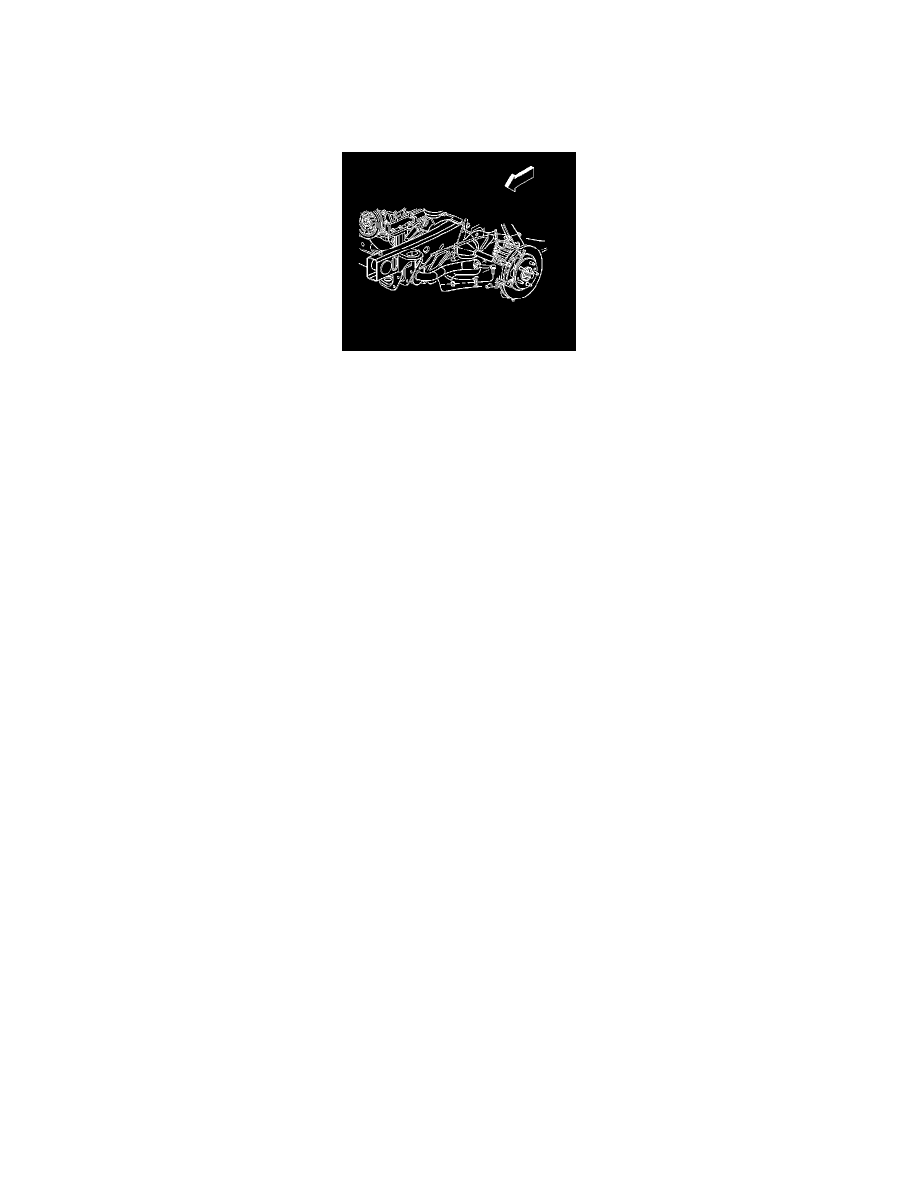
Rainier AWD L6-4.2L VIN S (2005)

Tighten
Tighten the nuts to 110 Nm (81 ft. lbs.).
Important: Ensure that the lower control arm is parallel to the lower control arm bracket during the installation and tightening of the lower
control arm mounting bolts and nuts. This will ensure correct alignment of the lower control arm bushings.
6. Install the stabilizer shaft link and washer to the lower control arm.
Important: There is a washer between the stabilizer shaft link and the lower control arm made of hardened steel and has a felt inner liner. Only
replace this washer with an identical washer, standard washers should not be used.
7. Install the stabilizer shaft link retaining nut.
Tighten
Tighten the nut to 145 Nm (107 ft. lbs.).
8. Install the tire and wheel.
9. Lower the vehicle.
10. Inspect the front wheel alignment. Refer to Wheel Alignment Specifications.
