
Regal L4-2.0L Turbo (2011)
Rear Subframe: Service and Repair
Rear Suspension Support Replacement (GNE)
Rear Suspension Support Replacement (GNE)
Removal Procedure
1. Raise and support the vehicle. Refer to Lifting and Jacking the Vehicle (See: Maintenance/Vehicle Lifting/Service and Repair).
2. Remove the tires and wheels. Refer to Tire and Wheel Removal and Installation (See: Maintenance/Wheels and Tires/Service and Repair).
3. Remove the exhaust muffler. Refer to Exhaust Muffler Replacement (See: Engine, Cooling and Exhaust/Exhaust System/Muffler/Service and
Repair).
4. Remove the park brake cables from the support. Refer to Parking Brake Rear Cable Replacement (See: Brakes and Traction Control/Parking
Brake System/Parking Brake Cable/Service and Repair/Removal and Replacement).
5. Remove the shock absorber lower fastener. Refer to Shock Absorber Replacement (GNC) (See: Steering and Suspension/Suspension/Suspension
Strut / Shock Absorber/Service and Repair/Rear Suspension/Shock Absorber Replacement (GNC)).
6. Remove the rear wheel hub brackets. Refer to Rear Wheel Hub Bracket Replacement (GNC) (See: Maintenance/Wheels and Tires/Wheel
Hub/Service and Repair/Rear Suspension/Rear Wheel Hub Bracket Replacement (GNC)).
7. Remove the lower control arms from the vehicle. Refer to Lower Control Arm Replacement (GNC) (See: Steering and
Suspension/Suspension/Control Arm/Service and Repair/Rear Suspension/Lower Control Arm Replacement (GNC)).
8. Remove the upper control arms from the vehicle. Refer to Upper Control Arm Replacement (GNC) (See: Steering and
Suspension/Suspension/Control Arm/Service and Repair/Rear Suspension/Upper Control Arm Replacement (GNC)).
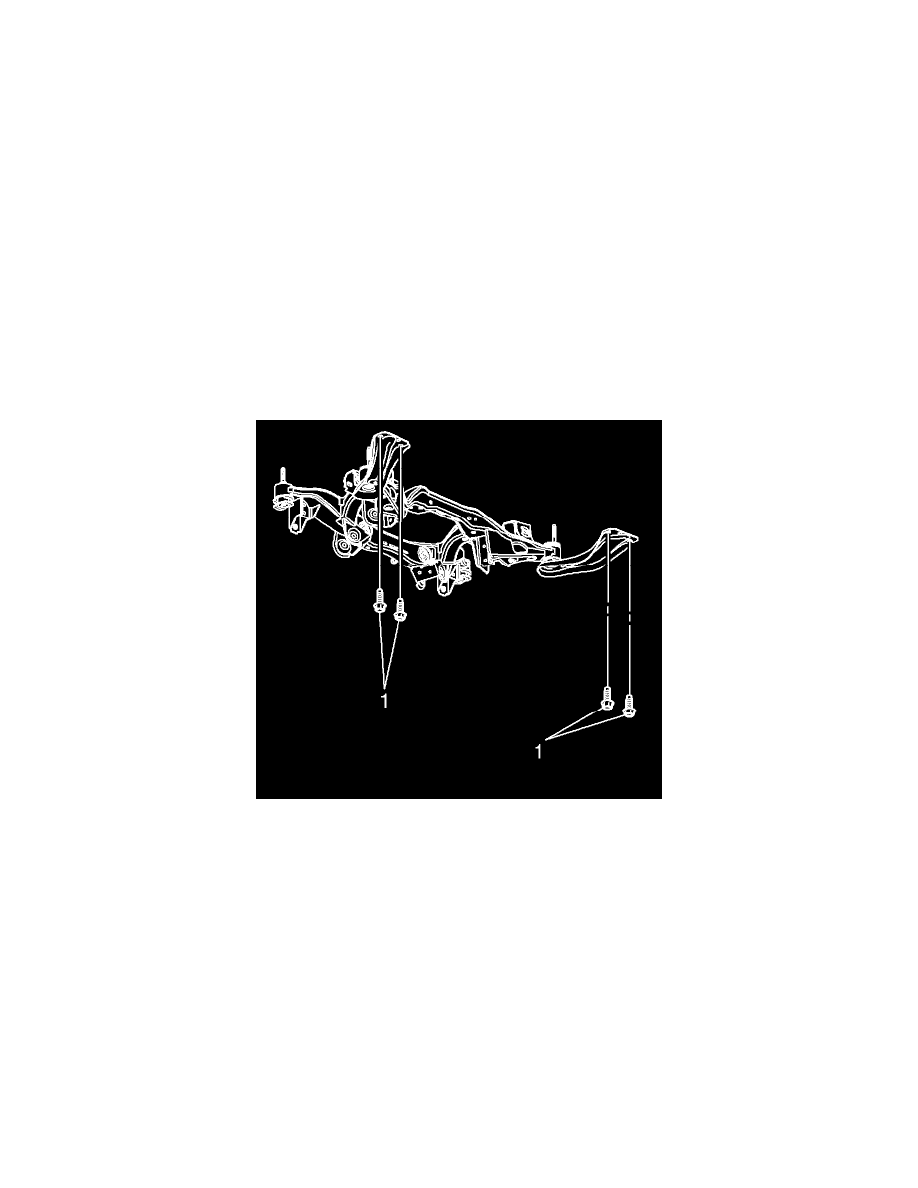
9. Remove reinforcement arm bolts (1) to body.
10. Remove the outer fastener adjustment links. Refer to Adjust Link Replacement (GNC) (See: Steering and Suspension/Steering/Tie Rod/Service
and Repair/Rear Suspension).
11. Position a transmission jack under the rear support and firmly secure the support to the jack with straps.
12. Mark the location of the frame using spray paint for correct positioning during installation.