
Regal L4-2.0L Turbo (2011)
5. Remove the intake camshaft (1).
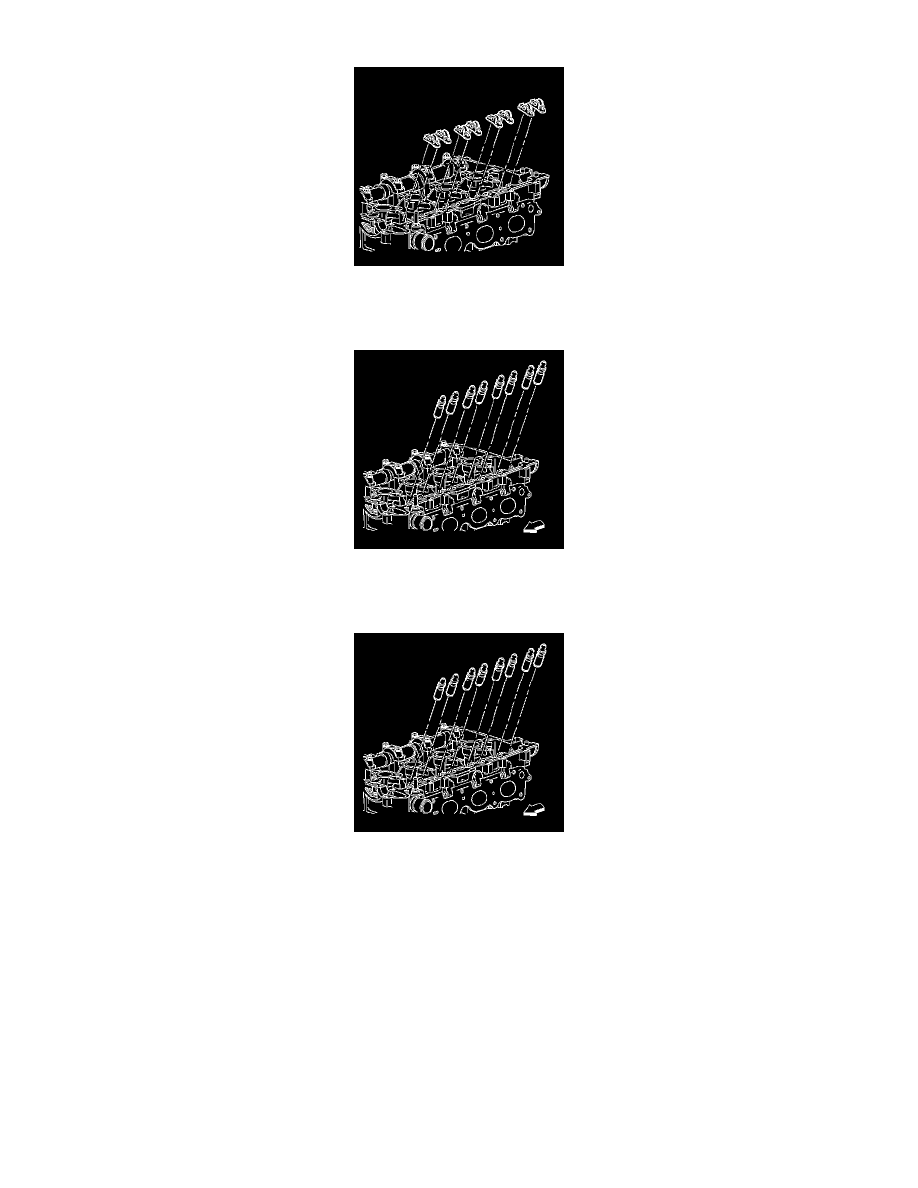
Note: Keep all of the roller followers and hydraulic adjusters in order so that they can be reinstalled in their respective locations.
6. Remove the camshaft roller followers.
7. Remove the hydraulic element lash adjusters.
Installation Procedure
1. Install the hydraulic element lash adjusters into their bores in the cylinder head. Install the camshaft caps and hand start the camshaft cap bolts.
2. Install the camshaft caps.
Caution: Refer to Fastener Caution (See: Service Precautions/Vehicle Damage Warnings/Fastener Caution).
3. Tighten the camshaft cap bolts in increments of 3 turns until they are seated. Tighten the camshaft caps to 10 Nm (89 lb in).
Note:
*
It is critical during installation to ensure the bearing rear cap and cylinder head alignment is correct and the mating surfaces are flush.
-
Ensure that all sealing material has been removed from the components, and the sealing surfaces are clean and free of contamination prior to
applying the sealer.
-
Install and align the rear cap within 20 minutes of applying the sealer.
*
Apply the sealer to all locations centrally locating the bead on the rail.
4. Apply a 3.5 mm bead of sealer to the cylinder head at the number 6 intake camshaft rear cap mating surface. Refer to Adhesives, Fluids,