
Regal L4-2.0L Turbo (2011)
Caution: Refer to Fastener Caution (See: Service Precautions/Vehicle Damage Warnings/Fastener Caution).
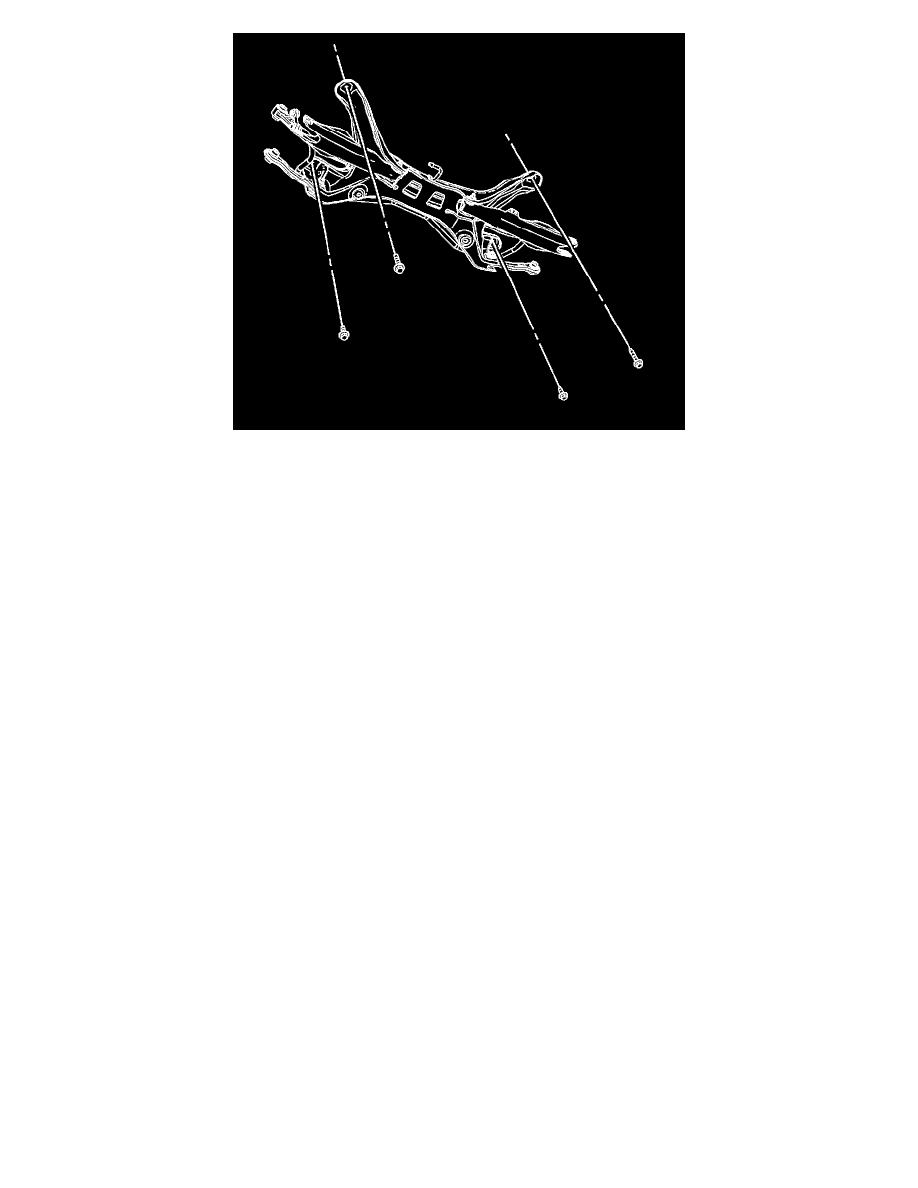
4. Install the NEW support bolts and tighten to 90 Nm (66 lb ft).
5. Tighten the support bolts an additional 120 degrees + 15 degrees.
6. Remove the transmission jack stand.
7. Install the upper control arm inner fasteners. Refer to Upper Control Arm Replacement (GNC) (See: Control Arm/Service and Repair/Rear
Suspension/Upper Control Arm Replacement (GNC)).
8. Install the adjust links to the support. Refer to Adjust Link Replacement (GNC) (See: Steering/Tie Rod/Service and Repair/Rear Suspension).
9. Install the lower control arms. Refer to Lower Control Arm Replacement (GNC) (See: Control Arm/Service and Repair/Rear Suspension/Lower
Control Arm Replacement (GNC)).
10. Install the park brake cables to the rear support. Refer to Parking Brake Rear Cable Replacement (See: Brakes and Traction Control/Parking
Brake System/Parking Brake Cable/Service and Repair/Removal and Replacement).
11. Install the rear muffler assembly. Refer to Exhaust Muffler Replacement (See: Engine, Cooling and Exhaust/Exhaust System/Muffler/Service and
Repair)
12. Connect the stabilizer shaft links to the stabilizer shaft. Refer to Stabilizer Shaft Replacement (GNC) (See: Stabilizer Bar/Service and
Repair/Rear Suspension).
13. Install the rear tire and wheel assemblies. Refer to Tire and Wheel Removal and Installation (See: Wheels and Tires/Service and Repair).
14. Lower the vehicle.
15. Realign the rear suspension. Refer to Wheel Alignment Measurement (See: Alignment/Service and Repair/Wheel Alignment Measurement).