
Regal V6-173 2.8L (1988)
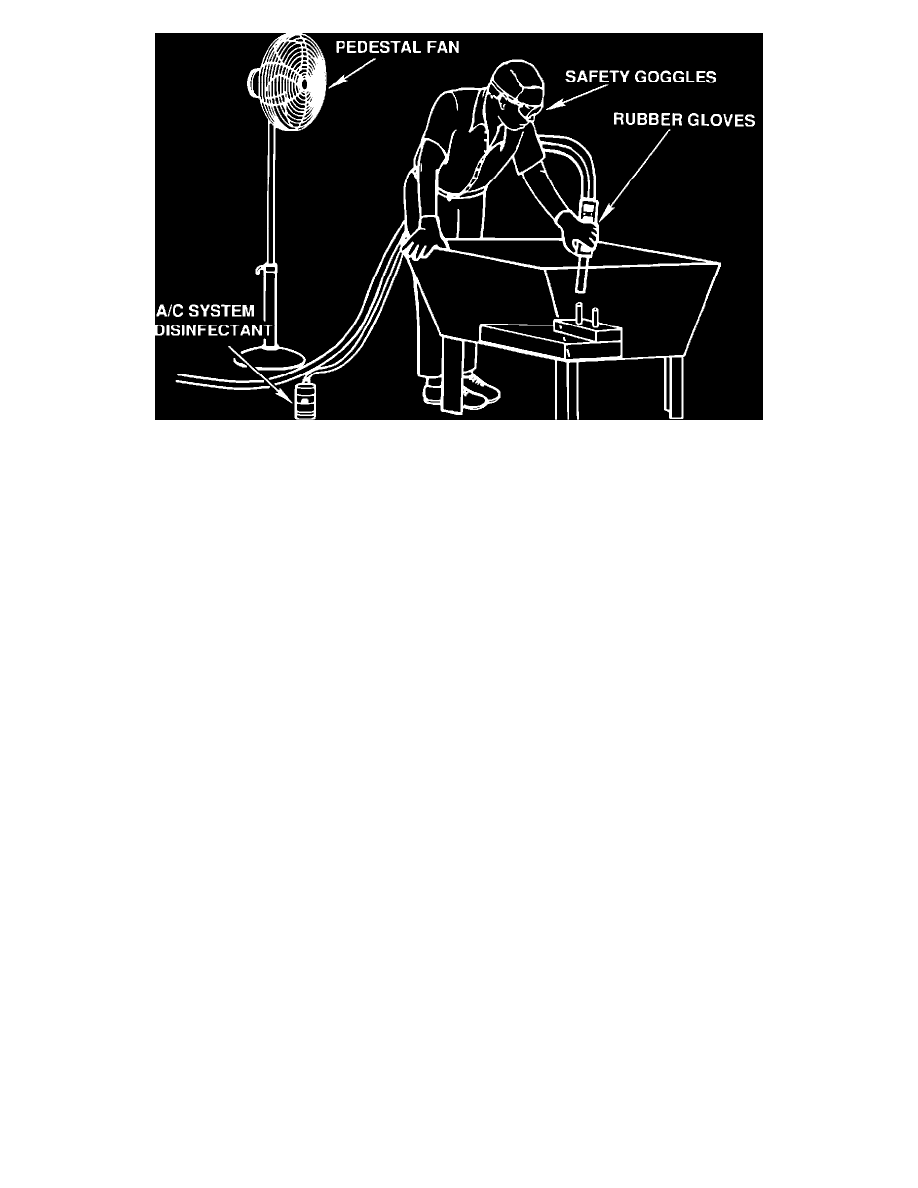
FIGURE 2
12. Position a pedestal fan, as shown in Figure 2, and turn on high speed to provide cross ventilation during the cleaning of the evaporator core.
13. Use the Kent-Moore tool J-36645 or equivalent siphon-type cleaning spray gun capable of delivering two (2) ounces per minute of liquid when
driven with shop air at 80-90 psi.
14. Direct the spray toward the evaporator core face, taking care to ensure adequate coverage of the corners and edges, completely saturating the entire
core. Use the entire container of disinfectant.
15. Let the evaporator core soak for at least five (5) minutes.
16. If a tub or basin without a drain was used for the spraying of the disinfectant, remove the core and dispose of the disinfectant in a sanitary drain
system. Rinse the tub or basin with water continuing on.
17. Use the spray gun and at least one (1) quart of clear water to rinse the evaporator core, to remove any and all of the disinfectant.
18. Allow the core to drain for a few minutes and then blow off the core with an air hose until core is dry. Remove tape or plugs from core pipes.
19. Reinstall the evaporator core into the vehicle. Do not install the lower heating A/C module cover at this time.
20. Before installing the lower heating A/C module cover, loosen the R.H. side of the foam seal around the drain tube and thread the green 18 gage
electrical wire under the seal and pull approximately five (5) feet of the wire to the engine side of the drain seal.
21. Seal the bottom of the heating A/C module as specified in Bulletin Number 90-1-2.
22. Install the lower module cover threading the green wire into the engine compartment through the drain tube hole.
23. Install the remaining heating A/C module components. Do not install the dash components or close out panels at this time.
24. Route the green wire in the engine compartment along front of dash to R.H. side and then forward to the ECM. Secure the wire, with tie bands to the
heater pipe across the front of the dash and to the existing wiring harness forward to the ECM. Use a small amount of RTV sealant to seal the green
electrical wire at the breakpoint area of the A/C drain plug seal.