
Regal V6-191 3.1L (1991)
Crankshaft Balancer: Service and Repair
CAUTION: The inertia weight section of the crankshaft balancer is assembled to the hub with a rubber sleeve. The removal and installation
procedures (with proper tools) MUST be followed or movement of the inertia weight section on the hub will destroy the tuning of the torsional
damper.
Crankshaft Balancer
REMOVAL
1. Remove serpentine belt.
2. Raise vehicle and suitably support.
3. Remove right front tire and wheel assembly.
4. Remove inner fender splash shield (right side).
5. Remove flywheel cover.
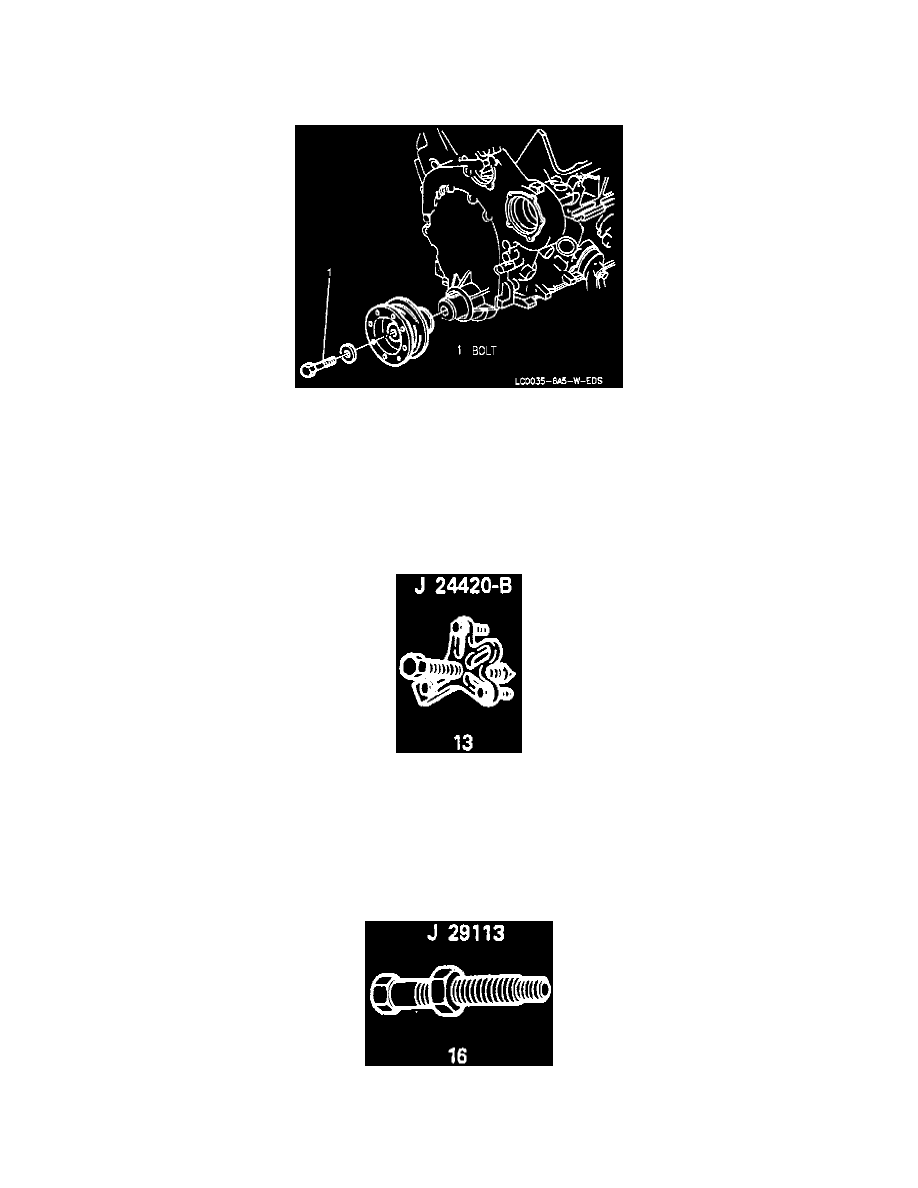
6. Remove balancer retaining bolt, with assistant to keep flywheel from turning.
Crankshaft Balancer Remover
7. With J 24420-B installed on balancer, turn puller screw, and remove balancer.
INSTALLATION
1. Coat front cover seal contact area (on balancer) with engine oil.
2. Apply Ultra Black RTV sealant GM P/N 12345739 to key and keyway.
3. Place balancer in position over key in crankshaft.
Torsional Damper Installer
4. Install J 29113 into crankshaft.
5. Install balancer into position using J 29113.