
Regal V6-231 3.8L VIN L SFI (1990)
Valve Body: Service and Repair
3T40 (125C) Automatic Transaxle
AUXILIARY VALVE BODY, VALVE BODY & OIL PUMP ASSEMBLY 3T40 (125C)
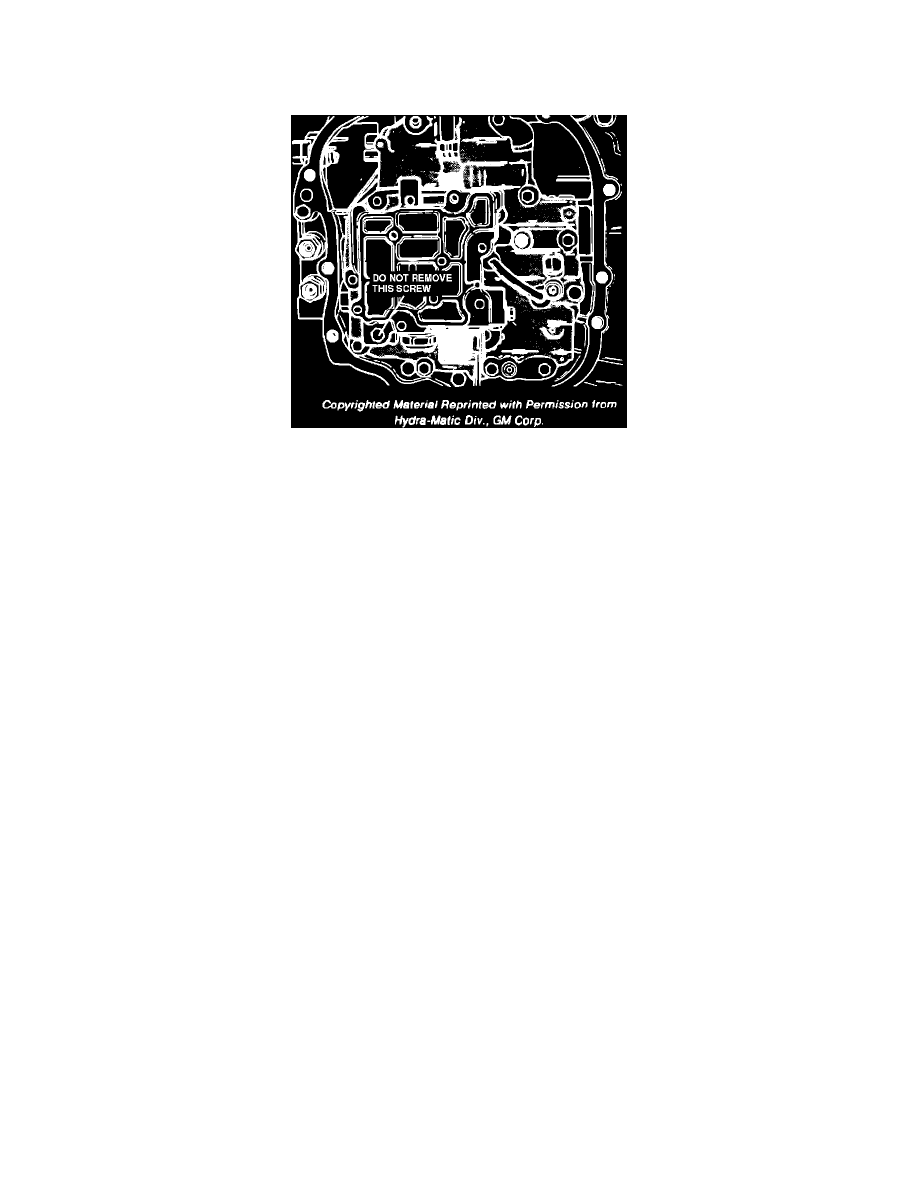
Fig. 11 Valve Body & Auxiliary Valve Body Retaining Screws
1.
Remove valve body cover and gasket.
2.
Remove solenoid retaining bolt and the solenoid, then disconnect converter clutch wires from 3rd gear pressure switch.
3.
Remove screws attaching throttle lever and bracket assembly, then remove throttle lever and bracket assembly with T.V. cable link.
4.
Remove the auxiliary valve body screws except for the one screw shown in Fig. 11. Loosen, but do not remove, this screw.
5.
Remove remaining valve body retaining screws, then the valve body and pump assembly.
6.
Separate valve body from auxiliary valve body.
7.
Reverse procedure to install. Torque all 6 mm bolts to 8 ft. lbs. and all 8 mm bolts to 18 ft. lbs.
8.
Using new gasket, install valve body cover to transaxle and torque bolts to 12 ft. lbs. Transaxle valve body covers and oil pans can have a
raised rib, depressed rib or flat sealing flange. RTV sealant should be used on all oil pans and valve body covers that have a flat sealing
flange. Gaskets should be used on all oil pans and valve body covers that have either depressed or raised rib sealing flanges.