
Regal V6-3.8L SC VIN 1 (1998)
Brake Caliper: Service and Repair
Brake Caliper Overhaul (Rear)
DISASSEMBLY PROCEDURE
1. Remove the caliper. Refer to Brake Caliper Replacement (Rear).
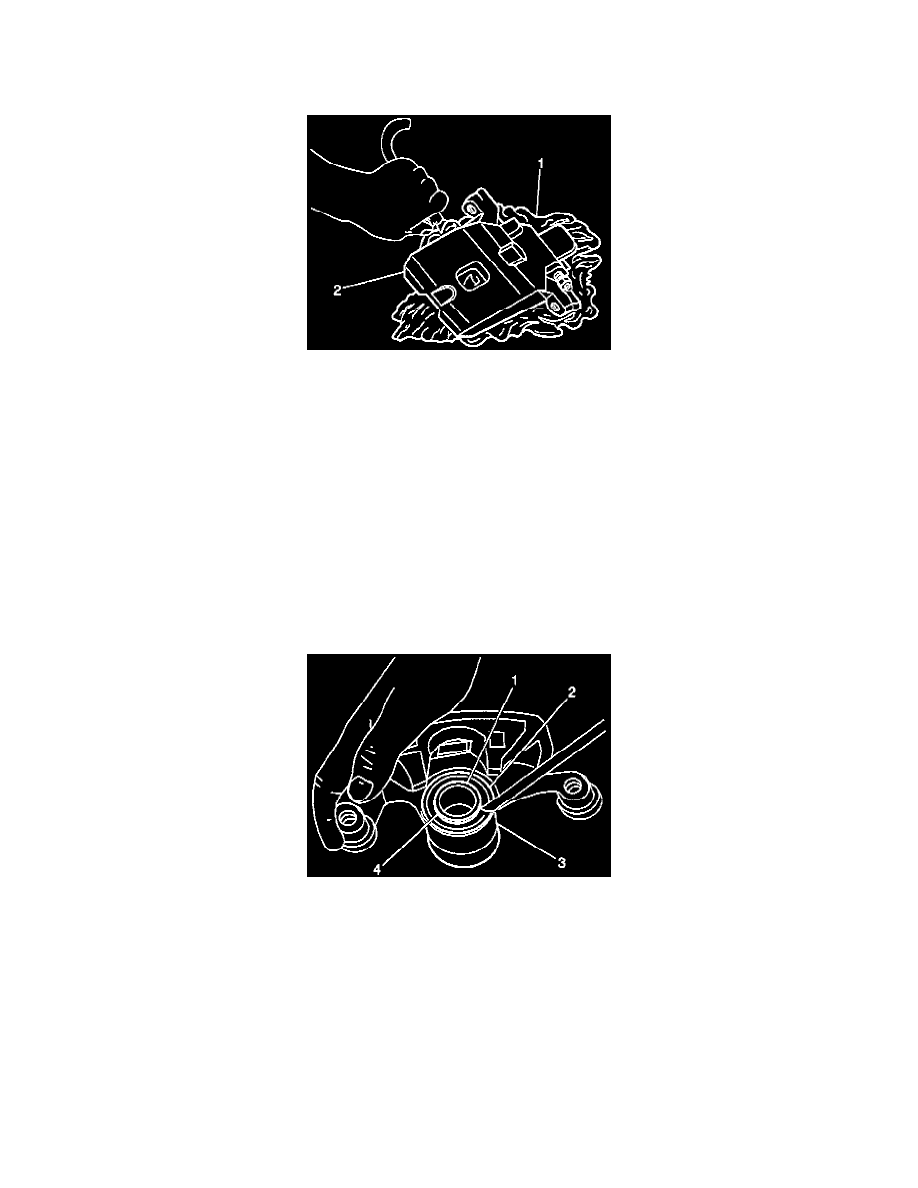
CAUTION: Do not place fingers in front of the caliper piston(s) in an attempt to catch or protect it when applying compressed air. The
piston(s) can fly out with force and could result in serious bodily injury.
NOTICE: Use clean cloths to pad interior of caliper housing during piston removal. Use just enough air to ease the pistons out of the bores. If the
pistons are blown out, even with the padding provided, it may be damaged.
2. Remove the piston. Blow compressed air into the caliper inlet hole. The piston will come out through the piston boot.
3. Inspect the piston for the following conditions:
^
Scoring
^
Nicks
^
Cracks
^
Wear
Replace the piston if any of the above conditions are found.
4. Remove the boot ring (2) and the piston boot (4). Use a flat-bladed tool in order to lift one end of the boot ring. Manipulate the ring out of the
caliper groove.
NOTICE: Do not use a metal tool for seal removal. Damage to the caliper bore or the seal grooves can result.
5. Remove the piston seal from the groove in the caliper body. Use a small wooden or plastic tool in order to manipulate the piston seal out of the
caliper bore groove.
6. Remove the bleeder valve cap and the bleeder valve from the caliper housing.
7. Inspect the caliper bore and the seal grooves for the following conditions. Use a crocus cloth in order to polish out light corrosion:
^
Scoring
^
Nicks
^
Corrosion
^
Wear
8. Replace the caliper housing if corrosion in and around the seal groove cannot be cleaned with a crocus cloth. Do not hone the caliper bore.