
Regal V6-3.8L SC VIN 1 (1998)
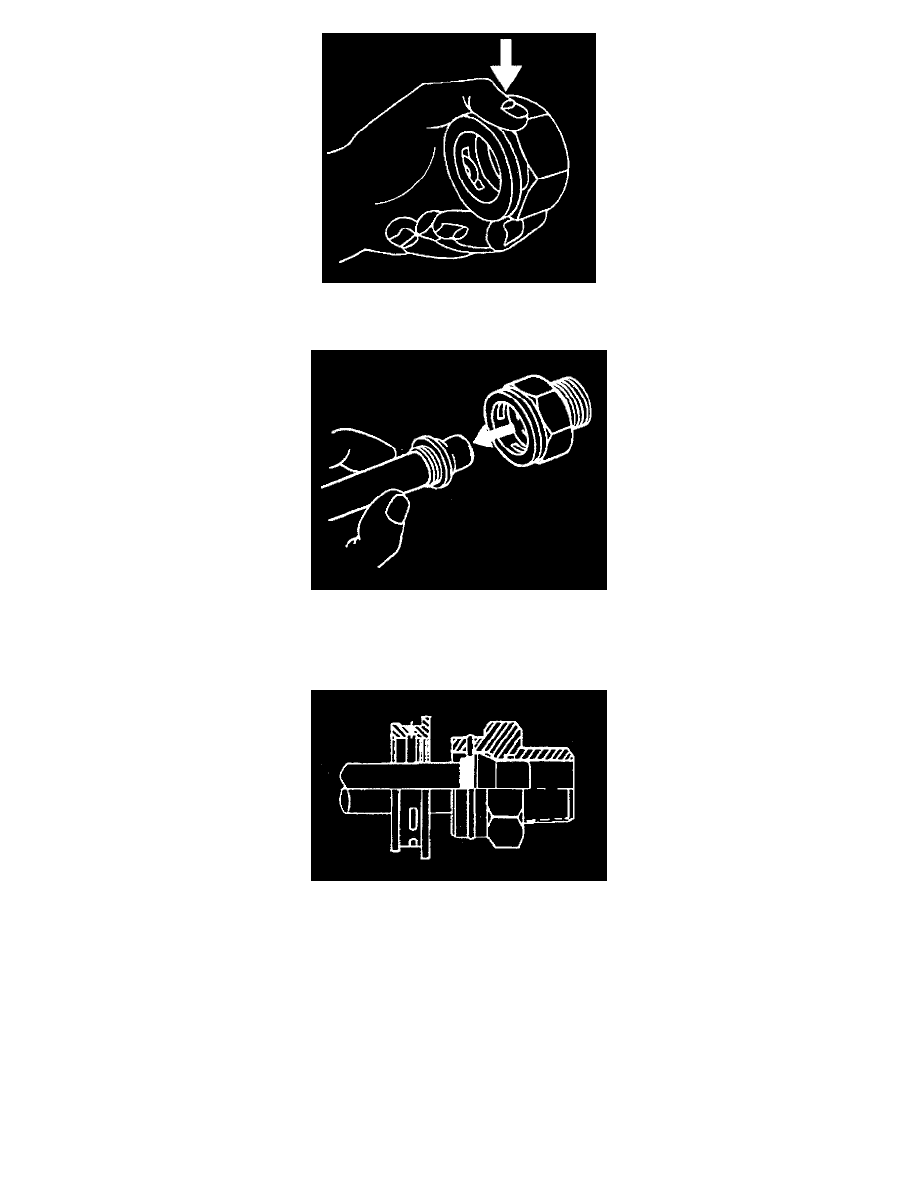
7. Ensure that the three retaining ring ears are seen from inside the fitting and that the retaining ring moves freely in the fitting slots.
8. Install the new retaining ring (E-clip) into the remaining quick connect fittings.
9. Install the transaxle oil cooler pipes to the vehicle.
NOTICE: Ensure that the cooler line being installed has a plastic cap on each end that connects to a quick connect fitting. If no plastic cap exists,
or the plastic cap is damaged, obtain a new plastic cap and position on to the cooler line prior to the cooler line installation.
10. Install the transaxle oil cooler pipe into the quick connect fitting.
11. Insert the transaxle oil cooler pipe end into the quick connect fitting until a click is either heard or felt.