
Regal V6-3.8L VIN K (1997)
2. Turn the crankshaft to BDC.
3. Lubricate the cylinder with oil.
4. Install the upper connecting rod bearing.
5. Install Connecting Rod Assembly Guide on the connecting rod.
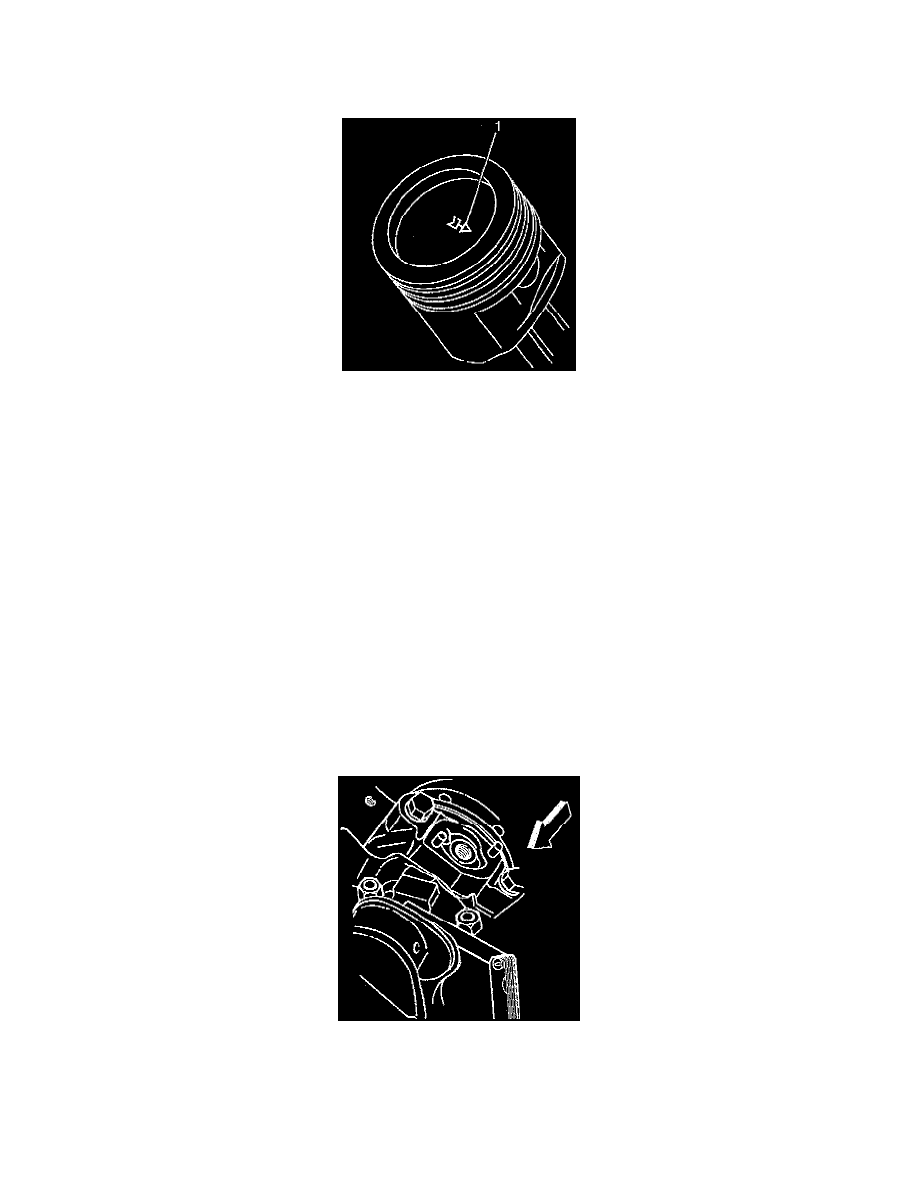
6. Align the piston and the connecting rod with the arrow toward the front of the engine.
CAUTION: Guide the lower connecting rod end carefully to avoid damaging the crankshaft journal.
7. Install the piston and connecting rod using a ring compressor.
CAUTION: Do not scrape, shim, or file bearing inserts. If the bearing surface of the insert is touched with bare fingers, the skin oil and acids will
etch the bearing surface. Upper and lower inserts may be different. Do not obstruct any oil passages. Ensure that the bearing cap bolt holes and the
cap mating surfaces are clean and dry. The inserts will project slightly when put into place. Ensure that they project an equal distance on both
sides. Ensure that the insert-tangs are engaged.
8. Install the bearing inserts to a clean and dry connecting rod and cap.
9. Measure the rod bearing clearance. If the readings are within limits, select a suitable set of inserts. If the readings are unsatisfactory and available
inserts will not correct the clearance, replace the crankshaft.
10. Lubricate the bearing surfaces and the crankshaft journal surfaces with clean engine oil.
11. Remove Connecting Rod Assembly Guide.
CAUTION: Carefully tap the bearing cap into place. Do not pull the cap down with the cap bolts.
12. Install the connecting rod cap and lower connecting rod bearing.
13. Install the connecting rod cap bolts. Tighten the bolts to 27 Nm (20 ft. lbs.). Use Torque Angle Meter in order to rotate the bolts an additional 50°.
14. Pry the connecting rod back and forth with a suitable tool and check for binding. If necessary, loosen and retighten the bearing cap.
15. Measure the connecting rod side clearance.
16. Install the oil pan.
17. Install the cylinder head.