
Regal V6-3.8L VIN K (1997)
28.
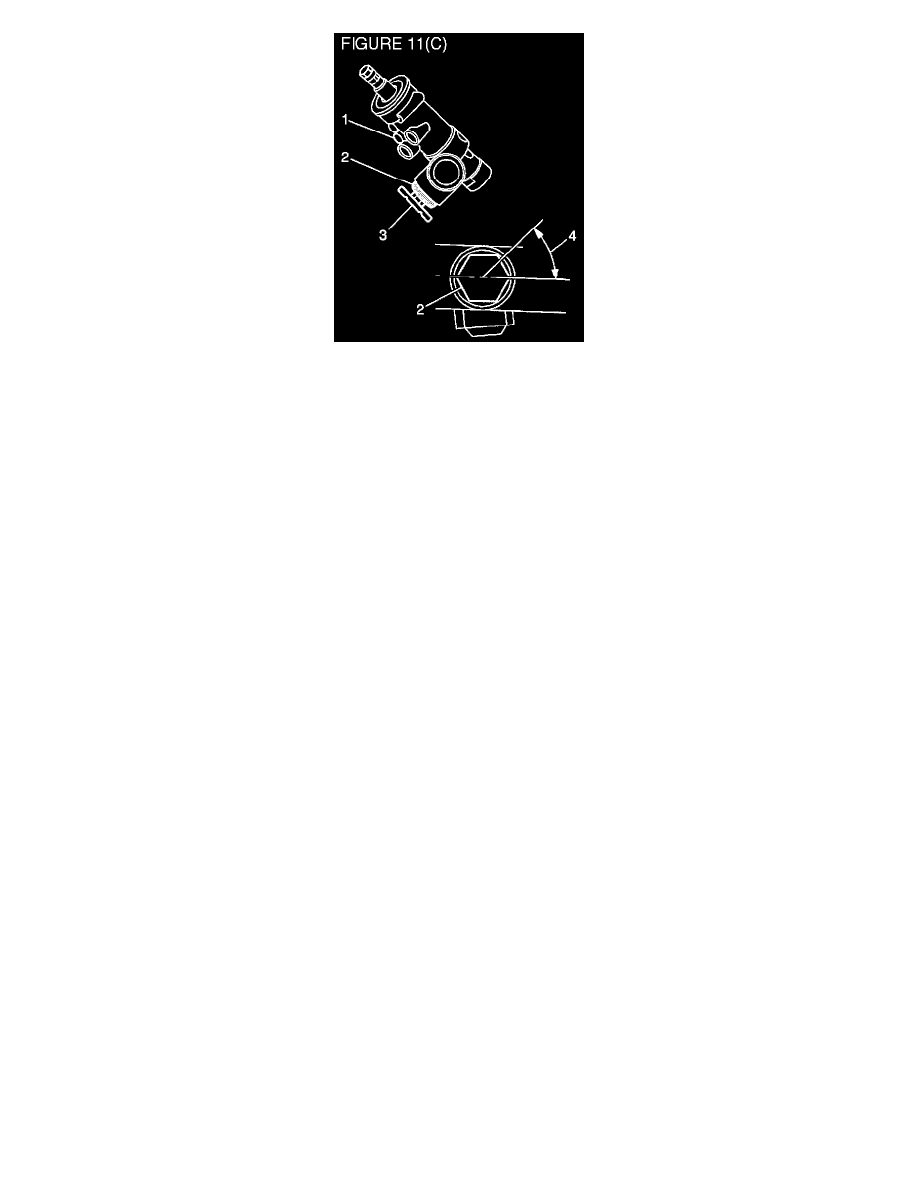
With the rack centered in the housing, tighten the adjuster plug (2) to 10 Nm (88 lb in), and then back off 40 to 50 degrees. Refer to Figure 11.
Check the torque on the pinion. Maximum pinion preload torque is 4 Nm (35 lb in).
29.
Tighten the adjuster plug lock nut (3) firmly against the steering gear housing while holding the adjuster plug (2) stationary.
30.
Install a new dust cap (2) to the steering gear housing.
31.
Install the steering gear in the engine cradle mounting brackets.
32.
Install the steering gear attaching bolts.
Tighten
Tighten the bolts to 80 Nm (59 lb ft).
33.
On models equipped with a 3.4L engine, install the heat shield and attaching bolts.
Tighten
Tighten the bolts to 6 Nm (54 lb in).
34.
Install the left outer tie rod to the steering knuckle. On models with a torque prevailing nut, tighten the nut to 30 Nm (22 lb ft) and then tighten an
additional 115 degrees. On models with a slotted nut and cotter pin, tighten the nut to 85 Nm (63 lb ft). If necessary, tighten the nut slightly in
order to insert the cotter pin through the tie rod stud. Bend the cotter pin ends against the flats of the nuts.
35.
Partially raise the rear of the engine cradle.
36.
Connect the intermediate steering shaft to the steering gear and install the bolt.
Tighten
Tighten the bolt to 48 Nm (35 lb ft).
37.
Raise the rear of the engine cradle and install the rear attaching bolts.
Tighten
Tighten the bolts to 180 Nm (133 lb ft).
38.
Install the left front tire and wheel assembly.
Tighten
Tighten the wheel nuts to 140 Nm (103 lb ft).
39.
Lower the vehicle.