
Rendezvous V6-3.5L (2007)
Vacuum Brake Booster: Service and Repair
Vacuum Brake Booster Replacement
Removal Procedure
Caution: Refer to Brake Fluid Irritant Caution.
Notice: Refer to Brake Fluid Effects on Paint and Electrical Components Notice.
1. Relieve fuel line pressure. Refer to Fuel Pressure Relief.
2. Drain the cooling system. Refer to Draining and Filling Cooling System (Static Fill) Draining and Filling Cooling System (Vac-N-Fill).
3. Remove the coolant reservoir.
4. Remove the left front cross brace.
5. Remove the powertrain control module (PCM) cover from the air cleaner housing.
6. Remove the PCM and set aside. It is not necessary to disconnect the electrical connector.
7. Remove the air cleaner outlet duct and the air cleaner.
8. Remove the fuel lines from the pipes and vapor line.
*
For vehicles equipped with metal connectors, refer to Metal Collar Quick Connect Fitting Service.
*
For vehicles equipped with plastic connectors, refer to Plastic Collar Quick Connect Fitting Service.
9. Remove the heater hose from the coolant cross over pipe and reposition out of the way.
10. Release the fuel lines from the clip on the shock tower to access the brake pipes.
11. Disconnect the fluid level sensor switch from the brake master cylinder.
12. Disconnect the brake lines from the master cylinder and remove the master cylinder.
13. Remove the ABS module and bracket.
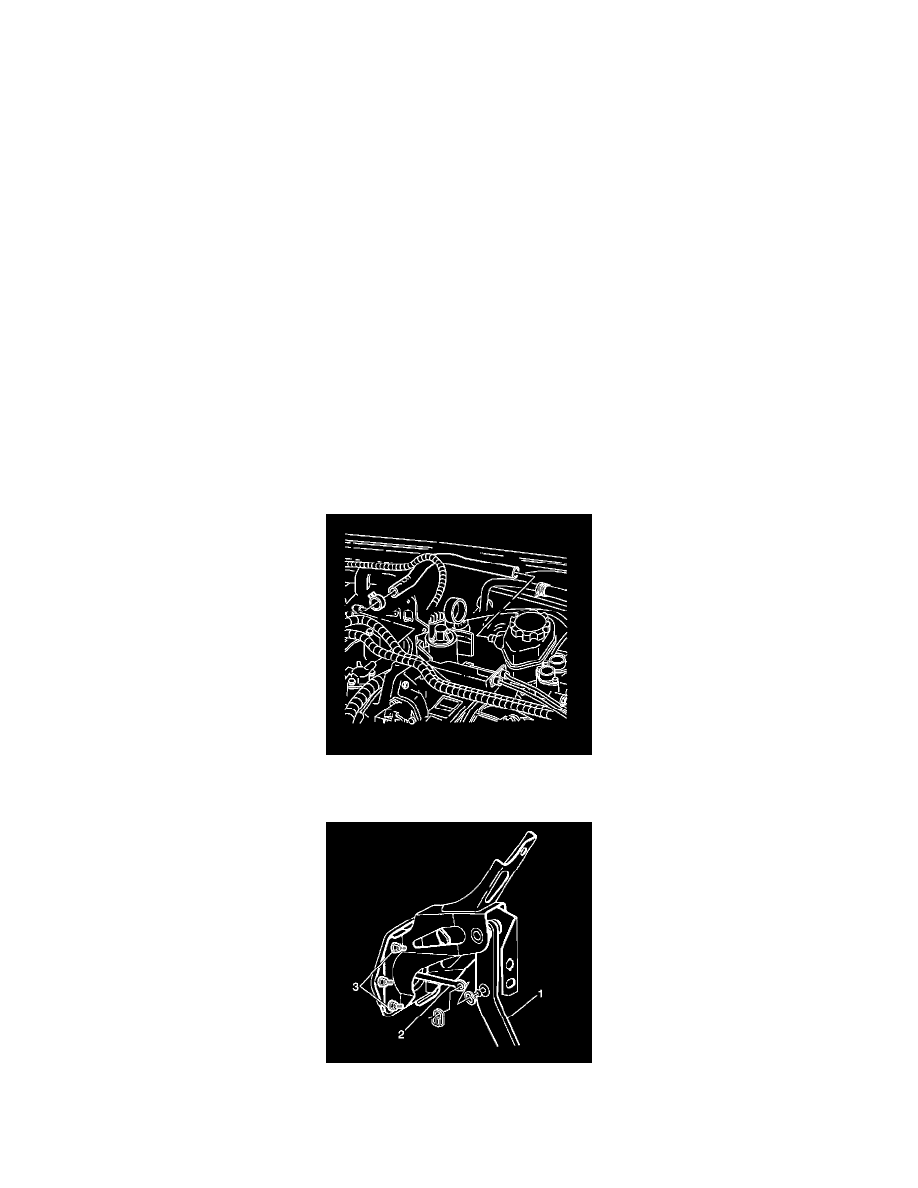
14. Remove the brake booster vacuum hose from the vacuum brake booster check valve. Position the vacuum hose aside.
15. Remove the knee bolster.
16. Remove the booster push pin retaining clip and washer (2) from the brake pedal assembly.
17. Remove the brake booster push rod (2) from the brake pedal (1).