
Rendezvous V6-3.5L (2007)
Important: The lock cylinder tumblers are not self-retaining. Hold the tumblers in place when the key is not in the lock cylinder. Hold
the lock cylinder tumblers (8) in place when performing this procedure.
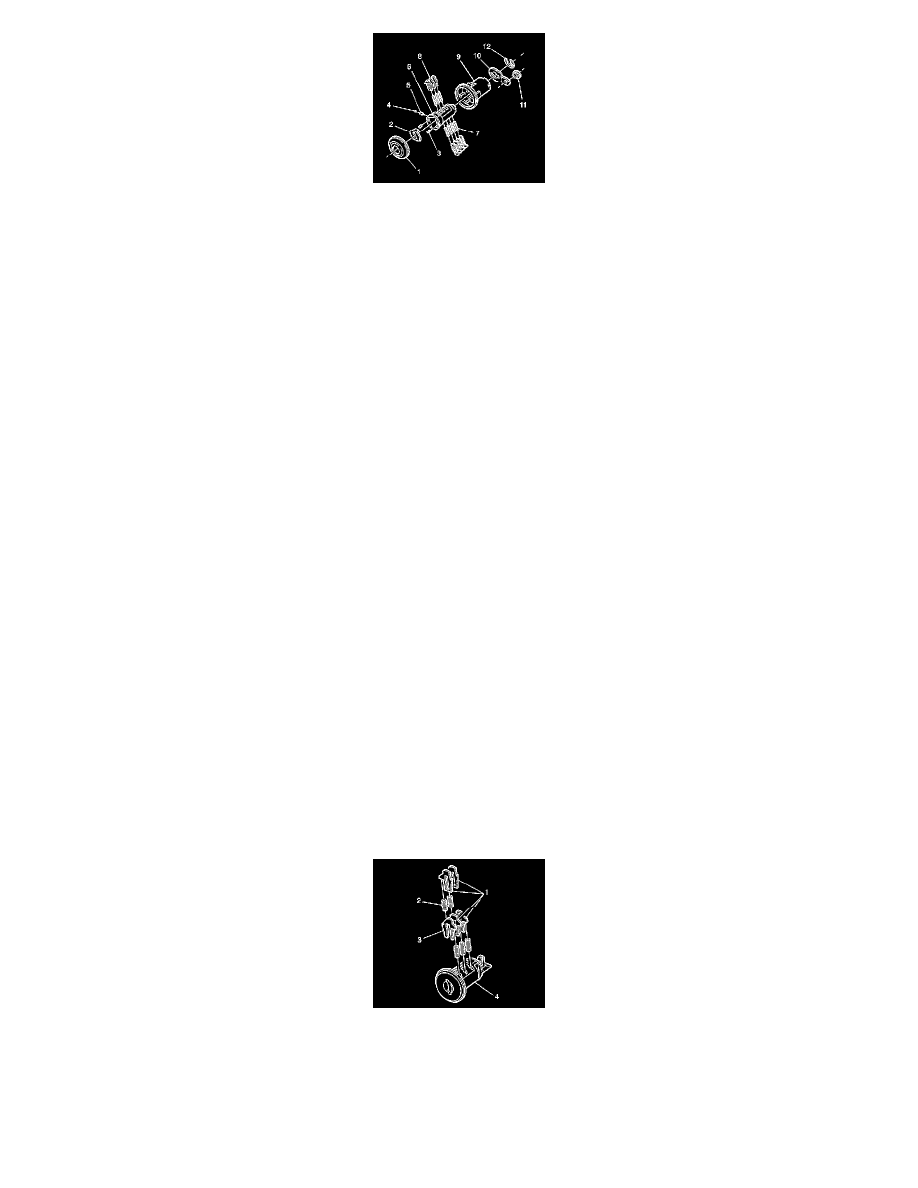
1. Hold the cylinder (6) so that the side with 5 tumbler openings are up.
2. Insert 5 tumbler springs (7) into the 5 spring wells.
3. Install the tumbler (8) for position 4 in the slot nearest to the front of the lock cylinder.
4. Install the 3 remaining tumblers (8) for positions 6, 8 and 10 in the lock cylinder.
5. Press the tumblers into place with light hand pressure.
6. Insert the key into the lock cylinder (6). If the tumblers are not flush with the lock cylinder, remove the tumblers and perform the coding procedure
again.
Important: Hold the tumblers in place before removing the key.
7. Rotate the lock cylinder (6) so that the side with 3 tumbler openings are up.
8. Insert 3 tumbler springs (7) into the 3 spring wells.
9. Install the tumbler for position 5 into the slot nearest the front of the lock cylinder.
10. Install the 2 remaining tumblers for positions 7 and 9 in the lock cylinder.
11. Press the tumblers into place with light hand pressure.
12. Insert the key into the lock cylinder (6). If the tumblers are not flush with the lock cylinder, remove the tumblers and perform the coding procedure
again.
13. Lubricate the tumblers using GM P/N 12346241 or equivalent.
14. If necessary, perform the following steps to install the shudder door.
*
Install the 2 plate springs (3) into the 2 spring wells in the head of the lock cylinder (6).
*
Press the shutter (2) into the lock cylinder until it snaps into place.
15. Insert the key into the lock cylinder (6). If the lock cylinder does not rotate in the lock cylinder housing, disassemble the lock cylinder and perform
the coding procedure again.
16. Install the lock cylinder spring (9) to the lock cylinder.
17. Install the lock cylinder spring retainer (8) to the lock cylinder.
18. Remove the key from the lock cylinder (5).
19. Install the lock cylinder cap (1) by pressing the cap onto the lock cylinder with light hand pressure.
Assembling and Coding I/P Storage Compartment Lock Cylinder
The instrument panel (I/P) storage compartment lock uses five tumbler positions 7-10. The I/P storage compartment lock cylinder also uses a retainer
tumbler. The retainer tumbler is not moved by the key. The purpose of the retainer tumbler is to retain the lock cylinder in the lock. The retainer tumbler
occupies the slot closest to the head of the I/P storage compartment lock cylinder and should come already installed in the cylinder.
1. Hold the cylinder (4) so that the side with 5 tumbler openings is facing up.
2. Insert tumbler springs (2) into the 5 spring wells.
3. Install the tumbler (1) for key cut position 7 into the slot nearest to the front of the lock cylinder.
4. Install the 3 remaining tumblers for positions 8, 9 and 10 into the cylinder.
5. Firmly press the tumblers until they snap in place.
6. Insert the key into the lock cylinder (4). If the tumblers are not flush with the lock cylinder, remove the tumblers and perform the coding procedure
again.