
Rendezvous AWD V6-3.4L VIN E (2005)
Hood Latch Release Cable: Service and Repair
Hood Latch Release Cable Replacement
Removal Procedure
1. Open the hood.
2. Remove the left diagonal brace. Refer to Brace Replacement - Front Fender Upper Diagonal - Left (See: Radiator Support/Service and
Repair/Brace Replacement - Front Fender Upper Diagonal - Left) .
3. Remove the air cleaner assembly. Refer to Air Cleaner Assembly Replacement in Engine Controls.
4. Disconnect the hood release cable from the hood latch. Refer to Hood Latch Replacement (See: Hood Latch/Service and Repair/Hood Latch
Replacement) .
5. Remove the hood release cable from the hood latch bracket.
6. Remove the hood release cable retainers from the upper tie bar.
7. Remove the hood release cable retainers from the engine compartment side rail.
8. Remove the hood release cable from the hood release handle. Refer to Hood Latch Release Handle Replacement (See: Hood Latch/Service and
Repair/Hood Latch Release Handle) .
9. Pull the carpet back to access the hood release cable.
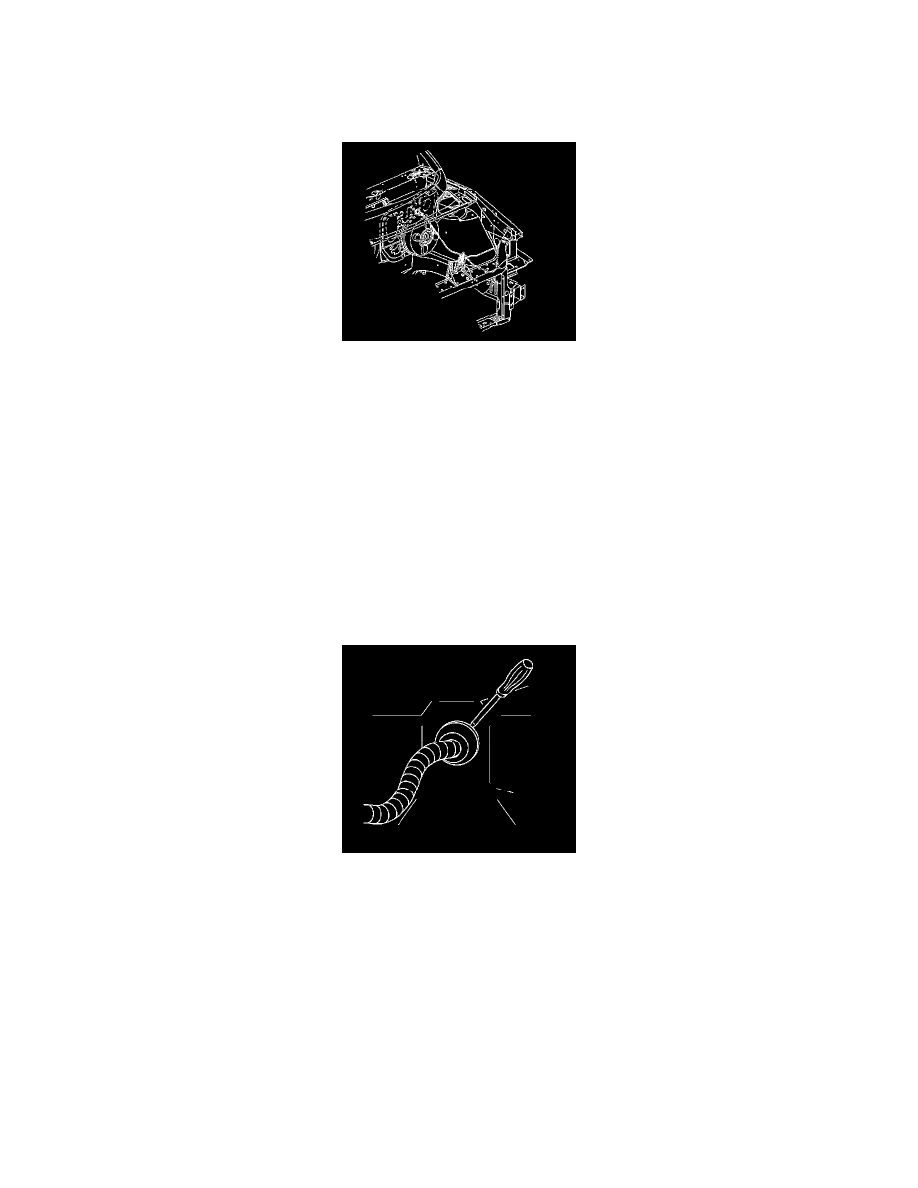
Important: Ensure the end of the wire or string remains in the passenger compartment.
10. Tie the wire or string to the end of the hood release cable in order to aid in the installation of the new hood release cable.
11. Remove the grommet from the dash using a small flat bladed tool.
12. Remove the hood release cable from the dash.
13. Remove the wire or string from the hood release cable.
14. Remove the hood release cable from the vehicle.
Installation Procedure
1. Tie the wire or string to the hood release cable.
2. Install the hood release cable to the vehicle.
3. Pull the hood release cable through the dash until the grommet is seated in the hole.