
Rendezvous AWD V6-3.6L VIN 7 (2004)
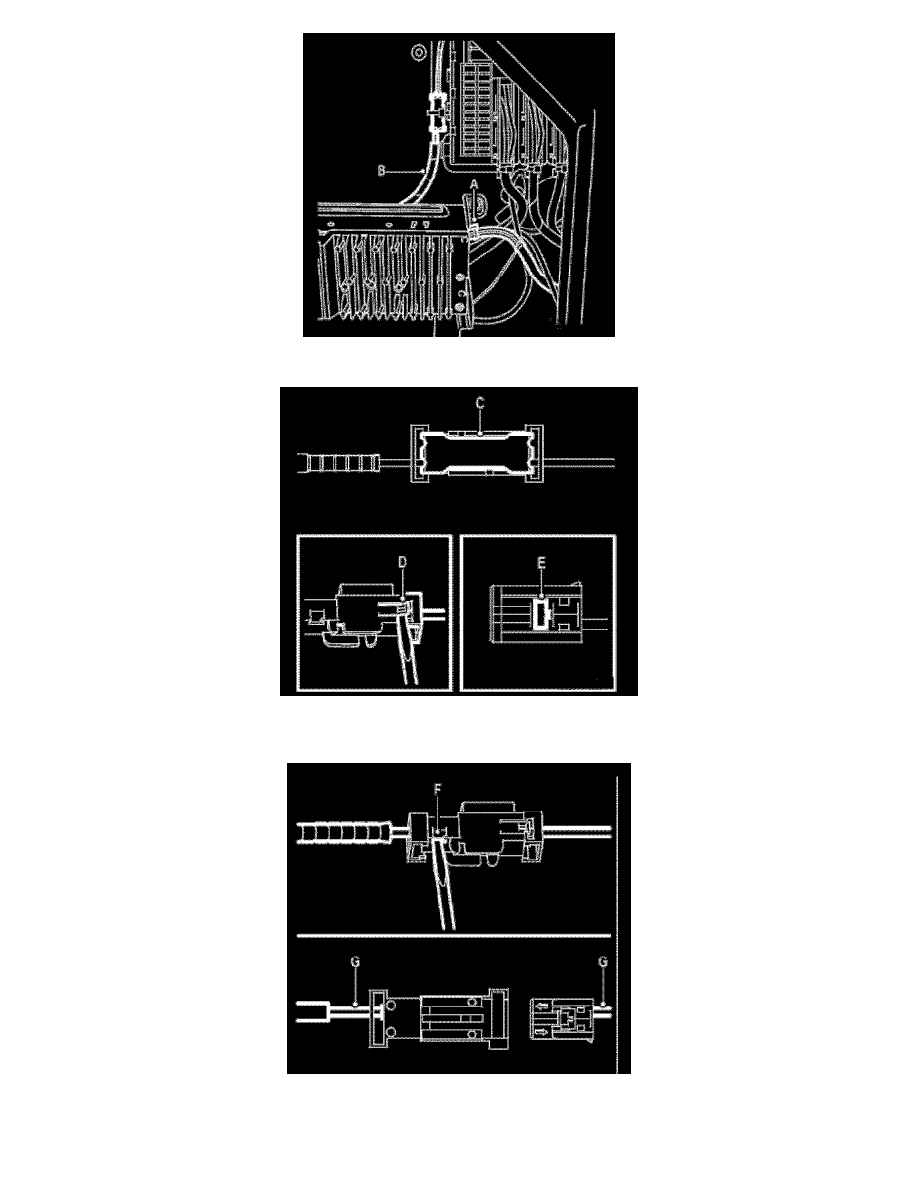
12.2. Cars with brackets for e.g. an amplifier: Remove the pin strap (A) from the bracket and remove the tape (B) holding the optic cables.
12.3. Remove the locking strip (C) on the 2-pin connector (H2-9). Open the terminal housing with a screwdriver. Remove the secondary catch (E)
on the connector and remove the optic cables coming from the OnStar(R) control modules.
12.4. Loosen one of the optic cables remaining in H2-9 (F), connect it to the connector and fit the secondary catch (E). Connect the connector so
that the optic cables are opposite each other (G). Connect the terminal housing (D) and refit the locking strip (C).