
Rendezvous AWD V6-3.6L VIN 7 (2004)
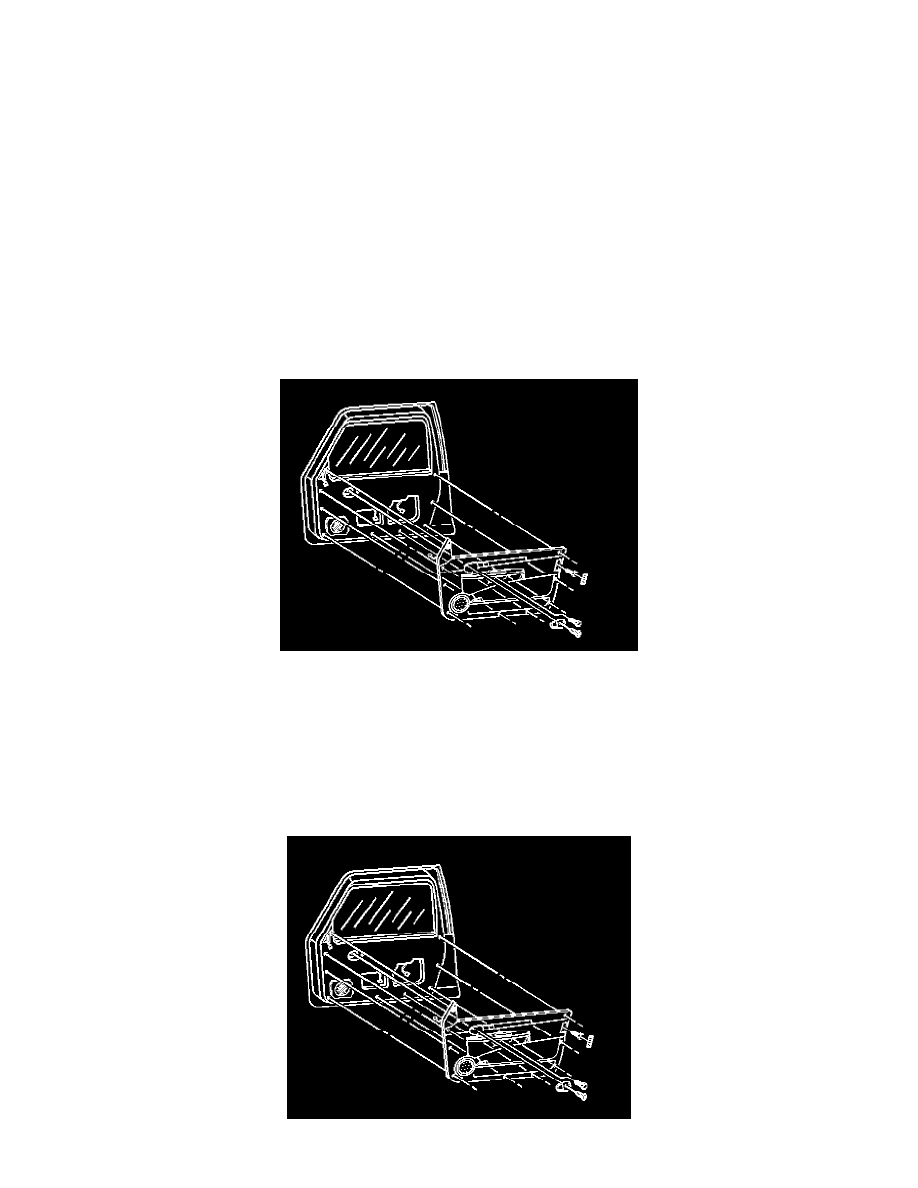
5. Install the trim panel pressing firmly until the retainer clips are fully seated around the perimeter of the trim panel.
Notice: Refer to Fastener Notice in Cautions and Notices.
6. Install the screws to the rear door trim panel.
Tighten the screws to 6 N.m (53 lb in).
7. Install the power window switch. Refer to Power Window Switch Replacement. See: Sensors and Switches/Sensors and Switches - Windows and
Glass/Power Window Switch
Rear Side Door Trim Panel Replacement
TRIM PANEL REPLACEMENT - SIDE REAR DOOR
TOOLS REQUIRED
J 38778 Door Trim Pad and Garnish Clip Remover
REMOVAL PROCEDURE
1. Remove the power window switch.
2. Remove the screws from the rear door trim panel.
3. Use J 38778 in order to remove the rear door trim panel.
4. Disconnect and reroute any electrical harness or connectors.
5. Remove the rear door trim panel.
INSTALLATION PROCEDURE
IMPORTANT: Before installing the rear door trim panel, discard the old trim panel retainers and replace with NEW trim panel retainers.