Rendezvous AWD V6-3.6L VIN 7 (2004)

INSTALLATION PROCEDURE
1. NOTE:
-
Refer to Fastener Notice in Service Precautions.
-
A special anti-seize compound is used on the oxygen sensor threads. New service sensors should already have the compound applied to the
threads. Coat the threads of a reused sensor with anti-seize compound P/N 5613695 or equivalent.
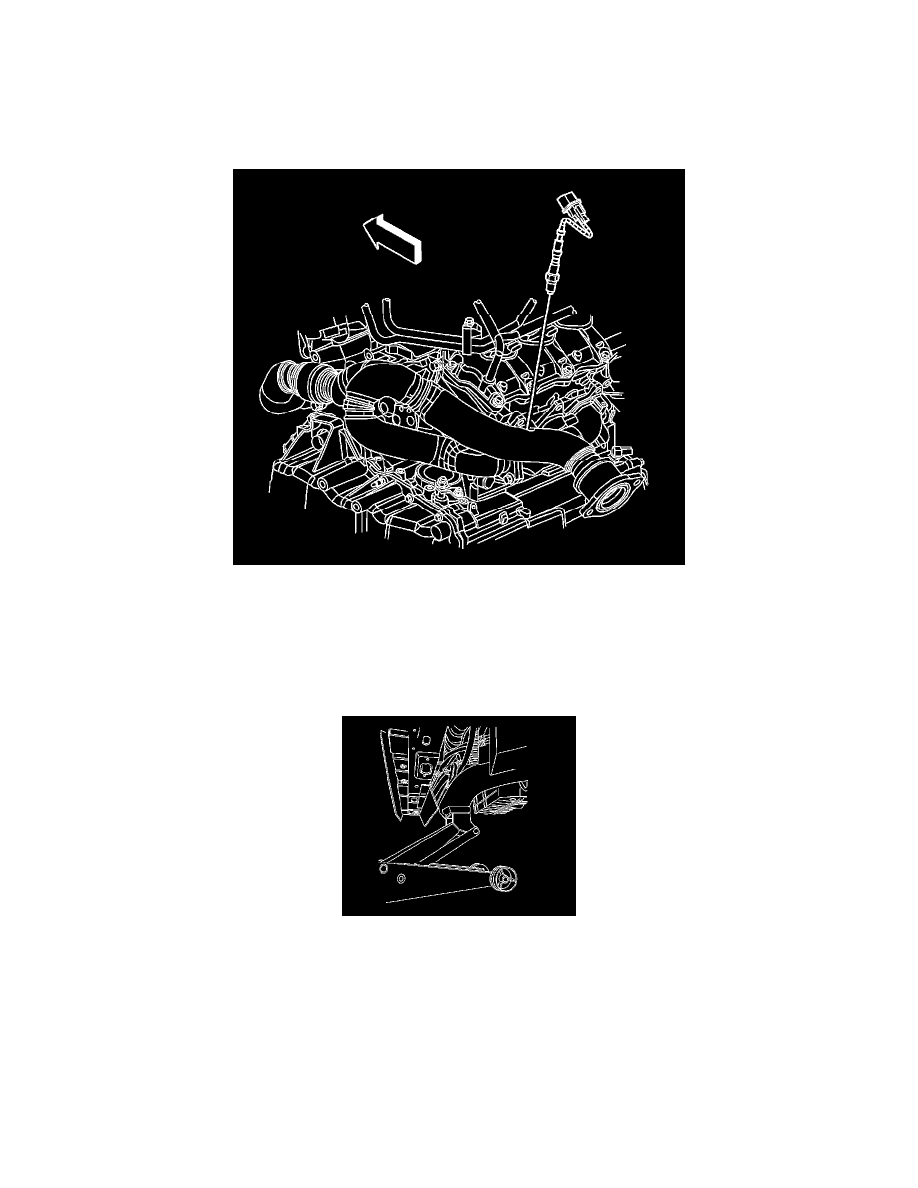
Install the HO2S.
Tighten
Tighten the HO2S 1 to 42 N.m (31 lb ft).
2. Connect the oxygen sensor electrical connector.
3. Carefully lower the powertrain or raise the vehicle in order to gain access to the oxygen sensor.
4. Use the floor jack in order to raise the powertrain until the frame insulators contact the chassis.
5. Install the frame front bolts.
6. Raise and support the vehicle. Refer to Vehicle Lifting.
7. Install and reposition the front portion of the front fender liners in order to gain access to the frame front bolts.
8. Connect the intermediate steering shaft to the steering gear.
9. Lower the vehicle.
