Rendezvous FWD V6-3.5L VIN L (2006)

Crankshaft Main Bearing Seal: Service and Repair
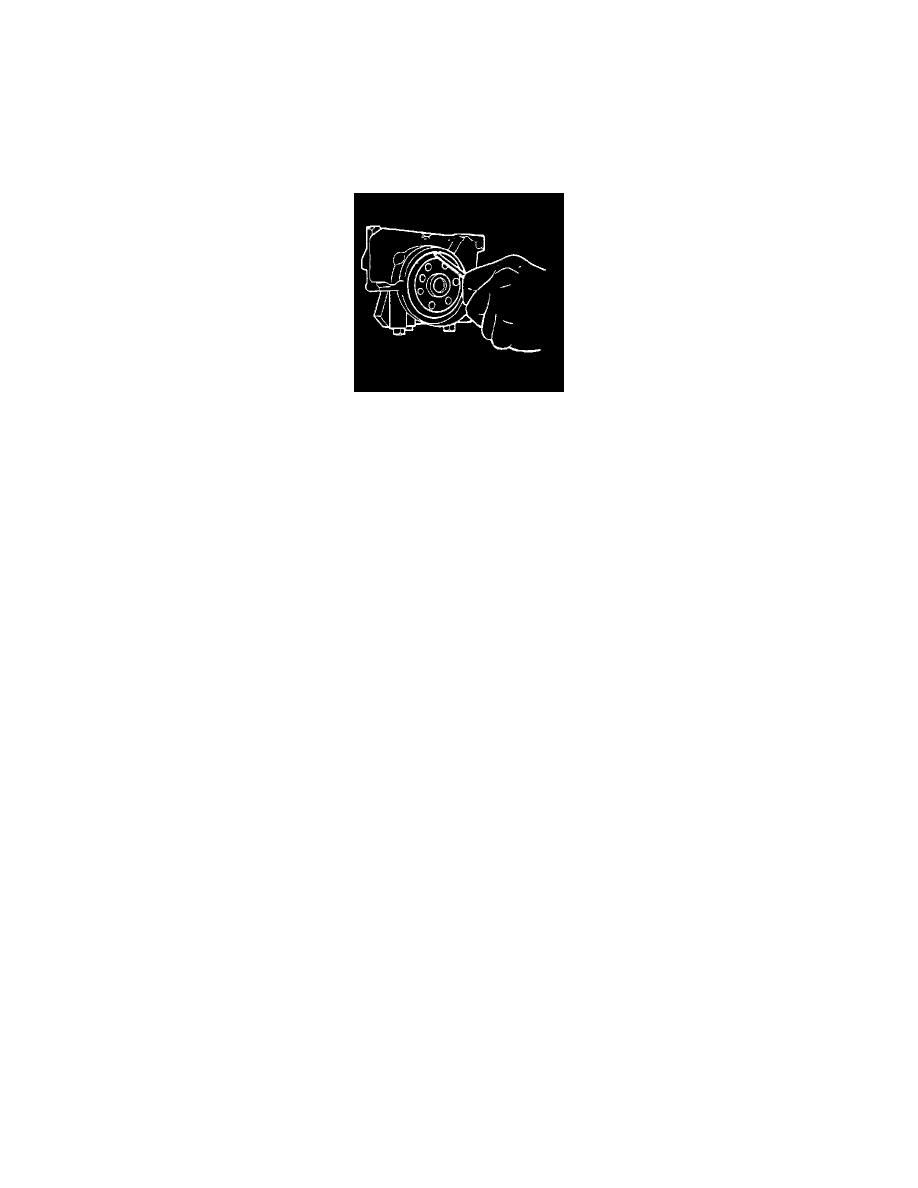
Crankshaft Rear Oil Seal Replacement
Tools Required
^
J34686 Rear Main Seal Installer
Removal Procedure
1. Remove the engine flywheel.
Important: Do not damage the crankshaft or seal bore.
2. Remove the crankshaft rear oil seal.
1. Insert a flat-bladed tool or similar tool through the dust lip at an angle.
2. Pry the crankshaft rear oil seal out by moving the handle of the tool towards the end of the crankshaft.
3. Repeat, as necessary, around the crankshaft rear oil seal.
Installation Procedure
Notice: Do not apply or use any oil lubrication on the crankshaft rear oil seal, or the seal installer. Do not touch the sealing lip of the oil seal once the
protective sleeve is removed. Doing so will damage/deform the seal.
Notice: Clean the crankshaft sealing surface with a clean, lint free towel. Inspect lead-in edge of crankshaft for burrs/sharp edges that could damage
the rear main oil seal. Remove burrs/sharp edges with crocus cloth before proceeding.
Important: Note the direction of the rear oil seal. The new design seal is a reverse style as opposed to what has been used in the past. "THIS SIDE
OUT" has been stamped into the seal, as shown in the graphic.
Important: Do not apply or use any oil lubrication on the crankshaft rear oil seal or the seal installer J34686. Do not touch the sealing lip of the oil
seal once the protective sleeve is removed. Doing so will damage/deform the seal.
Clean the crankshaft sealing surface with a clean, lint free towel. Inspect lead in edge of crankshaft for burrs/sharp edges that could damage the rear
main oil seal. Remove burrs/sharp edges with a crocus cloth before proceeding.
