
Rendezvous FWD V6-3.5L VIN L (2006)
Expansion Valve: Service and Repair
THERMAL EXPANSION VALVE REPLACEMENT
TOOLS REQUIRED
J 39400-A Halogen Leak Detector
REMOVAL PROCEDURE
1. Recover the refrigerant from the A/C system. Refer to Refrigerant Recovery and Recharging.
2. Reposition the heater hoses for clearance.
3. Disconnect the vacuum hose from the brake booster and reposition.
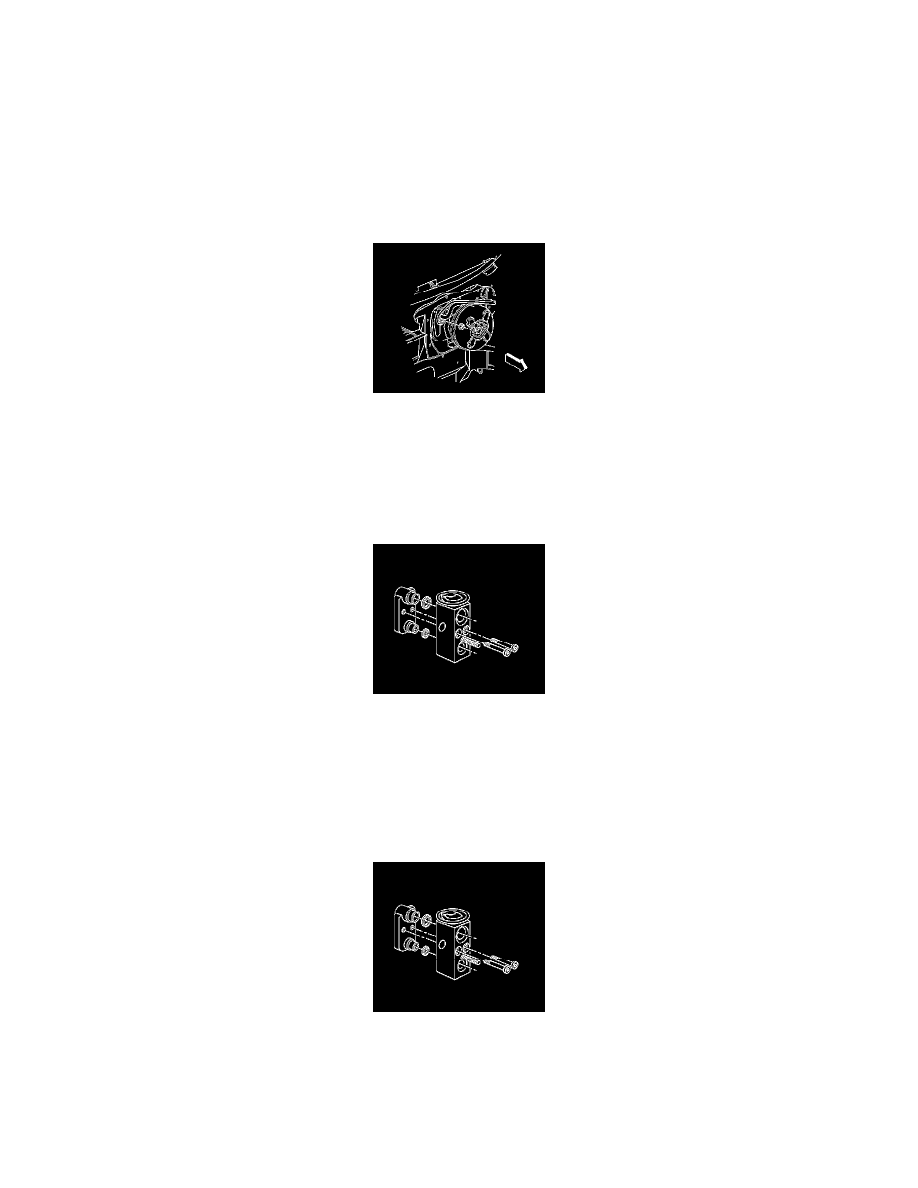
4. Remove the evaporator outlet tube to TXV nut.
5. Disconnect the evaporator outlet tube from the TXV.
6. Disconnect the evaporator outlet tube from the evaporator inlet tube.
7. Remove and discard the sealing washers.
8. Cap or tape off the A/C refrigerant tubes.
IMPORTANT: Cap or tape the open A/C refrigerant tubes immediately to prevent contamination of the refrigerant system.
9. Remove the TXV to evaporator bolts.
10. Remove the TXV from the evaporator core.
11. Remove and discard the sealing washers.
12. Cap or tape off the evaporator core.
INSTALLATION PROCEDURE
1. Remove the cap or tape from the evaporator core.
2. Install the new sealing washers onto the evaporator core.
3. Install the TXV to the evaporator core.
4. Install the TXV to evaporator bolts.
Tighten the bolts to 3.2 N.m (28 lb in).
NOTE: Refer to Fastener Notice in Service Precautions.