
Rendezvous FWD V6-3.5L VIN L (2006)
22. Rotate the inner race 90 degrees to the centerline of the cage.
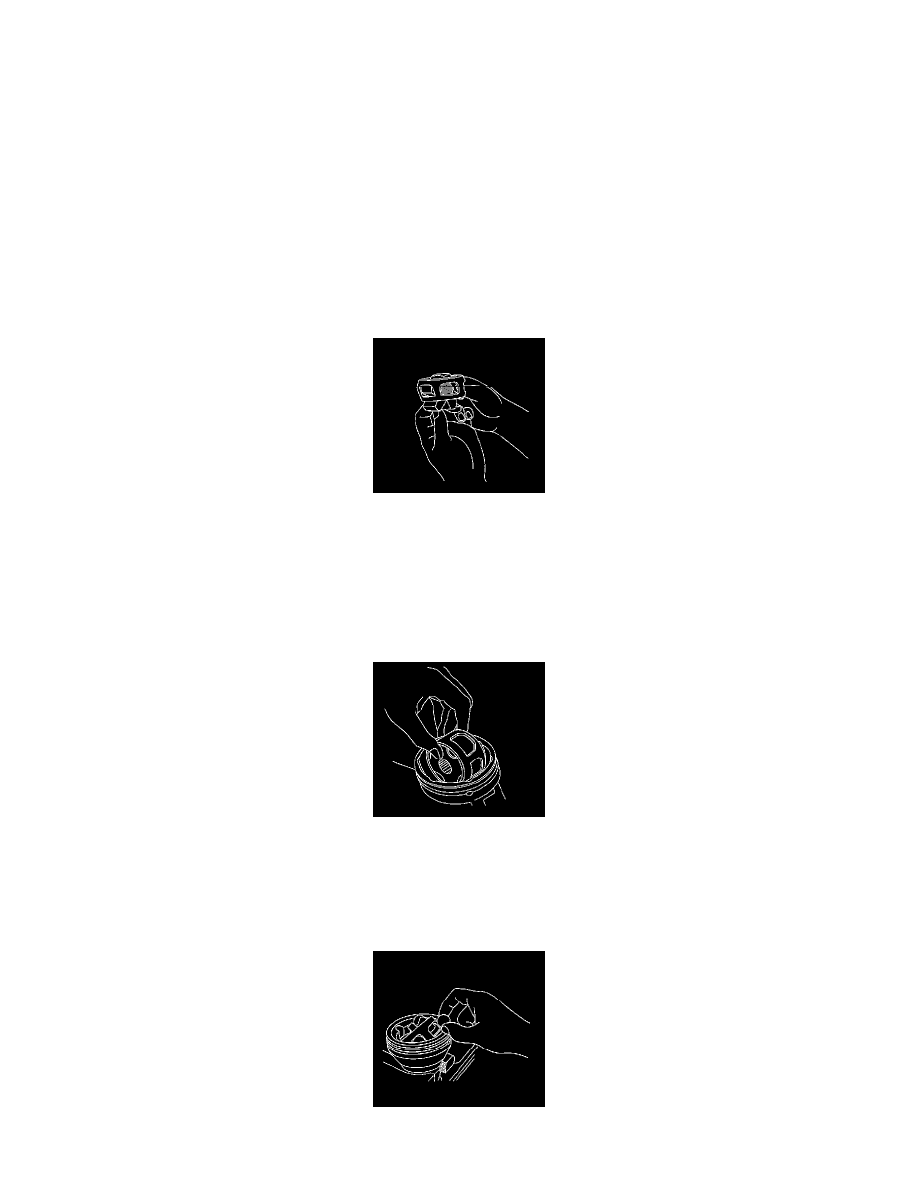
23. Align the lands of the inner race with the windows of the cage.
24. Insert an inner race land into a cage window.
25. Pivot the inner race down and remove it from the cage.
26. Important: All traces of old grease and any contaminates must be removed.
Clean the following thoroughly with clean solvent:
^
The inner race
^
The outer race
^
The cage
^
The balls
^
The axle shaft exposed end.
1. Thoroughly air dry all the parts.
Assembly Procedure
1. Position the cage so the larger radius corners of the cage windows are up.
2. Position the inner race 90 degrees to the centerline of the cage.
3. Begin to insert the inner race up through the bottom of the cage.
4. Align a land of the inner race to a window of the cage.
5. Insert the inner race land into the cage window.
6. Rotate the remainder of the inner race into the cage.
7. Rotate the inner race within the cage so that the grooved surface of the inner race is facing up.
8. Align the inner race ball tracks with the cage windows.
9. Wrap a shop towel around the joint outer race splined shaft.
10. Place the outer race vertically in a bench vise.
11. Position the cage and inner race 90 degrees to the centerline of the outer race.
12. Align 2 cage windows at 0 and 180 degrees.Rotate the inner race and cage assembly in the vertical plane.
13. Align the two windows at 0 and 180 degrees with 2 of the outer race lands.
14. Insert the cage and inner race into the outer race.
15. Important: The larger radius corners of the cage windows should be positioned up and the grooved surface of the inner race should be visible.