
Roadmaster V8-305 5.0L (1992)
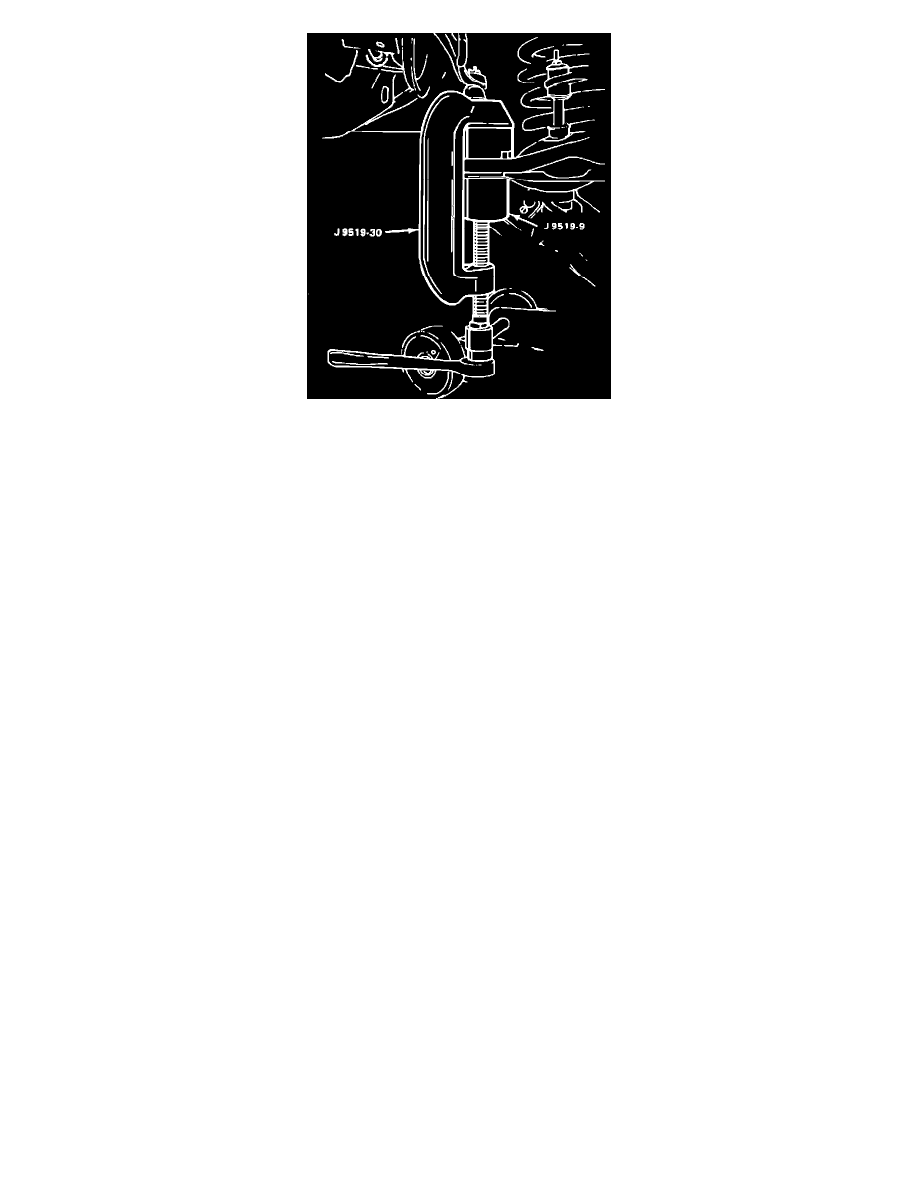
Fig. 11 Pressing Lower Ball Joint Into Lower Control Arm
6.
Press replacement joint into arm using suitable tools, Fig. 11. Fit spindle over ball stud, install washer, if equipped, and retaining nut.
7.
Torque retaining nut to specifications.
8.
Tighten nut up to an additional 1/16 turn, if necessary, to align hole in ball stud with nut, then install cotter pin.